ASRock Z87 Extreme11/ac LSI Mega RAID Storage Manager Guide - Page 62
Replacing a Drive, Migrating the RAID Level of a Virtual Drive
 |
View all ASRock Z87 Extreme11/ac manuals
Add to My Manuals
Save this manual to your list of manuals |
Page 62 highlights
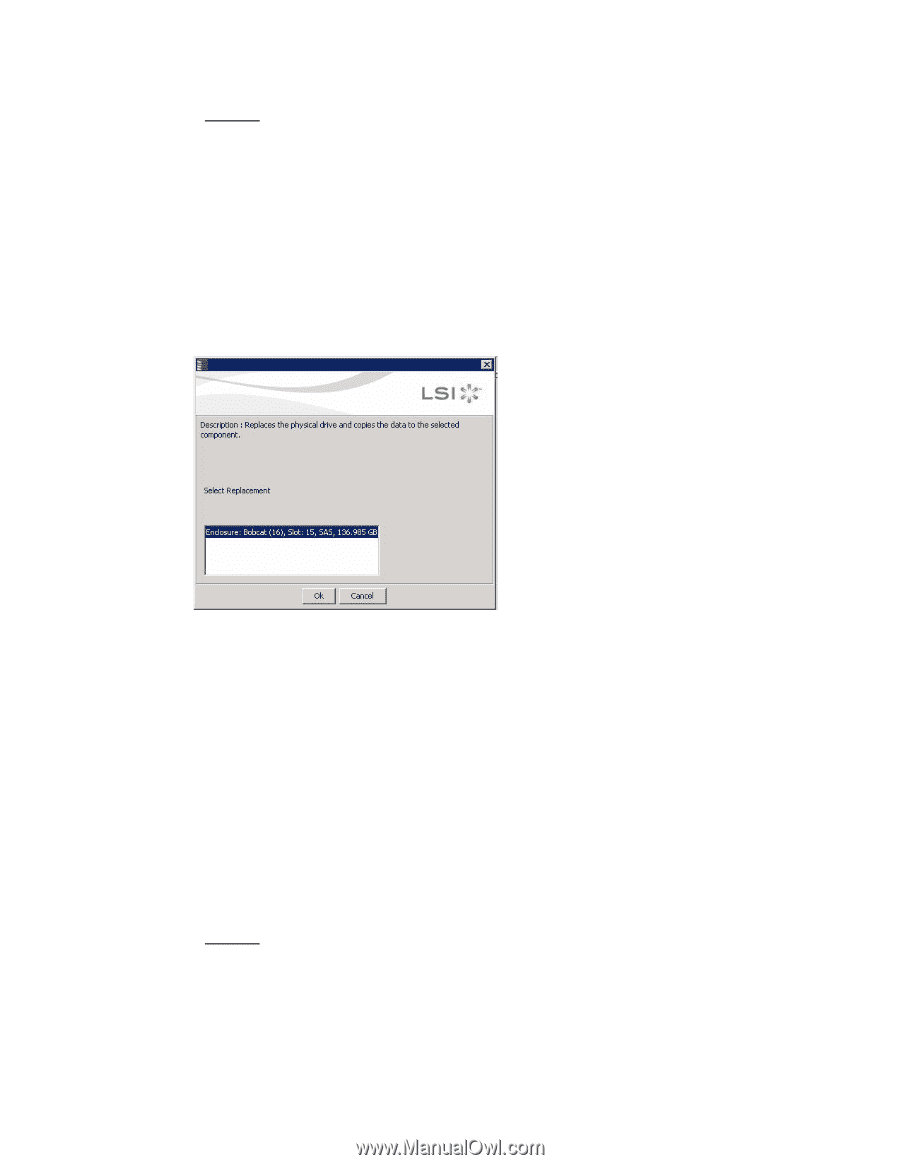
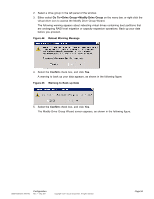
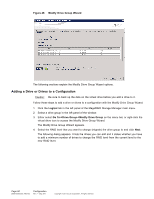
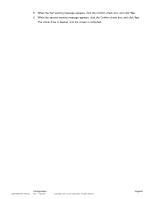
Replacing a Drive Caution: Make sure to back up the data on the virtual drive before you replace a drive. Follow these steps to add a replacement drive and to copy the data from the drive that was removed to the replacement drive. 1. Click the Logical tab in the left panel of the MegaRAID Storage Manager main menu. 2. Select a drive in the left panel of the window. 3. Either select Go To->Physical Drive->Replace Physical Drive on the menu bar, or right-click the virtual drive icon to access the Modify Drive Group Wizard. The screen with the replacement drive appears, as shown in the following figure. Figure 48 Drive Replacement Window 4. Select a replacement drive. A confirmation message appears. 5. Click Yes. This replaces a drive and copies the data to the selected component. Migrating the RAID Level of a Virtual Drive As the amount of data and the number of drives in your system increase, you can use RAID-level migration to change a virtual drive from one RAID level to another. You do not have to power down or reboot the system when you make this change. When you migrate a virtual drive to another RAID level, you can keep the same number of drives, or you can add drives. In some cases, you have to add a certain number of drives to migrate the virtual drive from one RAID level to another. The screen indicates the minimum number of drives you are required to add. Caution: Be sure to back up the data on the virtual drive before you change the RAID level. Follow these steps to change the RAID level of the virtual drive with the Modify Drive Group Wizard: 1. Click the Logical tab in the left panel of the MegaRAID Storage Manager main menu screen. 2. Select a drive group in the left panel of the window. Page 62 DB09-000202-05 37857-02 Configuration Rev. F - May 2011 Copyright © 2011 by LSI Corporation. All rights reserved.
-
 1
1 -
2
-
3
-
4
-
5
-
6
-
7
-
8
-
9
-
10
-
11
-
12
-
13
-
14
-
15
-
16
-
17
-
18
-
19
-
20
-
21
-
22
-
23
-
24
-
25
-
26
-
27
-
28
-
29
-
30
-
31
-
32
-
33
-
34
-
35
-
36
-
37
-
38
-
39
-
40
-
41
-
42
-
43
-
44
-
45
-
46
-
47
-
48
-
49
-
50
-
51
-
52
-
53
-
54
-
55
-
56
-
 57
57 -
 58
58 -
 59
59 -
 60
60 -
 61
61 -
 62
62 -
 63
63 -
 64
64 -
 65
65 -
 66
66 -
 67
67 -
68
-
69
-
70
-
71
-
72
-
73
-
74
-
75
-
76
-
77
-
78
-
79
-
80
-
81
-
82
-
83
-
84
-
85
-
86
-
87
-
88
-
89
-
90
-
91
-
92
-
93
-
94
-
95
-
96
-
97
-
98
-
99
-
100
-
101
-
102
-
103
-
104
-
105
-
106
-
107
-
108
-
109
-
110
-
111
-
112
-
113
-
114
-
115
-
116
-
117
-
118
-
119
-
120
-
121
-
122
-
123
-
124
-
125
-
126
-
127
-
128
-
129
-
130
-
131
-
132
-
133
-
134
-
135
-
136
-
137
-
138
-
139
-
140
-
141
-
142
-
143
-
144
-
145
-
146
-
147
-
148
-
149
-
150
-
151
-
152
-
153
-
154
-
155
-
156
-
157
-
158
-
159
-
160
-
161
-
162
-
163
-
164
-
165
-
166
-
167
-
168
-
169
-
170
-
171
-
172
-
173
-
174
-
175
-
176
-
177
-
178
 |
 |