Epson Stylus Pro 9000 Service Manual - Page 118
Check Nozzle, Print Adj. Pattern
 |
View all Epson Stylus Pro 9000 manuals
Add to My Manuals
Save this manual to your list of manuals |
Page 118 highlights
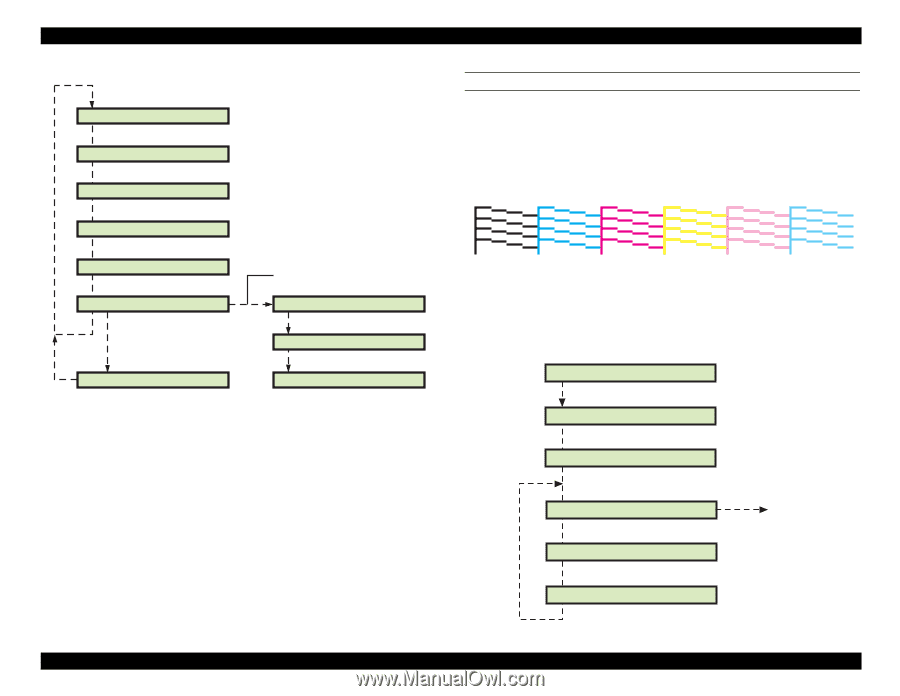
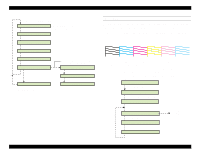
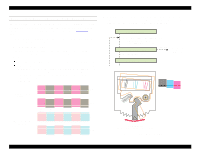
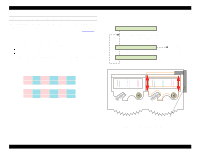
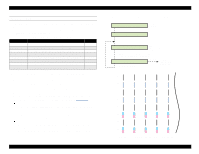
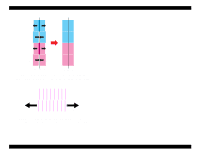
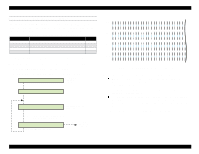
EPSON Stylus Pro 9000 "x" = B or C, for Head B or Head C *00000-x-ID1: AAAAAA Press Paper Feed +/- to select the value 0*0000-x-ID1: AAAAAA 00*000-x-ID1: AAAAAA 000*00-x-ID1: AAAAAA 0000*0-x-ID1: AAAAAA 00000*-x-SUM: AAAAAA Error Rank Input Press the [Enter] button if an input error occurs. When finished entering the Head C ID, press the [Enter] button. Enter Key [Enter] Please Set Ink Insert ink cartridges Cleaning CHECK NOZZLE Use this function to verify that the all nozzles are firing ink. If you notice missing lines or gaps, you can run the cleaning operation from this menu. 1. Make sure "Adj: Check Nozzle" appears on the LCD and press the Enter button. 2. Load paper if not already loaded and replace any low or empty ink cartridges if detected. The printer prints the following check pattern: The pattern includes the following colors from left to right: black, cyan, magenta, yellow, light magenta, and light cyan. 3. When the check pattern finishes printing, "Nozzle Check End" appears on the LCD. If the pattern printed all six colors properly with no missing dots or lines, press the Enter button to end this adjustment procedure. Otherwise, press the SelecType button to start the cleaning cycle. Please Set Paper Load paper. Please Set Ink Replace any low or empty ink Printing Pattern Nozzle Check End [SelecType] Cleaning Standard [Enter] End adjustment Print Adj. Pattern Adjustments 118
-
 1
1 -
2
-
3
-
4
-
5
-
6
-
7
-
8
-
9
-
10
-
11
-
12
-
13
-
14
-
15
-
16
-
17
-
18
-
19
-
20
-
21
-
22
-
23
-
24
-
25
-
26
-
27
-
28
-
29
-
30
-
31
-
32
-
33
-
34
-
35
-
36
-
37
-
38
-
39
-
40
-
41
-
42
-
43
-
44
-
45
-
46
-
47
-
48
-
49
-
50
-
51
-
52
-
53
-
54
-
55
-
56
-
57
-
58
-
59
-
60
-
61
-
62
-
63
-
64
-
65
-
66
-
67
-
68
-
69
-
70
-
71
-
72
-
73
-
74
-
75
-
76
-
77
-
78
-
79
-
80
-
81
-
82
-
83
-
84
-
85
-
86
-
87
-
88
-
89
-
90
-
91
-
92
-
93
-
94
-
95
-
96
-
97
-
98
-
99
-
100
-
101
-
102
-
103
-
104
-
105
-
106
-
107
-
108
-
109
-
110
-
111
-
112
-
 113
113 -
 114
114 -
 115
115 -
 116
116 -
 117
117 -
 118
118 -
 119
119 -
 120
120 -
 121
121 -
 122
122 -
 123
123 -
124
-
125
-
126
-
127
-
128
-
129
-
130
-
131
-
132
-
133
-
134
-
135
-
136
-
137
-
138
-
139
-
140
-
141
-
142
-
143
-
144
-
145
-
146
-
147
-
148
-
149
-
150
-
151
-
152
-
153
-
154
-
155
-
156
-
157
-
158
-
159
-
160
-
161
-
162
-
163
-
164
-
165
-
166
-
167
-
168
-
169
-
170
-
171
-
172
-
173
-
174
-
175
-
176
-
177
-
178
-
179
-
180
-
181
-
182
-
183
-
184
-
185
-
186
-
187
-
188
-
189
-
190
-
191
-
192
-
193
-
194
-
195
-
196
-
197
-
198
 |
 |