Epson Stylus Pro 9000 Service Manual - Page 16
Paper Configuration Menu, Cutter Replace Menu, Head Alignment Menu
 |
View all Epson Stylus Pro 9000 manuals
Add to My Manuals
Save this manual to your list of manuals |
Page 16 highlights
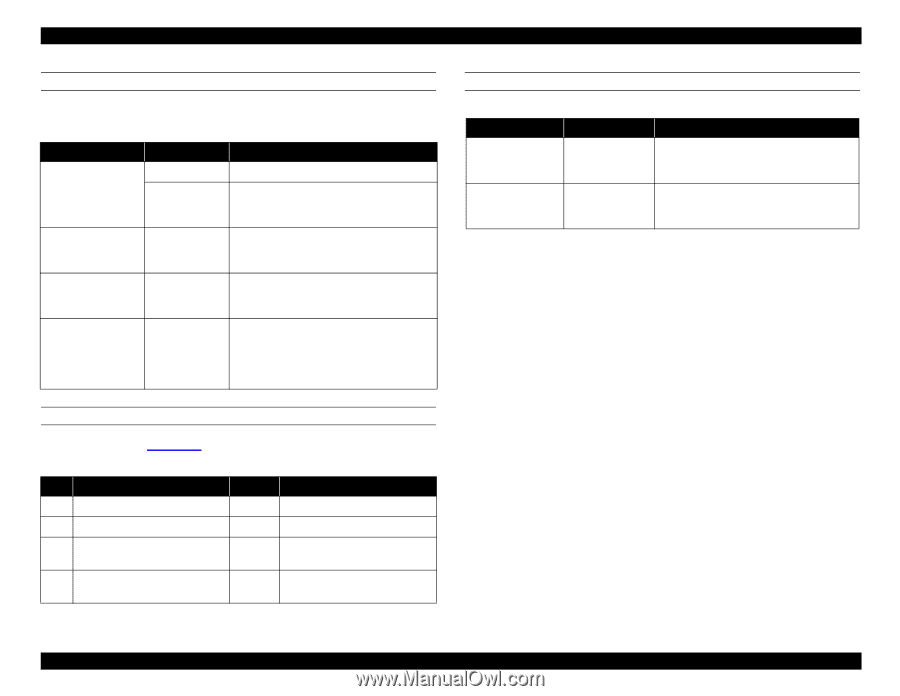
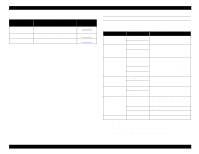
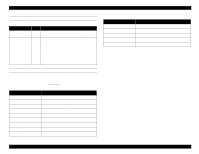
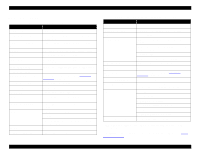
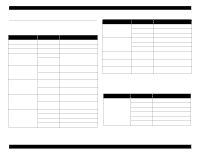
EPSON Stylus Pro 9000 PAPER CONFIGURATION MENU The bold item is the default setting. Table 1-8. Paper Configuration Menu Message Item Explanation PAPER NUMBER STD* Select STD for Epson special paper 1 Select the appropriate number for thick paper. Use the + or − to select the registered number up to 4. THICK. PAT PRINT Prints a pattern to detect the paper thickness. If PAPER NUMBER is set to STD, the message does not appear. PAPER THICK 1 If PAPER NUMBER is set to STD, the message does not appear. Use the + or − to select the registered number up to 17. DRYING TIME 0MIN Determines the length of time the printer allows the ink to dry. When printing on roll paper, the printer will wait the specified time after printing. Use the + or − to select the registered number up to 30MIN. CUTTER REPLACE MENU Follow the order in Table 1-9 to replace the cutter. Table 1-9. Cutter Replacement Menu Step Message Item Explanation 1 CUT. REPLACE EXEC. Prepare a replacement cutter 2 OPEN LOWER COVER - Open the front cover 3 REPLACE CUTTER - Remove the old cutter and install a new one 4 CLOSER LOWER COVER - Close the front cover. READY appears on the display. HEAD ALIGNMENT MENU Messages ADJUST. PATT PAPER THICK Table 1-10. Head Alignment Menu Item Explanation ALL Prints a full series of patterns. To print a single pattern, use the + and − until the registered pattern appears. STD Leave on STD for EPSON paper. For other media, use the + and − to select the thickness in 0.1-mm increments. Printer Basics 16
-
 1
1 -
2
-
3
-
4
-
5
-
6
-
7
-
8
-
9
-
10
-
 11
11 -
 12
12 -
 13
13 -
 14
14 -
 15
15 -
 16
16 -
 17
17 -
 18
18 -
 19
19 -
 20
20 -
 21
21 -
22
-
23
-
24
-
25
-
26
-
27
-
28
-
29
-
30
-
31
-
32
-
33
-
34
-
35
-
36
-
37
-
38
-
39
-
40
-
41
-
42
-
43
-
44
-
45
-
46
-
47
-
48
-
49
-
50
-
51
-
52
-
53
-
54
-
55
-
56
-
57
-
58
-
59
-
60
-
61
-
62
-
63
-
64
-
65
-
66
-
67
-
68
-
69
-
70
-
71
-
72
-
73
-
74
-
75
-
76
-
77
-
78
-
79
-
80
-
81
-
82
-
83
-
84
-
85
-
86
-
87
-
88
-
89
-
90
-
91
-
92
-
93
-
94
-
95
-
96
-
97
-
98
-
99
-
100
-
101
-
102
-
103
-
104
-
105
-
106
-
107
-
108
-
109
-
110
-
111
-
112
-
113
-
114
-
115
-
116
-
117
-
118
-
119
-
120
-
121
-
122
-
123
-
124
-
125
-
126
-
127
-
128
-
129
-
130
-
131
-
132
-
133
-
134
-
135
-
136
-
137
-
138
-
139
-
140
-
141
-
142
-
143
-
144
-
145
-
146
-
147
-
148
-
149
-
150
-
151
-
152
-
153
-
154
-
155
-
156
-
157
-
158
-
159
-
160
-
161
-
162
-
163
-
164
-
165
-
166
-
167
-
168
-
169
-
170
-
171
-
172
-
173
-
174
-
175
-
176
-
177
-
178
-
179
-
180
-
181
-
182
-
183
-
184
-
185
-
186
-
187
-
188
-
189
-
190
-
191
-
192
-
193
-
194
-
195
-
196
-
197
-
198
 |
 |