Epson Stylus Pro 9000 Service Manual - Page 128
Counter Clear, 5.3.5 Cleaning menu, 5.3.6 Print menu, Table 5-11., Counters Reset by Counter Clear
 |
View all Epson Stylus Pro 9000 manuals
Add to My Manuals
Save this manual to your list of manuals |
Page 128 highlights
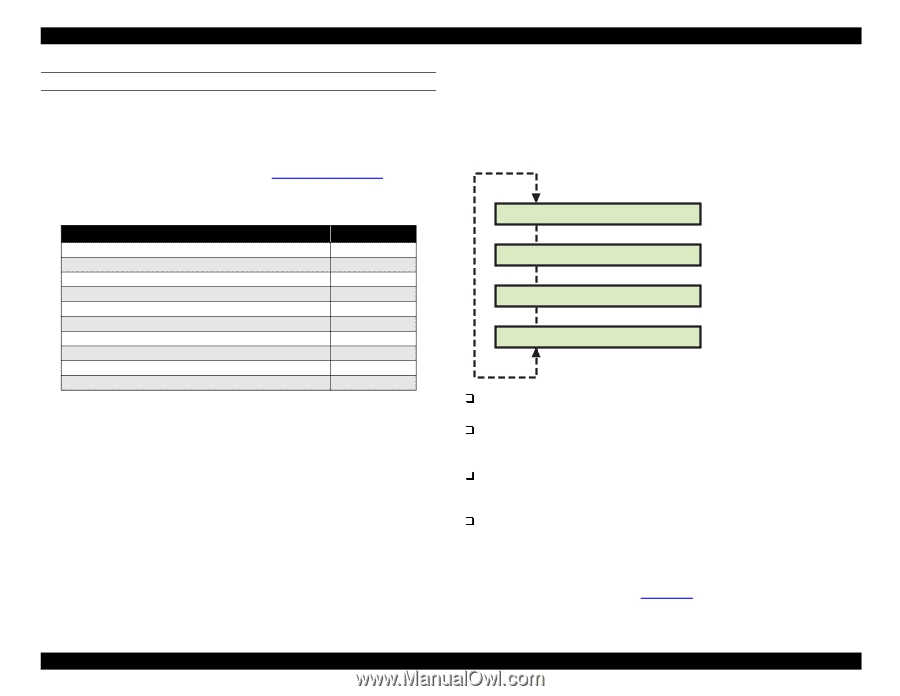
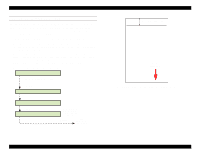
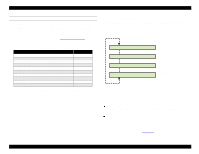
EPSON Stylus Pro 9000 COUNTER CLEAR This function resets all the counters stored in memory on the Main Board to their original condition. Remove the old ink cartridges before resetting the counters; when you turn on the printer, the printer prompts you to install new cartridges. If you need to reset counters individually, see Maintenance Mode 2 on page 17. Table 5-11. Counters Reset by "Counter Clear" Counter Reset Value Protection Counter A/B (for waste ink pads) 0 Ink Volume Counter Rb/ Ry/ Rx Rz 0 Consumed Ink Counter Cb/ Cy/ Cm/ Cc/ Cml/ Ccl 0 Power Cutoff Timer T2 0 Accumulated Prints Timer 0 CL Timer 0 CL Timer 3 0 CL Flag 0 Initial Charge Flag 1* Periodic Pseudo-Vacuum Flag 0 Note *: "1" means the flag is set, and the next time power is turned on the printer will perform an initial ink charge. 5.3.5 Cleaning menu Using this menu, you can select a cleaning mode and start that cleaning operation. You can also cause the printer to perform the initial ink charge operation without resetting the initial ink charge flag. [SelecType] Cleaning: Std. KK0 Cleaning: Std. KK1 Cleaning: Std. KK2 Cleaning: Init. Fill [Paper Source] [Enter] Performs the initial ink charge operation Std. KK0 (CL1) Normal cleaning cycle Std. KK1 (CL1') Strong cleaning cycle Std. KK2 (CL2) Strong cleaning cycle Init. Fill Volume of ink cleared = low Volume of ink cleared = medium Rubbing = off Volume of ink cleared = high Rubbing = on Perform initial ink charge sequence 5.3.6 Print menu The Print menu performs the same functions as the "Test Print" option on the Adjustment menu. For details, see Test Print on page 127. Adjustments 128
-
 1
1 -
2
-
3
-
4
-
5
-
6
-
7
-
8
-
9
-
10
-
11
-
12
-
13
-
14
-
15
-
16
-
17
-
18
-
19
-
20
-
21
-
22
-
23
-
24
-
25
-
26
-
27
-
28
-
29
-
30
-
31
-
32
-
33
-
34
-
35
-
36
-
37
-
38
-
39
-
40
-
41
-
42
-
43
-
44
-
45
-
46
-
47
-
48
-
49
-
50
-
51
-
52
-
53
-
54
-
55
-
56
-
57
-
58
-
59
-
60
-
61
-
62
-
63
-
64
-
65
-
66
-
67
-
68
-
69
-
70
-
71
-
72
-
73
-
74
-
75
-
76
-
77
-
78
-
79
-
80
-
81
-
82
-
83
-
84
-
85
-
86
-
87
-
88
-
89
-
90
-
91
-
92
-
93
-
94
-
95
-
96
-
97
-
98
-
99
-
100
-
101
-
102
-
103
-
104
-
105
-
106
-
107
-
108
-
109
-
110
-
111
-
112
-
113
-
114
-
115
-
116
-
117
-
118
-
119
-
120
-
121
-
122
-
 123
123 -
 124
124 -
 125
125 -
 126
126 -
 127
127 -
 128
128 -
 129
129 -
 130
130 -
 131
131 -
 132
132 -
 133
133 -
134
-
135
-
136
-
137
-
138
-
139
-
140
-
141
-
142
-
143
-
144
-
145
-
146
-
147
-
148
-
149
-
150
-
151
-
152
-
153
-
154
-
155
-
156
-
157
-
158
-
159
-
160
-
161
-
162
-
163
-
164
-
165
-
166
-
167
-
168
-
169
-
170
-
171
-
172
-
173
-
174
-
175
-
176
-
177
-
178
-
179
-
180
-
181
-
182
-
183
-
184
-
185
-
186
-
187
-
188
-
189
-
190
-
191
-
192
-
193
-
194
-
195
-
196
-
197
-
198
 |
 |