Kyocera KM-2030 Fax System (B) Instruction Handbook - Page 104
Fax Forward Start Time:0
 |
View all Kyocera KM-2030 manuals
Add to My Manuals
Save this manual to your list of manuals |
Page 104 highlights
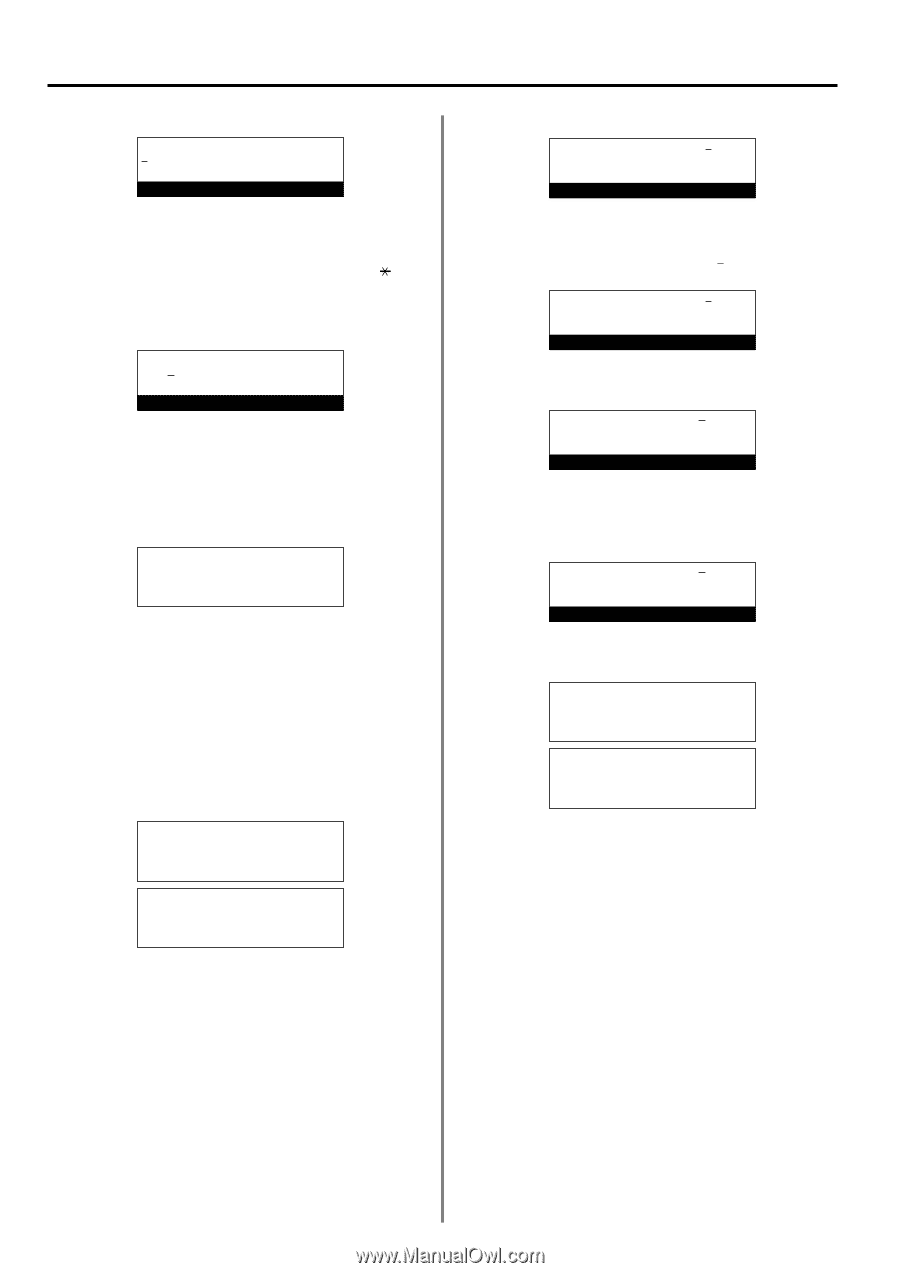
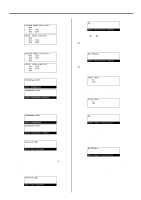
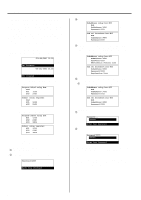
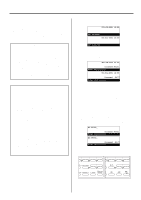
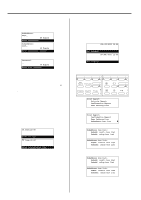
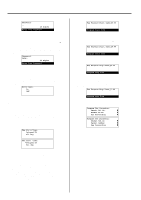
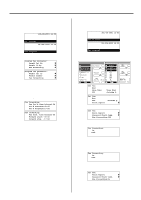
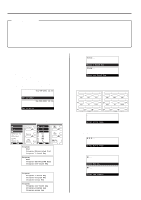
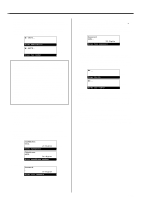
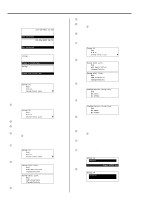
Section 4 Other Features of this Fax 9. Press the Enter key. Password: 20 Digits Enter Your Password 10. If necessary, enter the predetermined F-Code password. * The password can be up to 20 digits in length and can include any combination of the numerals 0 - 9 and the symbols " " and "#". You do not have to enter an F-Code password here if you agree in advance with the destination party not to use one. * If you DO NOT need to enter an F-Code password, proceed to step 11. Password: 3856 20 Digits Enter Your Password 11. Press the Enter key. * If there is some problem with the information that you entered, an error message will appear in the message display. In this case, press the Enter key and the message display will return to a display that allows you to enter the destination fax number again. Print Here: Á On Off 12. Use the cursor up or the cursor down key to select whether or not you want the received documents to be printed out at this fax machine. * The asterisk (*) in the message display indicates the current setting. However, an asterisk will not be displayed until the setting is changed at least one time. * If you want to have the documents printed out at this fax, select "On". 13. Press the Enter key. Fax For'd Time: Á Delayed TX All Day Fax forw. time: Á*Delayed TX All day (Inch) (Metric) 14. Use the cursor up or the cursor down key to select whether or not you want to designate a time for the Fax Forwarding operation to begin and end. * If you want to have only those documents received during designated hours forwarded to another fax number, select "Delayed TX.". If you want to have Fax Forwarding continue indefinitely, select "All Day". * The asterisk (*) in the message display indicates the current setting. However, an asterisk will not be displayed until the setting is changed at least one time. > If you selected "Delayed TX.", proceed to step 15. > If you selected "All Day", proceed to step 19. 15. Press the Enter key. Fax Forward Start Time:00:00 Program Start Time 16. Enter the desired time for Fax Forwarding to begin. * If you want to reset the displayed time to "00:00", simply press the Stop/Clear key. Fax Forward Start Time:09:00 Program Start Time 17. Press the Enter key. Fax Forward Stop Time:00:00 Program Stop Time 18. Enter the desired time for Fax Forwarding to end. * If you want to reset the displayed time to "00:00", simply press the Stop/Clear key. Fax Forward Stop Time:17:00 Program Stop Time 19. Press the Enter key. Registration for Fax Forwarding is complete. Program Fax Parameter: Permit Tel No. Permit ID No. Á Fax Forwarding P P (Inch) P Program fax parameter: Permit tel nr Permit number Á Fax forwarding P P (Metric) P 20. Press the Reset key. The operation panel will return to the initial mode settings. 4-22
-
 1
1 -
2
-
3
-
4
-
5
-
6
-
7
-
8
-
9
-
10
-
11
-
12
-
13
-
14
-
15
-
16
-
17
-
18
-
19
-
20
-
21
-
22
-
23
-
24
-
25
-
26
-
27
-
28
-
29
-
30
-
31
-
32
-
33
-
34
-
35
-
36
-
37
-
38
-
39
-
40
-
41
-
42
-
43
-
44
-
45
-
46
-
47
-
48
-
49
-
50
-
51
-
52
-
53
-
54
-
55
-
56
-
57
-
58
-
59
-
60
-
61
-
62
-
63
-
64
-
65
-
66
-
67
-
68
-
69
-
70
-
71
-
72
-
73
-
74
-
75
-
76
-
77
-
78
-
79
-
80
-
81
-
82
-
83
-
84
-
85
-
86
-
87
-
88
-
89
-
90
-
91
-
92
-
93
-
94
-
95
-
96
-
97
-
98
-
 99
99 -
 100
100 -
 101
101 -
 102
102 -
 103
103 -
 104
104 -
 105
105 -
 106
106 -
 107
107 -
 108
108 -
 109
109 -
110
-
111
-
112
-
113
-
114
-
115
-
116
-
117
-
118
-
119
-
120
-
121
-
122
-
123
-
124
-
125
-
126
-
127
-
128
-
129
-
130
-
131
-
132
-
133
-
134
-
135
-
136
-
137
-
138
-
139
-
140
-
141
-
142
-
143
-
144
-
145
-
146
-
147
-
148
-
149
-
150
-
151
-
152
-
153
-
154
-
155
-
156
-
157
-
158
-
159
-
160
-
161
-
162
-
163
-
164
-
165
-
166
-
167
-
168
-
169
-
170
-
171
-
172
-
173
-
174
-
175
-
176
-
177
-
178
 |
 |