Kyocera KM-2030 Fax System (B) Instruction Handbook - Page 142
Turning Report Print Out ON/OFF
 |
View all Kyocera KM-2030 manuals
Add to My Manuals
Save this manual to your list of manuals |
Page 142 highlights
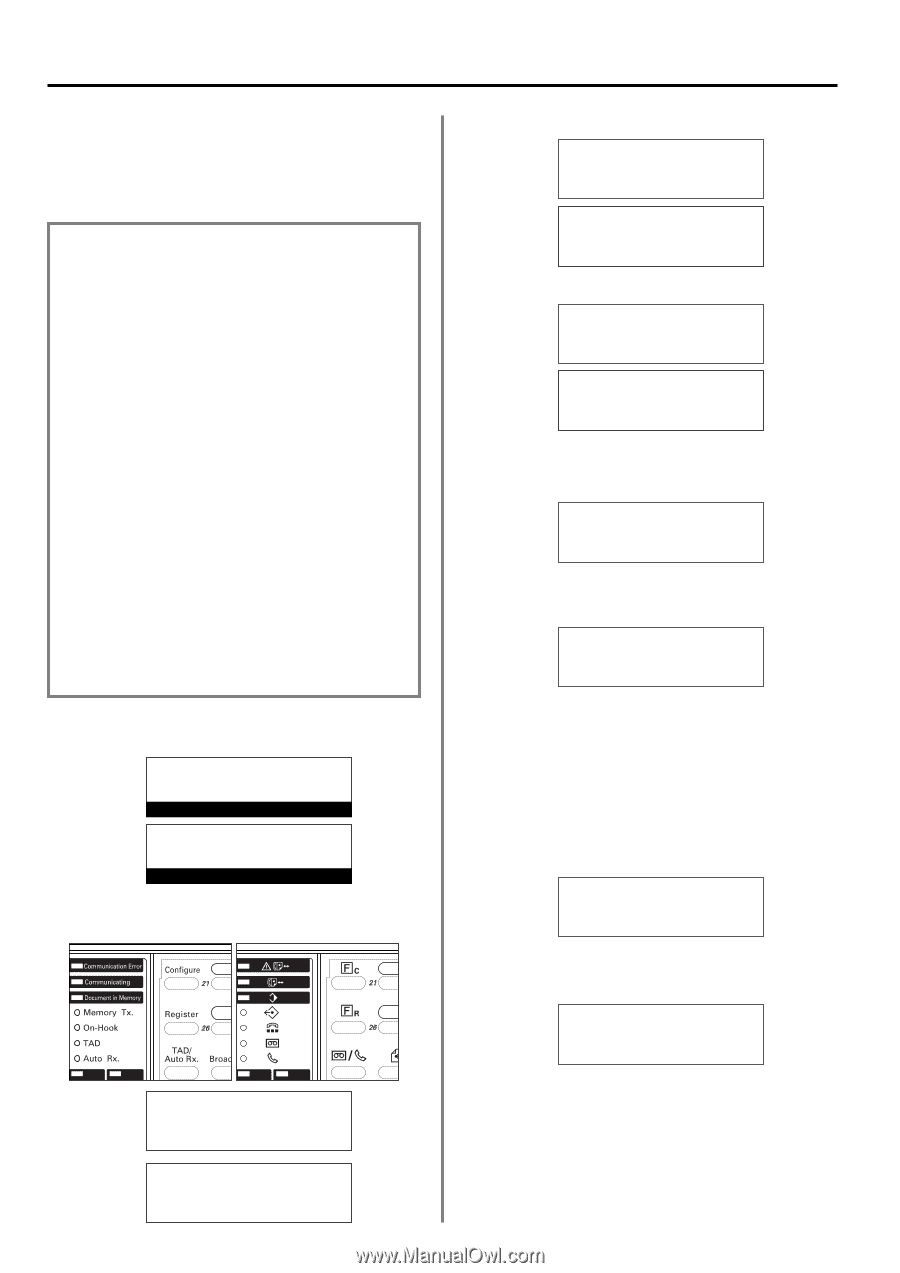
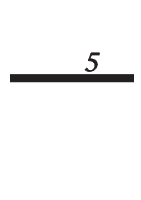
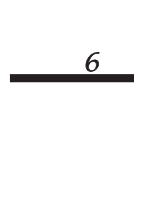
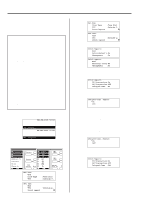
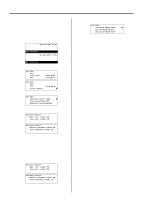
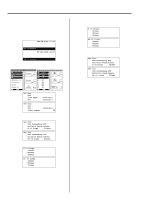
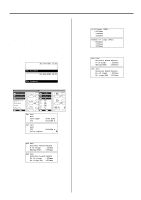
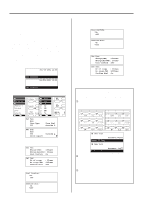
Section 6 Various Settings and Registration in this Fax Turning Report Print Out ON/OFF Five different reports can be printed out for checking such points as whether a transmission or reception was accomplished correctly or not. You can also have each of these reports printed out automatically or turn OFF automatic print out of each report. Set this report to be printed out upon reaching a predetermined number of communications in order to check the details of those communications. Set this report to be printed out in order to check the details, listed by department, of all communications occurring under Restricted Access. Set this report to be printed out after each transmission to check whether the * It is also possible to set this report to be printed out only under certain conditions (a communication error, a Broadcast Transmission, a transmission that uses the timer and an Encryption Transmission). Set this report to be printed out after each reception to check whether the reception was accomploshed correctly or not. * It is also possible to set this report to be printed out only under certain conditions (a communication error, a Polling Reception, an Encryption Reception and an F-Code Based Confidential Reception). Set this report to be printed out after each communication that uses the timer is scheduled to check the information related to that communication. 2. Use the cursor up or the cursor down key to select "Print Report". Set Fax: Line Type TTI Á Print Report :Tone Dial :Outside P. (Inch) P Set fax: End TTI Á Print report :Outside p. (Metric) P 3. Press the Enter key. Print Report: End Á ActivityCont'l:On Management :On Print report: End Á Activity contr:On Management :On (Inch) (Metric) 4. Use the cursor up or the cursor down key to select which report to set. * The following example is for setting the Delayed Communication Report. Print Report: TX Transaction:On RX Transaction:Off Á Delayed Comm. :On 5. Press the Enter key. Delayed Comm. Report: Á*On Off * If you want to cancel the procedure part way through, press the Reset key. The operation panel will return to the initial mode settings. JUL-08-2001 12:00 (Inch) Set Document 08-JUL-2001 12:00 (Metric) Set original 1. Raise the cover plate and press the Configure key. (Inch) (Metric) 6. Use the cursor up or the cursor down key to select whether or not you want that report to be automatically printed out. * The asterisk (*) in the message display indicates the current setting. * If you want the report to be printed out automatically, select "On". * If you selected "TX Transaction" or "RX Transaction" in step 4, it will also be possible to select "Output only be Condition" here. In this case, the corresponding report will only be printed out under those conditions that are explained under the information for that report as shown on the left side of this page. Delayed Comm. Report: *On Á Off 6-2 Set Fax: End Á Line Type TTI :Tone Dial :Outside P. (Inch) Set fax: End Á TTI Print report :Outside p. P (Metric) 7. Press the Enter key. The setting for that report is complete. Print Report: TX Transaction:On RX Transaction:Off Á Delayed Comm. :Off > If you want to continue the setting procedure for other reports, repeat steps 4 - 7. > If you want to perform other setting procedures, select "End" and then press the Enter key. > If you are finished making settings, press the Reset key. The operation panel will return to the initial mode settings.
-
 1
1 -
2
-
3
-
4
-
5
-
6
-
7
-
8
-
9
-
10
-
11
-
12
-
13
-
14
-
15
-
16
-
17
-
18
-
19
-
20
-
21
-
22
-
23
-
24
-
25
-
26
-
27
-
28
-
29
-
30
-
31
-
32
-
33
-
34
-
35
-
36
-
37
-
38
-
39
-
40
-
41
-
42
-
43
-
44
-
45
-
46
-
47
-
48
-
49
-
50
-
51
-
52
-
53
-
54
-
55
-
56
-
57
-
58
-
59
-
60
-
61
-
62
-
63
-
64
-
65
-
66
-
67
-
68
-
69
-
70
-
71
-
72
-
73
-
74
-
75
-
76
-
77
-
78
-
79
-
80
-
81
-
82
-
83
-
84
-
85
-
86
-
87
-
88
-
89
-
90
-
91
-
92
-
93
-
94
-
95
-
96
-
97
-
98
-
99
-
100
-
101
-
102
-
103
-
104
-
105
-
106
-
107
-
108
-
109
-
110
-
111
-
112
-
113
-
114
-
115
-
116
-
117
-
118
-
119
-
120
-
121
-
122
-
123
-
124
-
125
-
126
-
127
-
128
-
129
-
130
-
131
-
132
-
133
-
134
-
135
-
136
-
 137
137 -
 138
138 -
 139
139 -
 140
140 -
 141
141 -
 142
142 -
 143
143 -
 144
144 -
 145
145 -
 146
146 -
 147
147 -
148
-
149
-
150
-
151
-
152
-
153
-
154
-
155
-
156
-
157
-
158
-
159
-
160
-
161
-
162
-
163
-
164
-
165
-
166
-
167
-
168
-
169
-
170
-
171
-
172
-
173
-
174
-
175
-
176
-
177
-
178
 |
 |