Kyocera KM-2030 Fax System (B) Instruction Handbook - Page 16
Setting the Date and Time
 |
View all Kyocera KM-2030 manuals
Add to My Manuals
Save this manual to your list of manuals |
Page 16 highlights
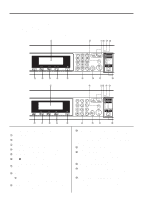
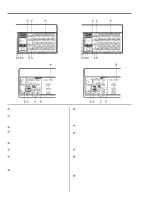
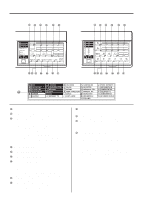
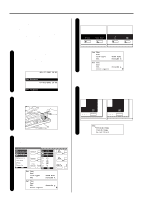
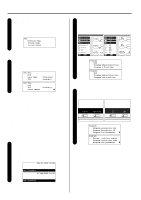
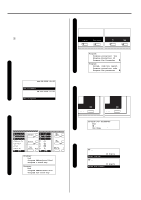
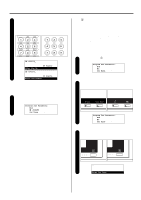
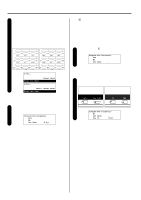
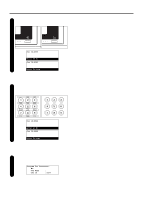
Section 1 Basic Use of this Fax Selecting transmission and location 6 of the TTI information Use the cursor up or the cursor down key to select whether or not you want the TTI information to be sent and, if so, the location where it will be printed. * If you selected "Outside Page", the TTI information will be printed outside the border of the transmitted page. TTI: *Outside Page Á Inside Page Do not Print 2 Entering the "Program" mode Raise the cover plate that is located over the one-touch keys and press the Register key. The "Program" menu will appear in the message display. (Inch) (Metric) Press the Enter key. 7 The setting for TTI Transmission is complete. * To return to the initial mode settings, use the cursor up or the cursor down key to select "End". Then press the Enter key. Set Fax: End Line Type Á TTI :Tone Dial :Inside P. (Inch) Set fax: End Á TTI Print report (Metric) :Inside p. P Program: End Á Program Abbreviated Dial Program 1-Touch Key Program: End Á Program abbreviated dial Program one-touch key (Inch) (Metric) 3 Scroll through the menu with the cursor up or the cursor down key and select "Program Fax Parameter". (Inch) (Metric) (3) Setting the Date and Time Set the date and the time that will appear in the message display here. BE SURE that the date and time that you set here are correct since they will serve as a basis for all communications that use the timer. * If you want to cancel the procedure part way through, press the Reset key. The operation panel will return to the initial mode settings. Checking the initial mode display 1 Check the message display to make sure that the operation panel is in the initial mode for fax operation. (Refer to "(2) Initial Mode", page 1-14.) * If the fax is not in the Fax Operation mode, press the COPY/FAX switching key to light the FAX indicator. JUL-07-2001 10:00 (Inch) Set Document 07-JUL-2001 10:00 (Metric) Set original Program: Program encryption box Program Encryption ID Á Program Fax Parameter (Inch) P Program: Encryp. code box regist. Program encryption code (Metric) Á Program fax parameter P 1-8
-
 1
1 -
2
-
3
-
4
-
5
-
6
-
7
-
8
-
9
-
10
-
 11
11 -
 12
12 -
 13
13 -
 14
14 -
 15
15 -
 16
16 -
 17
17 -
 18
18 -
 19
19 -
 20
20 -
 21
21 -
22
-
23
-
24
-
25
-
26
-
27
-
28
-
29
-
30
-
31
-
32
-
33
-
34
-
35
-
36
-
37
-
38
-
39
-
40
-
41
-
42
-
43
-
44
-
45
-
46
-
47
-
48
-
49
-
50
-
51
-
52
-
53
-
54
-
55
-
56
-
57
-
58
-
59
-
60
-
61
-
62
-
63
-
64
-
65
-
66
-
67
-
68
-
69
-
70
-
71
-
72
-
73
-
74
-
75
-
76
-
77
-
78
-
79
-
80
-
81
-
82
-
83
-
84
-
85
-
86
-
87
-
88
-
89
-
90
-
91
-
92
-
93
-
94
-
95
-
96
-
97
-
98
-
99
-
100
-
101
-
102
-
103
-
104
-
105
-
106
-
107
-
108
-
109
-
110
-
111
-
112
-
113
-
114
-
115
-
116
-
117
-
118
-
119
-
120
-
121
-
122
-
123
-
124
-
125
-
126
-
127
-
128
-
129
-
130
-
131
-
132
-
133
-
134
-
135
-
136
-
137
-
138
-
139
-
140
-
141
-
142
-
143
-
144
-
145
-
146
-
147
-
148
-
149
-
150
-
151
-
152
-
153
-
154
-
155
-
156
-
157
-
158
-
159
-
160
-
161
-
162
-
163
-
164
-
165
-
166
-
167
-
168
-
169
-
170
-
171
-
172
-
173
-
174
-
175
-
176
-
177
-
178
 |
 |
