Kyocera KM-2030 Fax System (B) Instruction Handbook - Page 44
Printing Out a One-Touch Key List
 |
View all Kyocera KM-2030 manuals
Add to My Manuals
Save this manual to your list of manuals |
Page 44 highlights
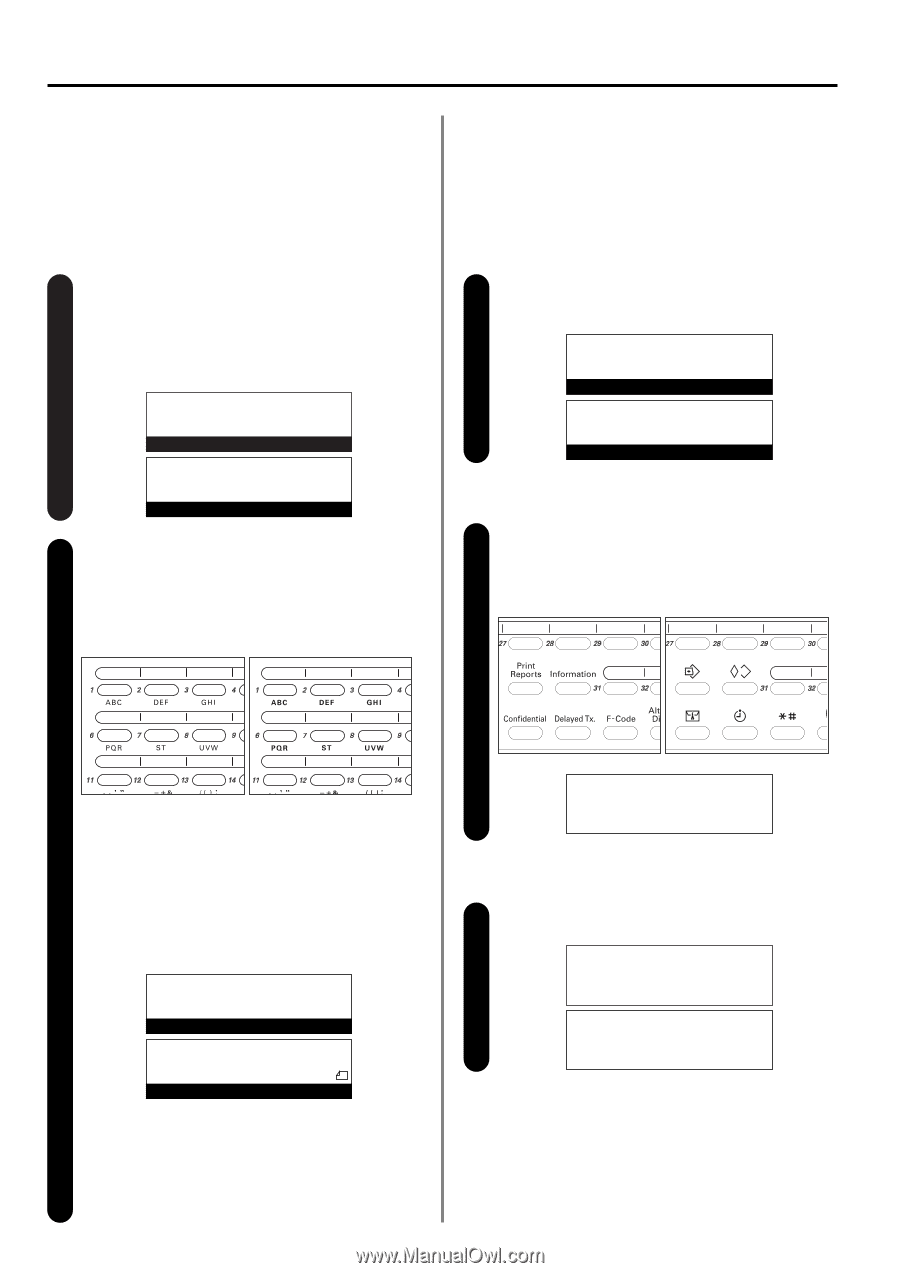
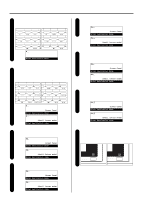
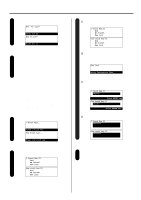
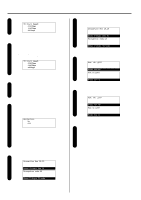
Section 1 Basic Use of this Fax (3) Dialing You can dial a fax number by simply pressing the one-touch key under which that number is registered. * It is also possible to prevent the problems associated with mistakenly pressing the wrong one-touch key by checking the destination name and/or number in the message display once before dialing occurs. Checking the initial mode display 1 Check the message display to make sure that the operation panel is in the initial mode for fax operation. (Refer to "(2) Initial Mode", page 1-14.) * If the fax is not in the Fax Operation mode, press the COPY/FAX switching key to light the FAX indicator. JUL-08-2001 12:00 (Inch) Set Document 08-JUL-2001 12:00 (Metric) Set original Set the documents you want to transmit and press the one-touch 2 key under which the desired fax number is registered. * Any time you set documents on the platen, after each document is scanned you will need to select whether or not you want to scan more pages into memory. (Refer to page 125.) (Inch) (Metric) (4) Printing Out a One-Touch Key List Print out this list in order to check the fax numbers registered under one-touch keys. * If there are no one-touch keys registered in this fax, a One-Touch Key List will not be printed out. * If you want to cancel the procedure part way through, press the Reset key. The operation panel will return to the initial mode settings. Checking the initial mode display 1 Check the message display to make sure that the operation panel is in the initial mode for fax operation. JUL-08-2001 12:00 (Inch) Set Document 08-JUL-2001 12:00 (Metric) Set original Entering the "Print Report" mode 2 Raise the cover plate that is located over the one-touch keys and press the Print Reports key. The "Print Report" menu will appear in the message display. (Inch) (Metric) * The transmission operation will begin automatically; there is no need to press the Start key. * If an unregistered one-touch key was pressed, an error message will appear in the message display and then the operation panel will return to the initial mode settings. * If "Press "x" key." ["Press X-key"] appears in the bottom line of the message display, Dial Confirmation is turned ON. In this case, check that the destination name and/or number displayed is actually the one desired. v :New York Press "5" key. Document:81/2x11 (Inch) v :New York Press 5-key (Metric) Document :A4 > If the destination IS the one desired, press the key on the keypad that corresponds to the number indicated in the message display. The transmission operation will begin automatically. > If the destination is NOT the one desired, press the Reset key. The operation panel will return to the initial mode settings. 1-36 Print Report: Á Activity Report Confirmation Report User Setting List Use the cursor up or the cursor down key to select 3 "Speed Dial List" ["Speed-dial list"]. Print Report: Subaddress box list Encryption box list Á Speed Dial List P (Inch) P Print report: Subaddress box list Encryption box list Á Speed-dial list P (Metric) P
-
 1
1 -
2
-
3
-
4
-
5
-
6
-
7
-
8
-
9
-
10
-
11
-
12
-
13
-
14
-
15
-
16
-
17
-
18
-
19
-
20
-
21
-
22
-
23
-
24
-
25
-
26
-
27
-
28
-
29
-
30
-
31
-
32
-
33
-
34
-
35
-
36
-
37
-
38
-
 39
39 -
 40
40 -
 41
41 -
 42
42 -
 43
43 -
 44
44 -
 45
45 -
 46
46 -
 47
47 -
 48
48 -
 49
49 -
50
-
51
-
52
-
53
-
54
-
55
-
56
-
57
-
58
-
59
-
60
-
61
-
62
-
63
-
64
-
65
-
66
-
67
-
68
-
69
-
70
-
71
-
72
-
73
-
74
-
75
-
76
-
77
-
78
-
79
-
80
-
81
-
82
-
83
-
84
-
85
-
86
-
87
-
88
-
89
-
90
-
91
-
92
-
93
-
94
-
95
-
96
-
97
-
98
-
99
-
100
-
101
-
102
-
103
-
104
-
105
-
106
-
107
-
108
-
109
-
110
-
111
-
112
-
113
-
114
-
115
-
116
-
117
-
118
-
119
-
120
-
121
-
122
-
123
-
124
-
125
-
126
-
127
-
128
-
129
-
130
-
131
-
132
-
133
-
134
-
135
-
136
-
137
-
138
-
139
-
140
-
141
-
142
-
143
-
144
-
145
-
146
-
147
-
148
-
149
-
150
-
151
-
152
-
153
-
154
-
155
-
156
-
157
-
158
-
159
-
160
-
161
-
162
-
163
-
164
-
165
-
166
-
167
-
168
-
169
-
170
-
171
-
172
-
173
-
174
-
175
-
176
-
177
-
178
 |
 |