Kyocera KM-2030 Fax System (B) Instruction Handbook - Page 154
Turning Remote Diagnosis ON/OFF
 |
View all Kyocera KM-2030 manuals
Add to My Manuals
Save this manual to your list of manuals |
Page 154 highlights
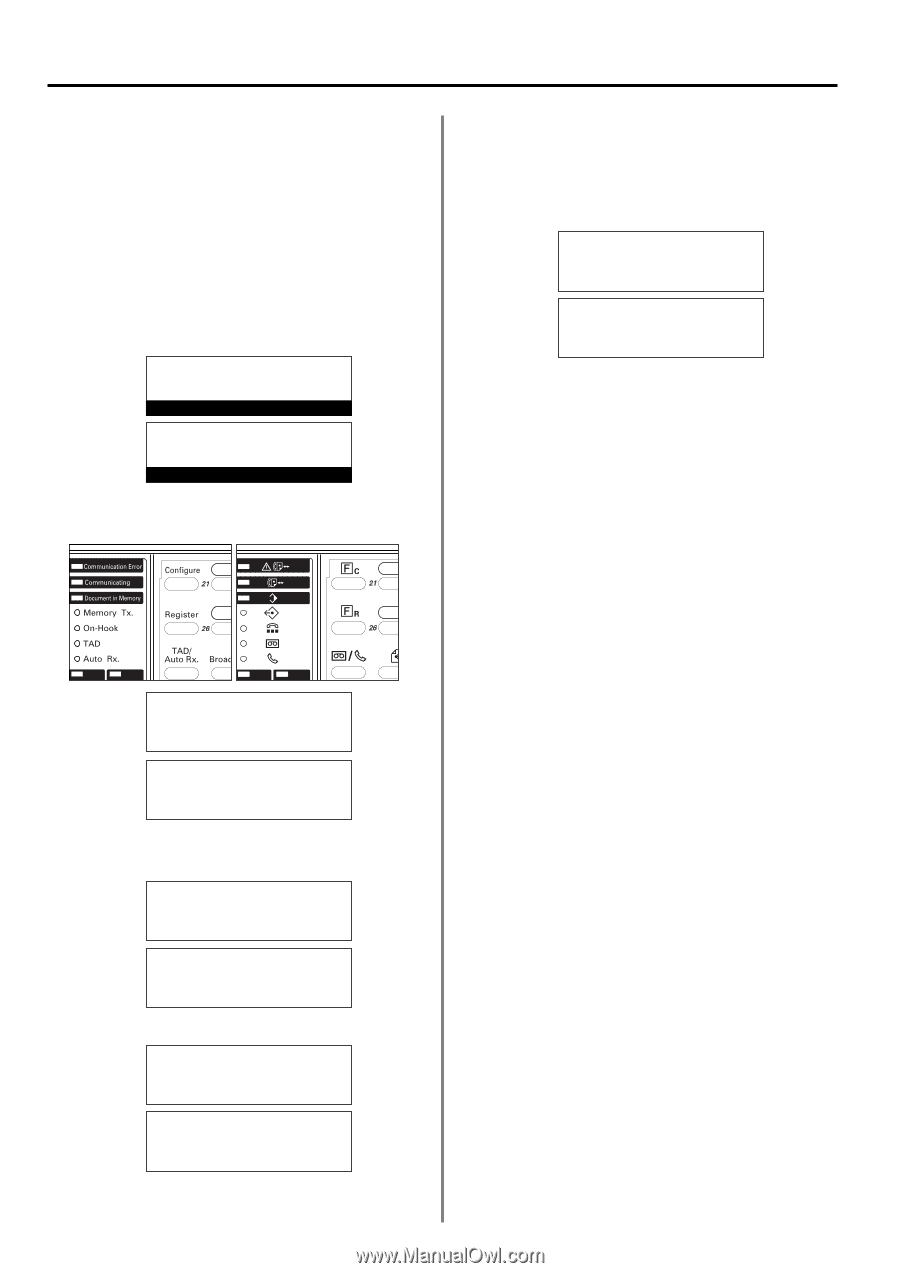
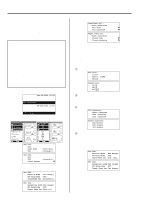
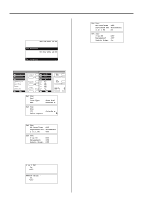
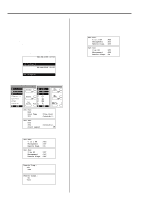
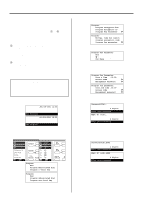
Section 6 Various Settings and Registration in this Fax Turning Remote Diagnosis ON/OFF Especially if trouble occurs in this fax in which it is necessary to call for service, it is possible for our service center computer to access the fax directly over the telephone line and check its status and other information about the trouble. * To use Remote Diagnosis, it is necessary to enter into a contract with an authorized service center in advance and also to register a predetermined Remote Test ID in advance. (Refer to "Registering the Remote test ID".) For further information, contact your service representative, an authorized service center or the place of purchase. * If you want to cancel the procedure part way through, press the Reset key. The operation panel will return to the initial mode settings. JUL-08-2001 12:00 Set Document (Inch) 08-JUL-2001 12:00 Set original (Metric) 1. Raise the cover plate and press the Configure key. (Inch) (Metric) 4. Use the cursor up or the cursor down key to select whether to turn Remote Diagnosis ON or OFF. * The asterisk (*) in the message display indicates the current setting. 5. Press the Enter key. The setting for Remote Diagnosis is complete. Set Fax: 2 in 1 RX Management Á Remote Diag. :Off :Off :Off (Inch) Set fax: 2-up RX :Off Management :Off Á Remote diagn. :On (Metric) * If you are finished making settings, press the Reset key. The operation panel will return to the initial mode settings. Set Fax: End Á Line Type TTI :Tone Dial (Inch) :Outside P. Set fax: End Á TTI Print report :Outside p. (Metric) P 2. Use the cursor up or the cursor down key to select "Remote Diag." ["Remote diagn."]. Set Fax: 2 in 1 RX Management Á Remote Diag. :Off :Off :On (Inch) Set fax: 2-up RX :Off Management :Off Á Remote diagn. :Off (Metric) 3. Press the Enter key. Remote Diag.: Á*On Off (Inch) Remote diagn.: Á On *Off (Metric) 6-14
-
 1
1 -
2
-
3
-
4
-
5
-
6
-
7
-
8
-
9
-
10
-
11
-
12
-
13
-
14
-
15
-
16
-
17
-
18
-
19
-
20
-
21
-
22
-
23
-
24
-
25
-
26
-
27
-
28
-
29
-
30
-
31
-
32
-
33
-
34
-
35
-
36
-
37
-
38
-
39
-
40
-
41
-
42
-
43
-
44
-
45
-
46
-
47
-
48
-
49
-
50
-
51
-
52
-
53
-
54
-
55
-
56
-
57
-
58
-
59
-
60
-
61
-
62
-
63
-
64
-
65
-
66
-
67
-
68
-
69
-
70
-
71
-
72
-
73
-
74
-
75
-
76
-
77
-
78
-
79
-
80
-
81
-
82
-
83
-
84
-
85
-
86
-
87
-
88
-
89
-
90
-
91
-
92
-
93
-
94
-
95
-
96
-
97
-
98
-
99
-
100
-
101
-
102
-
103
-
104
-
105
-
106
-
107
-
108
-
109
-
110
-
111
-
112
-
113
-
114
-
115
-
116
-
117
-
118
-
119
-
120
-
121
-
122
-
123
-
124
-
125
-
126
-
127
-
128
-
129
-
130
-
131
-
132
-
133
-
134
-
135
-
136
-
137
-
138
-
139
-
140
-
141
-
142
-
143
-
144
-
145
-
146
-
147
-
148
-
 149
149 -
 150
150 -
 151
151 -
 152
152 -
 153
153 -
 154
154 -
 155
155 -
 156
156 -
 157
157 -
 158
158 -
 159
159 -
160
-
161
-
162
-
163
-
164
-
165
-
166
-
167
-
168
-
169
-
170
-
171
-
172
-
173
-
174
-
175
-
176
-
177
-
178
 |
 |