Kyocera KM-2030 Fax System (B) Instruction Handbook - Page 70
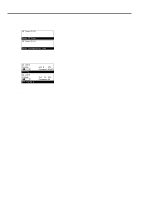
SubAddress, Digits, Password, Subaddress, digits, Broadcast List, Add destination, Change/Delete,
 |
View all Kyocera KM-2030 manuals
Add to My Manuals
Save this manual to your list of manuals |
Page 70 highlights
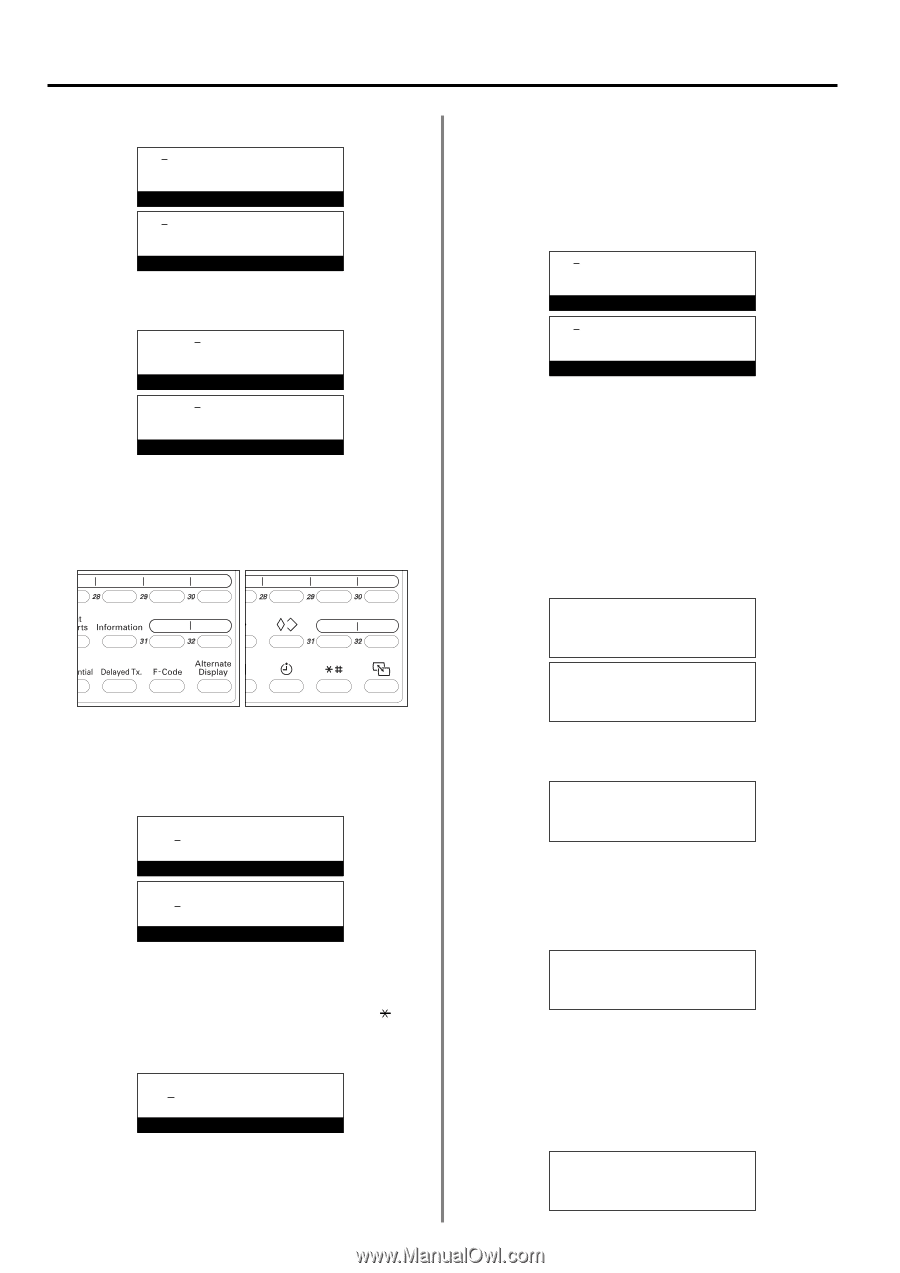
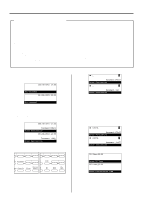
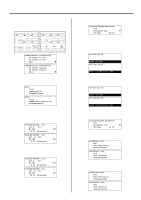
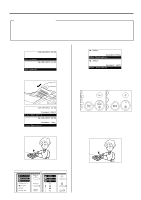
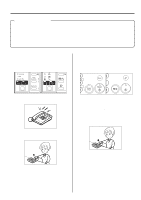
Section 2 Various Functions of this Fax 11. Press the Enter key. v: Enter Fax No. v: Enter fax number (Inch) (Metric) 12. Enter the additional fax number. v :55367 Enter Fax No. v :55367 Enter fax number (Inch) (Metric) 13. If you want to designate the communication for this fax number as an F-Code Based Communication, press the F-Code [SUBADDRESS] key. * If you DID NOT press the F-Code [SABADDRESS] key, proceed to step 16. (Inch) (Metric) 14. Enter the subaddress you want to use for this F-Code Based Communication. Then press the Enter key. * The subaddress can be up to 20 digits in length and can include any combination of the numerals 0 - 9. SubAddress: 66385 20 Digits Enter SubAddress. (Inch) Subaddress: 66385 20 digits Enter subaddress numbers (Metric) 15. If necessary, enter the predetermined F-Code password. * The password can be up to 20 digits in length and can include any combination of the numerals 0 - 9 and the symbols " " and "#". * If you DO NOT need to enter an F-Code password, proceed to step 16. Password: 3856 20 Digits Enter Your Password 2-16 16. Press the Enter key. * If the fax number you entered has already been registered for this operation, an error message will appear in the message display. In this case, press the Enter key and then proceed to step 17. * If you have entered too many fax numbers, an error message will appear in the message display. In this case, press the Enter key and then proceed to step 18. v: Enter Fax No. v: Enter fax number (Inch) (Metric) 17. Select whether or not you want to continue adding fax numbers. > If you DO want to add more fax numbers, return to step 12. > If you are finished adding fax numbers, proceed to step 18. 18. Press the Enter key. * If you are finished modifying the contents of the communication, proceed to step 36 on page 2-18. q Deleting fax numbers 19. Use the cursor up or the cursor down key to select "Change/Delete". Broadcast List: End Add destination Á Change/Delete Broadcast list: End Add attention Á Change/Delete (Inch) (Metric) 20. Press the Enter key. Change/Delete Broadcast: End Á v :OSS v :OKS 21. Use the cursor up or the cursor down key to select the fax number you want to delete. * If you DO NOT want to delete fax numbers, proceed to step 23 on page 2-17. Change/Delete Broadcast: v :SDS Á v :TMS v :NGYS 22. Press the Stop/Clear key. The selected fax number will be deleted from this communication. * If you want to continue deleting other fax numbers, repeat steps 21 and 22 until all desired numbers have been deleted. * If you are finished modifying the contents of the communication, proceed to step 34 on page 2-17. Change/Delete Broadcast: v :SDS Á v :NGYS v :HSS
-
 1
1 -
2
-
3
-
4
-
5
-
6
-
7
-
8
-
9
-
10
-
11
-
12
-
13
-
14
-
15
-
16
-
17
-
18
-
19
-
20
-
21
-
22
-
23
-
24
-
25
-
26
-
27
-
28
-
29
-
30
-
31
-
32
-
33
-
34
-
35
-
36
-
37
-
38
-
39
-
40
-
41
-
42
-
43
-
44
-
45
-
46
-
47
-
48
-
49
-
50
-
51
-
52
-
53
-
54
-
55
-
56
-
57
-
58
-
59
-
60
-
61
-
62
-
63
-
64
-
 65
65 -
 66
66 -
 67
67 -
 68
68 -
 69
69 -
 70
70 -
 71
71 -
 72
72 -
 73
73 -
 74
74 -
 75
75 -
76
-
77
-
78
-
79
-
80
-
81
-
82
-
83
-
84
-
85
-
86
-
87
-
88
-
89
-
90
-
91
-
92
-
93
-
94
-
95
-
96
-
97
-
98
-
99
-
100
-
101
-
102
-
103
-
104
-
105
-
106
-
107
-
108
-
109
-
110
-
111
-
112
-
113
-
114
-
115
-
116
-
117
-
118
-
119
-
120
-
121
-
122
-
123
-
124
-
125
-
126
-
127
-
128
-
129
-
130
-
131
-
132
-
133
-
134
-
135
-
136
-
137
-
138
-
139
-
140
-
141
-
142
-
143
-
144
-
145
-
146
-
147
-
148
-
149
-
150
-
151
-
152
-
153
-
154
-
155
-
156
-
157
-
158
-
159
-
160
-
161
-
162
-
163
-
164
-
165
-
166
-
167
-
168
-
169
-
170
-
171
-
172
-
173
-
174
-
175
-
176
-
177
-
178
 |
 |