Kyocera KM-2030 Fax System (B) Instruction Handbook - Page 129
Printing Out an Encryption Key List
 |
View all Kyocera KM-2030 manuals
Add to My Manuals
Save this manual to your list of manuals |
Page 129 highlights
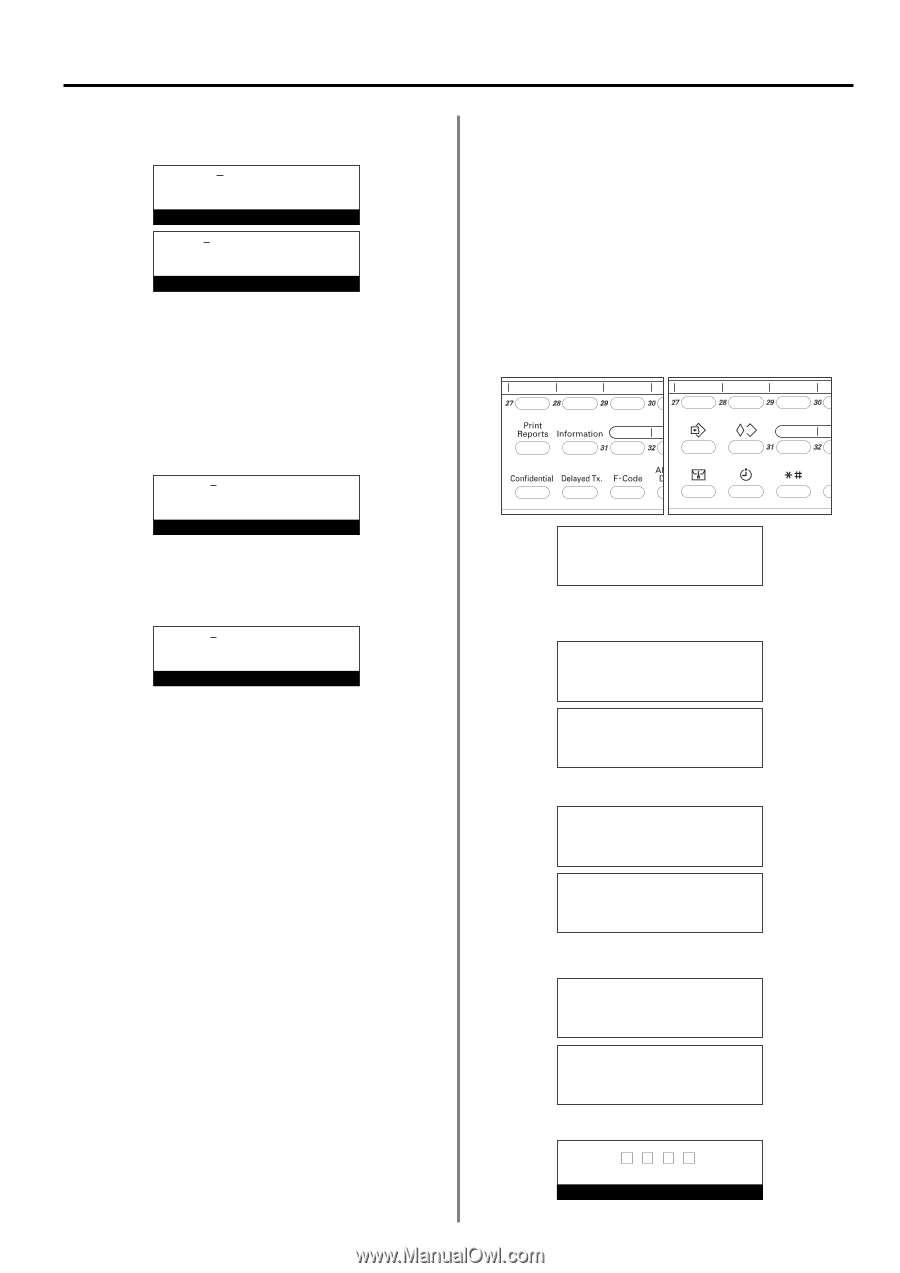
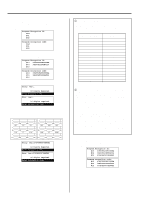
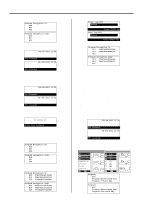
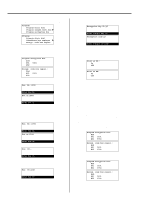
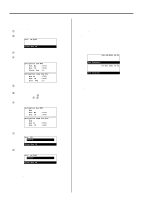
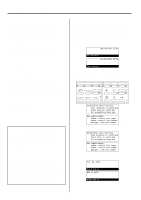
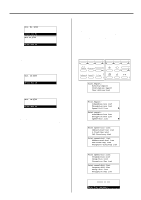
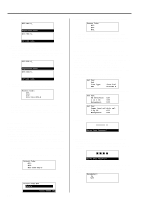
4. Use the keypad to enter the box number (4 digits) that corresponds to the Encryption Box where the documents you want to print are stored. Box. No.:4764 Enter Box No. (Inch) Box nr:4764 (Metric) Enter box nr 5. Press the Enter key. * If you registered "0000" as the Box ID, the documents will be automatically printed out at this point; the procedure from step 6 will not be necessary. * If there are no documents in the selected Encryption Box, an error message will appear in the message display and then the operation panel will return to the initial mode settings. * If the box number you entered is not registered in the fax, an error message will appear and then the message display will return to a display that allows you to enter the box number again. Box. ID:0000 Enter Box ID 6. Enter the Box ID (4 digits) that corresponds to that Encryption Box. * If you want to reset the displayed number to "0000", simply press the Stop/Clear key. Box. ID:6764 Enter Box ID 7. Press the Enter key. The documents that are in your Encryption Box will be printed out. * If the Box ID that you entered does not match the registered one, an error message will appear and then the message display will return to a display that allows you to enter the Box ID again. Check and enter the correct Box ID. Section 4 Other Features of this Fax (8) Printing Out an Encryption Key List Print out this list in order to check the contents of Encryption Keys currently registered in this fax. * Print out of this list is only possible if the currently registered management password is entered during the procedure. If the entered password does not match the registered one, an Encryption Key List CANNOT be printed out. * If there are no Encryption Keys registered in this fax, an Encryption Key List will not be printed out. * If you want to cancel the procedure part way through, press the Reset key. The operation panel will return to the initial mode settings. 1. Raise the cover plate and press the Print Reports key. The "Print Report" menu will appear in the message display. (Inch) (Metric) Print Report: Á Activity Report Confirmation Report User Setting List 2. Use the cursor up or the cursor down key to select "Speed Dial List" ["Speed-dial list"]. Print Report: Subaddress box list Encryption box list Á Speed Dial List (Inch) P Print report: Subaddress box list Encryption box list Á Speed-dial list (Metric) P 3. Press the Enter key. Print Speed Dial List: Á Abbreviated Dial List 1-Touch Key List Tel Directory List Print speed-dial list: Á Abbreviated dial list One-touch key list Telephone directory list (Inch) (Metric) 4. Use the cursor up or the cursor down key to select "Encryption Key List". Print Speed Dial List: Program Dial List Group Dial List Á Encryption Key List (Inch) Print speed-dial list: Program dial list Group dial list Á Encryption key list (Metric) 5. Press the Enter key. Enter Your Password 4-47
-
 1
1 -
2
-
3
-
4
-
5
-
6
-
7
-
8
-
9
-
10
-
11
-
12
-
13
-
14
-
15
-
16
-
17
-
18
-
19
-
20
-
21
-
22
-
23
-
24
-
25
-
26
-
27
-
28
-
29
-
30
-
31
-
32
-
33
-
34
-
35
-
36
-
37
-
38
-
39
-
40
-
41
-
42
-
43
-
44
-
45
-
46
-
47
-
48
-
49
-
50
-
51
-
52
-
53
-
54
-
55
-
56
-
57
-
58
-
59
-
60
-
61
-
62
-
63
-
64
-
65
-
66
-
67
-
68
-
69
-
70
-
71
-
72
-
73
-
74
-
75
-
76
-
77
-
78
-
79
-
80
-
81
-
82
-
83
-
84
-
85
-
86
-
87
-
88
-
89
-
90
-
91
-
92
-
93
-
94
-
95
-
96
-
97
-
98
-
99
-
100
-
101
-
102
-
103
-
104
-
105
-
106
-
107
-
108
-
109
-
110
-
111
-
112
-
113
-
114
-
115
-
116
-
117
-
118
-
119
-
120
-
121
-
122
-
123
-
 124
124 -
 125
125 -
 126
126 -
 127
127 -
 128
128 -
 129
129 -
 130
130 -
 131
131 -
 132
132 -
 133
133 -
 134
134 -
135
-
136
-
137
-
138
-
139
-
140
-
141
-
142
-
143
-
144
-
145
-
146
-
147
-
148
-
149
-
150
-
151
-
152
-
153
-
154
-
155
-
156
-
157
-
158
-
159
-
160
-
161
-
162
-
163
-
164
-
165
-
166
-
167
-
168
-
169
-
170
-
171
-
172
-
173
-
174
-
175
-
176
-
177
-
178
 |
 |