Kyocera KM-C3232E C2525E/C3225E/C3232E/C4035E Operation Guide Rev-1.0 (Advance - Page 252
Original Image Quality, Color Mode Setting, Setting Auto Color Detection
 |
View all Kyocera KM-C3232E manuals
Add to My Manuals
Save this manual to your list of manuals |
Page 252 highlights
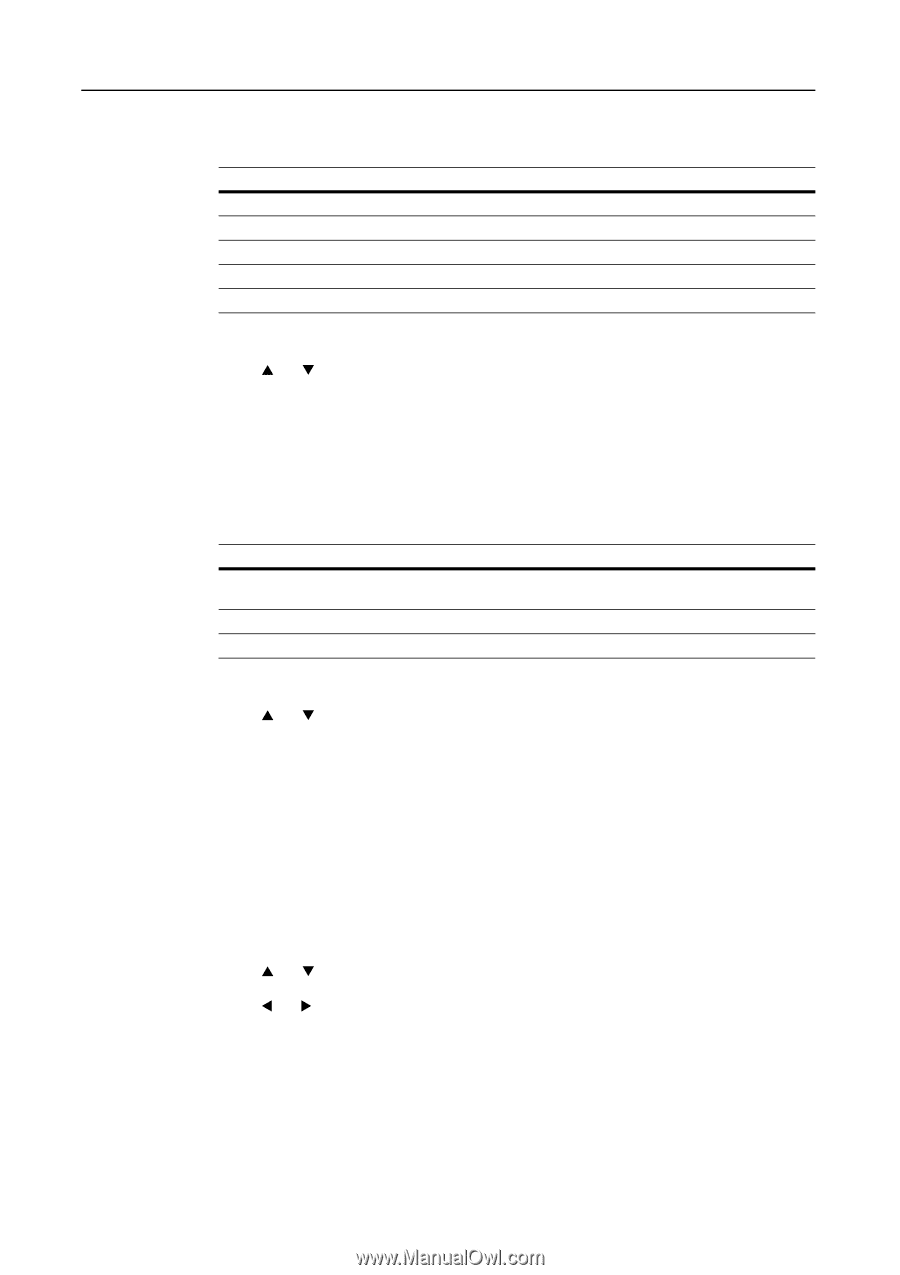
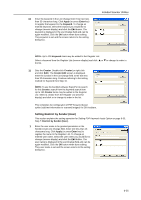
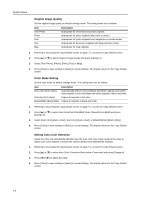
System Menu Original Image Quality Set the original image quality for default settings mode. The setting items are as follows. Item Text+Photo Photo Print Text Map Description Appropriate for mixed text and photo originals. Appropriate for photo originals taken with a camera. Appropriate for photo originals from magazines or printed media. Appropriate for document originals with large amounts of text. Appropriate for map originals. 1 Referring to Accessing the Copy Default screen on page 7-2, access the Copy Default screen. 2 Press [S] or [T] to select Original Image Quality and press [Change #]. 3 Select [Text+Photo], [Photo], [Print], [Text] or [Map]. 4 Press [Close] to save settings or [Back] to cancel settings. The display returns to the Copy Default screen. Color Mode Setting Set the color mode for default settings mode. The setting items are as follows. Item Description Auto color (Auto colour) Automatically detects color and black and white originals and copies color originals in color and black and white originals in black and white. Full color (Full colour) Copies all originals in full color. Black&White (Black white) Copies all originals in black and white. 1 Referring to Accessing the Copy Default screen on page 7-2, access the Copy Default screen. 2 Press [S] or [T] to select Auto Color/Full-Color/B&W (Auto Colour/full col./B&W) and press [Change #]. 3 Select [Auto color] ([Auto colour]), [Full color] ([Full colour]), or [Black&White] ([Black white]). 4 Press [Close] to save settings or [Back] to cancel settings. The display returns to the Copy Default screen. Setting Auto Color Detection Adjust the color and black&white detection level for auto color copy mode. Reduce the value to detect more color originals. Increase the value to detect more black&white originals. 1 Referring to Accessing the Copy Default screen on page 7-2, access the Copy Default screen. 2 Press [S] or [T] to select Auto Color Correction (Auto colour Correction) and press [Change #]. 3 Press [W] or [X] to adjust the value. 4 Press [Close] to save settings or [Back] to cancel settings. The display returns to the Copy Default screen. 7-4
-
 1
1 -
2
-
3
-
4
-
5
-
6
-
7
-
8
-
9
-
10
-
11
-
12
-
13
-
14
-
15
-
16
-
17
-
18
-
19
-
20
-
21
-
22
-
23
-
24
-
25
-
26
-
27
-
28
-
29
-
30
-
31
-
32
-
33
-
34
-
35
-
36
-
37
-
38
-
39
-
40
-
41
-
42
-
43
-
44
-
45
-
46
-
47
-
48
-
49
-
50
-
51
-
52
-
53
-
54
-
55
-
56
-
57
-
58
-
59
-
60
-
61
-
62
-
63
-
64
-
65
-
66
-
67
-
68
-
69
-
70
-
71
-
72
-
73
-
74
-
75
-
76
-
77
-
78
-
79
-
80
-
81
-
82
-
83
-
84
-
85
-
86
-
87
-
88
-
89
-
90
-
91
-
92
-
93
-
94
-
95
-
96
-
97
-
98
-
99
-
100
-
101
-
102
-
103
-
104
-
105
-
106
-
107
-
108
-
109
-
110
-
111
-
112
-
113
-
114
-
115
-
116
-
117
-
118
-
119
-
120
-
121
-
122
-
123
-
124
-
125
-
126
-
127
-
128
-
129
-
130
-
131
-
132
-
133
-
134
-
135
-
136
-
137
-
138
-
139
-
140
-
141
-
142
-
143
-
144
-
145
-
146
-
147
-
148
-
149
-
150
-
151
-
152
-
153
-
154
-
155
-
156
-
157
-
158
-
159
-
160
-
161
-
162
-
163
-
164
-
165
-
166
-
167
-
168
-
169
-
170
-
171
-
172
-
173
-
174
-
175
-
176
-
177
-
178
-
179
-
180
-
181
-
182
-
183
-
184
-
185
-
186
-
187
-
188
-
189
-
190
-
191
-
192
-
193
-
194
-
195
-
196
-
197
-
198
-
199
-
200
-
201
-
202
-
203
-
204
-
205
-
206
-
207
-
208
-
209
-
210
-
211
-
212
-
213
-
214
-
215
-
216
-
217
-
218
-
219
-
220
-
221
-
222
-
223
-
224
-
225
-
226
-
227
-
228
-
229
-
230
-
231
-
232
-
233
-
234
-
235
-
236
-
237
-
238
-
239
-
240
-
241
-
242
-
243
-
244
-
245
-
246
-
 247
247 -
 248
248 -
 249
249 -
 250
250 -
 251
251 -
 252
252 -
 253
253 -
 254
254 -
 255
255 -
 256
256 -
 257
257 -
258
-
259
-
260
-
261
-
262
-
263
-
264
-
265
-
266
-
267
-
268
-
269
-
270
-
271
-
272
-
273
-
274
-
275
-
276
-
277
-
278
-
279
-
280
-
281
-
282
-
283
-
284
-
285
-
286
-
287
-
288
-
289
-
290
-
291
-
292
-
293
-
294
-
295
-
296
-
297
-
298
-
299
-
300
-
301
-
302
-
303
-
304
-
305
-
306
-
307
-
308
-
309
-
310
-
311
-
312
-
313
-
314
-
315
-
316
-
317
-
318
-
319
-
320
-
321
-
322
-
323
-
324
-
325
-
326
-
327
-
328
-
329
-
330
-
331
-
332
-
333
-
334
-
335
-
336
-
337
-
338
-
339
-
340
-
341
-
342
-
343
-
344
-
345
-
346
-
347
-
348
-
349
-
350
-
351
-
352
-
353
-
354
-
355
-
356
-
357
-
358
-
359
-
360
-
361
-
362
-
363
-
364
-
365
-
366
-
367
-
368
-
369
-
370
-
371
-
372
-
373
-
374
 |
 |