Dell PowerEdge T605 Hardware Owner's Manual (PDF) - Page 111
SAS Controller Card, Installing a SAS Controller Card
 |
View all Dell PowerEdge T605 manuals
Add to My Manuals
Save this manual to your list of manuals |
Page 111 highlights
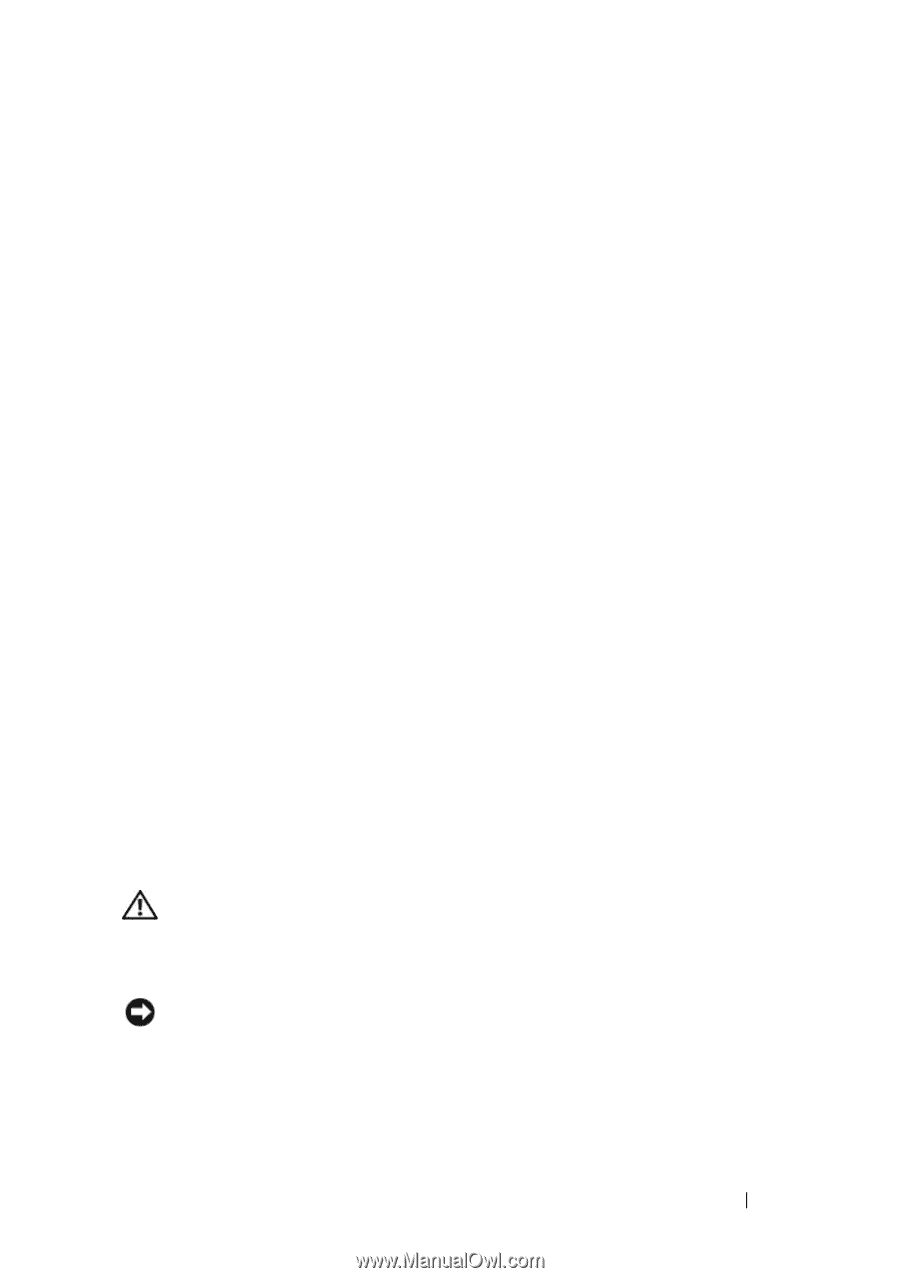
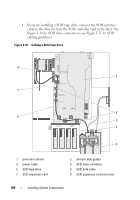
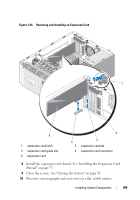
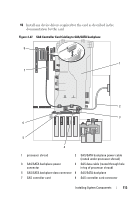
9 Connect any cables that should be attached to the card. See the documentation for the card for information about the card's cable connections. 10 Install the expansion card shroud. See "Installing the Expansion Card Shroud" on page 75. 11 Close the system. See "Closing the System" on page 70. 12 Place the system upright and on its feet on a flat, stable surface. 13 Reattach any peripherals, then connect the system to the electrical outlet. 14 Turn on the system and attached peripherals. 15 Install any device drivers required for the card as described in the documentation for the card. SAS Controller Card Your system can have an optional SAS controller expansion card that provides the SAS storage subsystem for your system's internal or hot-plug (when available) hard drives. The controller supports either all-SAS or all-SATA hard drive configurations. The controller also enables you to set up the hard drives in RAID configurations as supported by the version of the SAS controller included with your system. Both RAID and non-RAID versions of the controller are available for your system. A SAS/RAID controller card can only be installed in its dedicated slot (slot 2) on the system board. See the RAID user documentation for information on the available RAID configurations and for instructions on how to set up a RAID. Installing a SAS Controller Card CAUTION: Only trained service technicians are authorized to remove the system cover and access any of the components inside the system. See your Product Information Guide for complete information about safety precautions, working inside the system, and protecting against electrostatic discharge. NOTICE: When installing a SAS/RAID controller, do not press on the RAID card DIMM while installing the RAID card into the system board. Installing System Components 111
-
 1
1 -
2
-
3
-
4
-
5
-
6
-
7
-
8
-
9
-
10
-
11
-
12
-
13
-
14
-
15
-
16
-
17
-
18
-
19
-
20
-
21
-
22
-
23
-
24
-
25
-
26
-
27
-
28
-
29
-
30
-
31
-
32
-
33
-
34
-
35
-
36
-
37
-
38
-
39
-
40
-
41
-
42
-
43
-
44
-
45
-
46
-
47
-
48
-
49
-
50
-
51
-
52
-
53
-
54
-
55
-
56
-
57
-
58
-
59
-
60
-
61
-
62
-
63
-
64
-
65
-
66
-
67
-
68
-
69
-
70
-
71
-
72
-
73
-
74
-
75
-
76
-
77
-
78
-
79
-
80
-
81
-
82
-
83
-
84
-
85
-
86
-
87
-
88
-
89
-
90
-
91
-
92
-
93
-
94
-
95
-
96
-
97
-
98
-
99
-
100
-
101
-
102
-
103
-
104
-
105
-
 106
106 -
 107
107 -
 108
108 -
 109
109 -
 110
110 -
 111
111 -
 112
112 -
 113
113 -
 114
114 -
 115
115 -
 116
116 -
117
-
118
-
119
-
120
-
121
-
122
-
123
-
124
-
125
-
126
-
127
-
128
-
129
-
130
-
131
-
132
-
133
-
134
-
135
-
136
-
137
-
138
-
139
-
140
-
141
-
142
-
143
-
144
-
145
-
146
-
147
-
148
-
149
-
150
-
151
-
152
-
153
-
154
-
155
-
156
-
157
-
158
-
159
-
160
-
161
-
162
-
163
-
164
-
165
-
166
-
167
-
168
-
169
-
170
-
171
-
172
-
173
-
174
-
175
-
176
-
177
-
178
-
179
-
180
-
181
-
182
-
183
-
184
-
185
-
186
-
187
-
188
-
189
-
190
-
191
-
192
-
193
-
194
-
195
-
196
-
197
-
198
-
199
-
200
-
201
-
202
-
203
-
204
-
205
-
206
-
207
-
208
-
209
-
210
-
211
-
212
-
213
-
214
-
215
-
216
-
217
-
218
-
219
-
220
-
221
-
222
-
223
-
224
-
225
-
226
-
227
-
228
-
229
-
230
 |
 |