Samsung i750 User Guide - Page 66
Customising connection settings, computer and the phone, you must enable
 |
View all Samsung i750 manuals
Add to My Manuals
Save this manual to your list of manuals |
Page 66 highlights
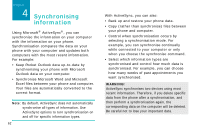
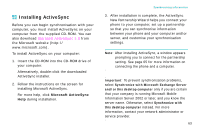
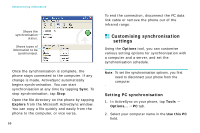
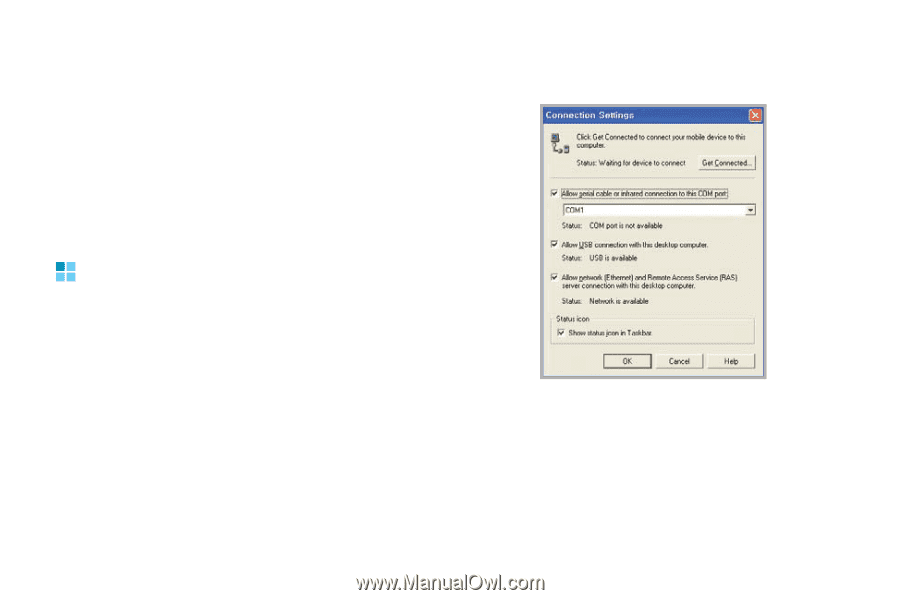
Synchronising information Your first synchronisation process will automatically begin when you finish using the wizard. After the first synchronisation, take a look at Calendar, Contacts, and Tasks on your phone. You will notice that your information has been copied to the phone. Disconnect the phone from the computer and you are ready to go! Customising connection settings To establish a connection between your computer and the phone, you must enable the connection(s) you want to use in the ActiveSync programme. By default, all connections are enabled. 1. From the ActiveSync window on your computer, select File → Connection Settings... 2. Change the connection settings. 3. Click OK. 64
-
 1
1 -
2
-
3
-
4
-
5
-
6
-
7
-
8
-
9
-
10
-
11
-
12
-
13
-
14
-
15
-
16
-
17
-
18
-
19
-
20
-
21
-
22
-
23
-
24
-
25
-
26
-
27
-
28
-
29
-
30
-
31
-
32
-
33
-
34
-
35
-
36
-
37
-
38
-
39
-
40
-
41
-
42
-
43
-
44
-
45
-
46
-
47
-
48
-
49
-
50
-
51
-
52
-
53
-
54
-
55
-
56
-
57
-
58
-
59
-
60
-
 61
61 -
 62
62 -
 63
63 -
 64
64 -
 65
65 -
 66
66 -
 67
67 -
 68
68 -
 69
69 -
 70
70 -
 71
71 -
72
-
73
-
74
-
75
-
76
-
77
-
78
-
79
-
80
-
81
-
82
-
83
-
84
-
85
-
86
-
87
-
88
-
89
-
90
-
91
-
92
-
93
-
94
-
95
-
96
-
97
-
98
-
99
-
100
-
101
-
102
-
103
-
104
-
105
-
106
-
107
-
108
-
109
-
110
-
111
-
112
-
113
-
114
-
115
-
116
-
117
-
118
-
119
-
120
-
121
-
122
-
123
-
124
-
125
-
126
-
127
-
128
-
129
-
130
-
131
-
132
-
133
-
134
-
135
-
136
-
137
-
138
-
139
-
140
-
141
-
142
-
143
-
144
-
145
-
146
-
147
-
148
-
149
-
150
-
151
-
152
-
153
-
154
-
155
-
156
-
157
-
158
-
159
-
160
-
161
-
162
-
163
-
164
-
165
-
166
-
167
-
168
-
169
-
170
-
171
-
172
-
173
-
174
-
175
-
176
-
177
-
178
-
179
-
180
-
181
-
182
-
183
-
184
-
185
-
186
-
187
-
188
-
189
-
190
-
191
-
192
-
193
-
194
-
195
-
196
-
197
-
198
-
199
-
200
-
201
-
202
-
203
-
204
-
205
-
206
-
207
-
208
-
209
-
210
-
211
-
212
-
213
-
214
-
215
-
216
-
217
-
218
-
219
-
220
-
221
-
222
-
223
-
224
-
225
-
226
-
227
-
228
-
229
 |
 |
Synchronising information
64
Your first synchronisation process will
automatically begin when you finish using the
wizard.
After the first synchronisation, take a look at
Calendar, Contacts, and Tasks on your phone.
You will notice that your information has been
copied to the phone. Disconnect the phone from
the computer and you are ready to go!
Customising connection
settings
To establish a connection between your
computer and the phone, you must enable the
connection(s) you want to use in the ActiveSync
programme. By default, all connections are
enabled.
1.
From the ActiveSync window on your computer,
select
File
→
Connection Settings...
2.
Change the connection settings.
3. Click
OK
.