Brother International PS-300B Instruction Manual - English - Page 11
Tutorial, 2-1. Creating KE430D data, 2-1-1. Opening a new design area - key
 |
View all Brother International PS-300B manuals
Add to My Manuals
Save this manual to your list of manuals |
Page 11 highlights
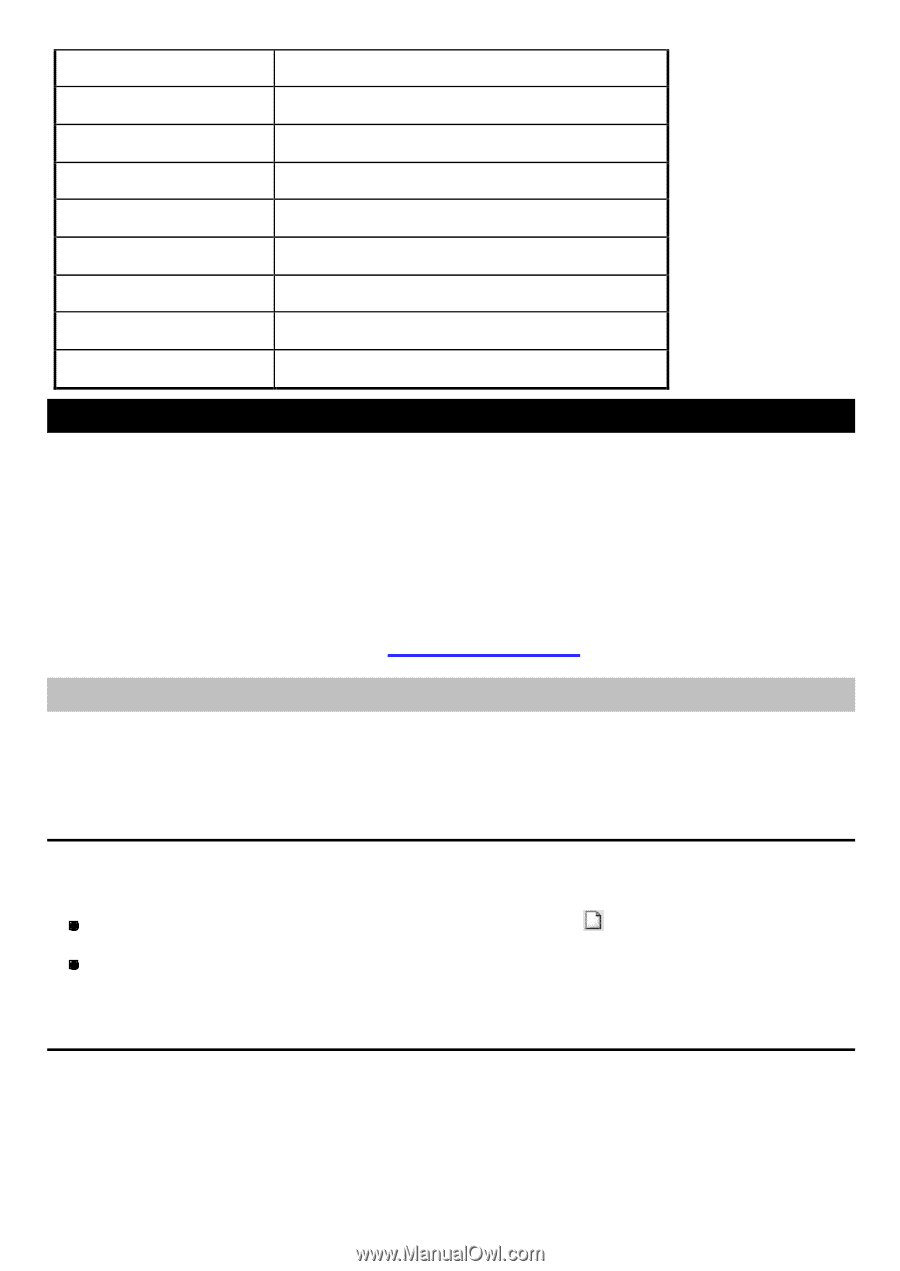
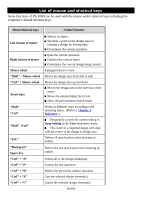
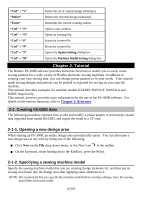
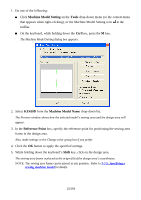
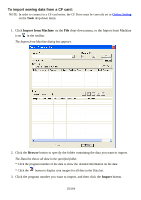
"Ctrl" + "V" "Delete" "Enter" "Ctrl" + "N" "Ctrl" + "O" "Ctrl" + "S" "Ctrl" + "P" "Ctrl" + "T" "Ctrl" + "M" Pastes the cut or copied design element(s). Deletes the selected design element(s). Determine the current creating outline. Opens a new window. Opens an existing file. Saves the current file. Prints the current file. Opens the Option Setting dialog box. Opens the Machine Model Setting dialog box. Chapter 2. Tutorial The Brother PS-300B software provides numerous functions to enable you to easily create sewing patterns for a wide variety of Brother electronic sewing machines. In addition to creating your own sewing data, you can change preset patterns to fit your needs. Your custommade sewing designs and patterns can be printed or exported for sewing on your specific machine. This tutorial describes examples for machine models KE430D, BAS311F, BAS311A and B430E respectively. This tutorial, however, provides basic information for the use of the PS-300B software. For details on the various functions, refer to Chapter 3. Reference. 2-1. Creating KE430D data The following procedure explains how to edit and modify a preset pattern or previously-created data imported from model KE430D, and export the result to a CF card. 2-1-1. Opening a new design area When starting up PS-300B, an empty design area automatically opens. You can also open a new design area at any time by doing one of the following. Click New on the File drop-down menu, or the New icon in the toolbar. On the keyboard, while holding down the Ctrl key, press the N key. 2-1-2. Specifying a sewing machine model Specify the sewing machine model that you are creating design elements for, and then put its sewing area frame into the design area after applying some attributes to it. NOTE: We recommend that you specify the machine model before creating a design, since the sewing area differs with each model. 11/164
-
 1
1 -
2
-
3
-
4
-
5
-
 6
6 -
 7
7 -
 8
8 -
 9
9 -
 10
10 -
 11
11 -
 12
12 -
 13
13 -
 14
14 -
 15
15 -
 16
16 -
17
-
18
-
19
-
20
-
21
-
22
-
23
-
24
-
25
-
26
-
27
-
28
-
29
-
30
-
31
-
32
-
33
-
34
-
35
-
36
-
37
-
38
-
39
-
40
-
41
-
42
-
43
-
44
-
45
-
46
-
47
-
48
-
49
-
50
-
51
-
52
-
53
-
54
-
55
-
56
-
57
-
58
-
59
-
60
-
61
-
62
-
63
-
64
-
65
-
66
-
67
-
68
-
69
-
70
-
71
-
72
-
73
-
74
-
75
-
76
-
77
-
78
-
79
-
80
-
81
-
82
-
83
-
84
-
85
-
86
-
87
-
88
-
89
-
90
-
91
-
92
-
93
-
94
-
95
-
96
-
97
-
98
-
99
-
100
-
101
-
102
-
103
-
104
-
105
-
106
-
107
-
108
-
109
-
110
-
111
-
112
-
113
-
114
-
115
-
116
-
117
-
118
-
119
-
120
-
121
-
122
-
123
-
124
-
125
-
126
-
127
-
128
-
129
-
130
-
131
-
132
-
133
-
134
-
135
-
136
-
137
-
138
-
139
-
140
-
141
-
142
-
143
-
144
-
145
-
146
-
147
-
148
-
149
-
150
-
151
-
152
-
153
-
154
-
155
-
156
-
157
-
158
-
159
-
160
-
161
-
162
-
163
-
164
 |
 |