Brother International PS-300B Instruction Manual - English - Page 94
To draw a polygon Shape-Polygon, Shape, Polygon
 |
View all Brother International PS-300B manuals
Add to My Manuals
Save this manual to your list of manuals |
Page 94 highlights
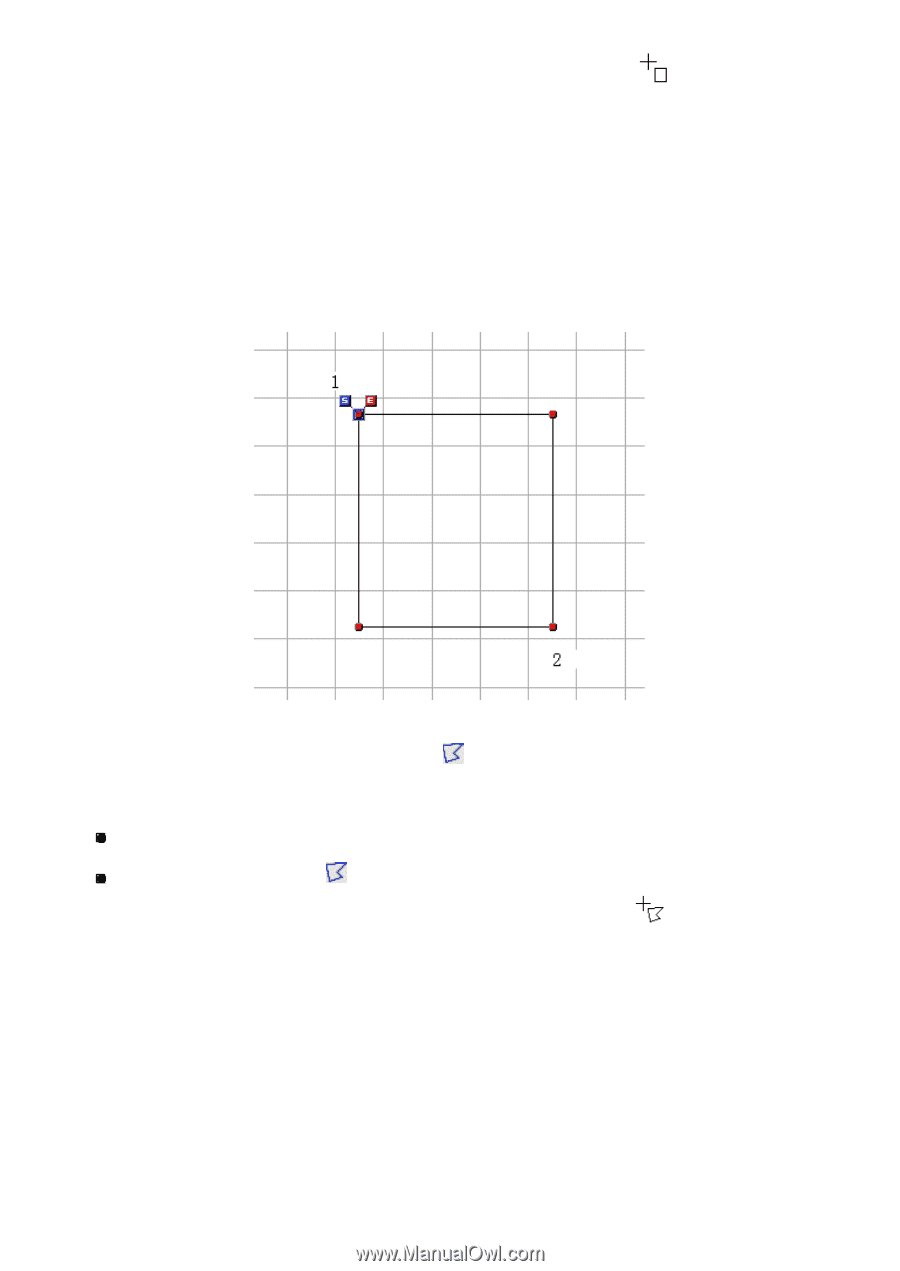
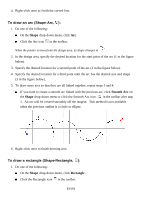
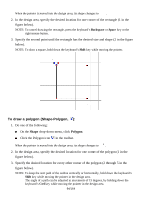
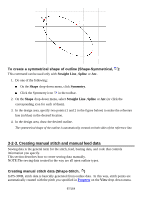
When the pointer is moved into the design area, its shape changes to . 2. In the design area, specify the desired location for one corner of the rectangle (1 in the figure below). NOTE: To cancel drawing the rectangle, press the keyboard's Backspace or Space key or the right mouse button. 3. Specify the second point until the rectangle has the desired size and shape (2 in the figure below). NOTE: To draw a square, hold down the keyboard's Shift key while moving the pointer. To draw a polygon (Shape-Polygon, ): 1. Do one of the following: On the Shape drop-down menu, click Polygon. Click the Polygon icon in the toolbar. When the pointer is moved into the design area, its shape changes to . 2. In the design area, specify the desired location for one corner of the polygon (1 in the figure below). 3. Specify the desired location for every other corner of the polygon (2 through 5 in the figure below). NOTE: To keep the next path of the outline vertically or horizontally, hold down the keyboard's Shift key while moving the pointer in the design area. The angle of a path can be adjusted in increments of 15 degrees, by holding down the keyboard's Ctrl key while moving the pointer in the design area. 94/164
-
 1
1 -
2
-
3
-
4
-
5
-
6
-
7
-
8
-
9
-
10
-
11
-
12
-
13
-
14
-
15
-
16
-
17
-
18
-
19
-
20
-
21
-
22
-
23
-
24
-
25
-
26
-
27
-
28
-
29
-
30
-
31
-
32
-
33
-
34
-
35
-
36
-
37
-
38
-
39
-
40
-
41
-
42
-
43
-
44
-
45
-
46
-
47
-
48
-
49
-
50
-
51
-
52
-
53
-
54
-
55
-
56
-
57
-
58
-
59
-
60
-
61
-
62
-
63
-
64
-
65
-
66
-
67
-
68
-
69
-
70
-
71
-
72
-
73
-
74
-
75
-
76
-
77
-
78
-
79
-
80
-
81
-
82
-
83
-
84
-
85
-
86
-
87
-
88
-
 89
89 -
 90
90 -
 91
91 -
 92
92 -
 93
93 -
 94
94 -
 95
95 -
 96
96 -
 97
97 -
 98
98 -
 99
99 -
100
-
101
-
102
-
103
-
104
-
105
-
106
-
107
-
108
-
109
-
110
-
111
-
112
-
113
-
114
-
115
-
116
-
117
-
118
-
119
-
120
-
121
-
122
-
123
-
124
-
125
-
126
-
127
-
128
-
129
-
130
-
131
-
132
-
133
-
134
-
135
-
136
-
137
-
138
-
139
-
140
-
141
-
142
-
143
-
144
-
145
-
146
-
147
-
148
-
149
-
150
-
151
-
152
-
153
-
154
-
155
-
156
-
157
-
158
-
159
-
160
-
161
-
162
-
163
-
164
 |
 |