Brother International PS-300B Instruction Manual - English - Page 159
Description, Machine Model, Sort by machine, model name, Preview, Change color, Sewing Area
 |
View all Brother International PS-300B manuals
Add to My Manuals
Save this manual to your list of manuals |
Page 159 highlights
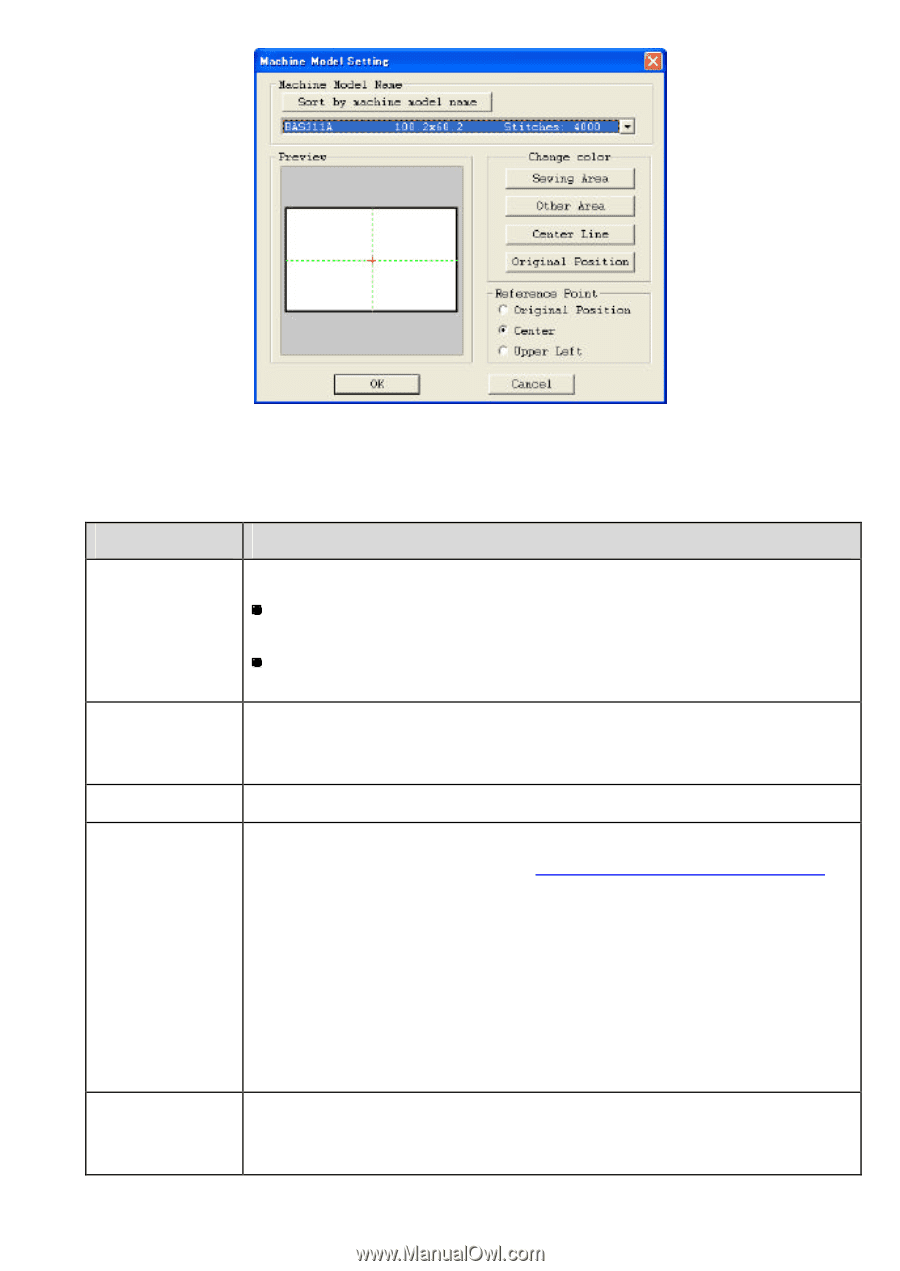
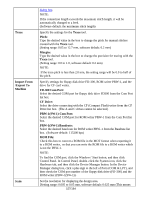
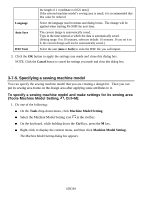
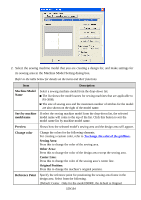
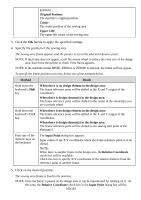
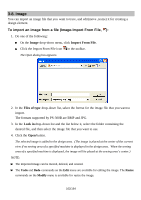
2. Select the sewing machine model that you are creating a design for, and make settings for its sewing area in the Machine Model Setting dialog box. Refer to the table below for details on the items and their functions. Item Machine Model Name Description Select a sewing machine model from the drop-down list. The list shows the model names for sewing machines that are applicable to PS-300B. The size of sewing area and the maximum number of stitches for the model are also shown on the right of the model name. Sort by machine If select the sewing machine model from the drop-down list, the selected model name model name will come to the top of the list. Click this button to sort the model name list by machine model name. Preview Change color Shows how the selected model's sewing area and the design area will appear. Change the colors for the following elements. For creating a custom color, refer to To change the color of the gridlines. Sewing Area: Press this to change the color of the sewing area. Other Area: Press this to change the color of the design area except the sewing area. Center Line: Press this to change the color of the sewing area's center line. Original Position: Press this to change the machine's original position. Reference Point Specify the reference point for positioning the sewing area frame in the design area. Select from the following. (Default: Center. Only for the model B800E, the default is Original 159/164
-
 1
1 -
2
-
3
-
4
-
5
-
6
-
7
-
8
-
9
-
10
-
11
-
12
-
13
-
14
-
15
-
16
-
17
-
18
-
19
-
20
-
21
-
22
-
23
-
24
-
25
-
26
-
27
-
28
-
29
-
30
-
31
-
32
-
33
-
34
-
35
-
36
-
37
-
38
-
39
-
40
-
41
-
42
-
43
-
44
-
45
-
46
-
47
-
48
-
49
-
50
-
51
-
52
-
53
-
54
-
55
-
56
-
57
-
58
-
59
-
60
-
61
-
62
-
63
-
64
-
65
-
66
-
67
-
68
-
69
-
70
-
71
-
72
-
73
-
74
-
75
-
76
-
77
-
78
-
79
-
80
-
81
-
82
-
83
-
84
-
85
-
86
-
87
-
88
-
89
-
90
-
91
-
92
-
93
-
94
-
95
-
96
-
97
-
98
-
99
-
100
-
101
-
102
-
103
-
104
-
105
-
106
-
107
-
108
-
109
-
110
-
111
-
112
-
113
-
114
-
115
-
116
-
117
-
118
-
119
-
120
-
121
-
122
-
123
-
124
-
125
-
126
-
127
-
128
-
129
-
130
-
131
-
132
-
133
-
134
-
135
-
136
-
137
-
138
-
139
-
140
-
141
-
142
-
143
-
144
-
145
-
146
-
147
-
148
-
149
-
150
-
151
-
152
-
153
-
 154
154 -
 155
155 -
 156
156 -
 157
157 -
 158
158 -
 159
159 -
 160
160 -
 161
161 -
 162
162 -
 163
163 -
 164
164
 |
 |