Brother International PS-300B Instruction Manual - English - Page 146
Reversing the sewing direction of design elements, Modify, Pivot
 |
View all Brother International PS-300B manuals
Add to My Manuals
Save this manual to your list of manuals |
Page 146 highlights
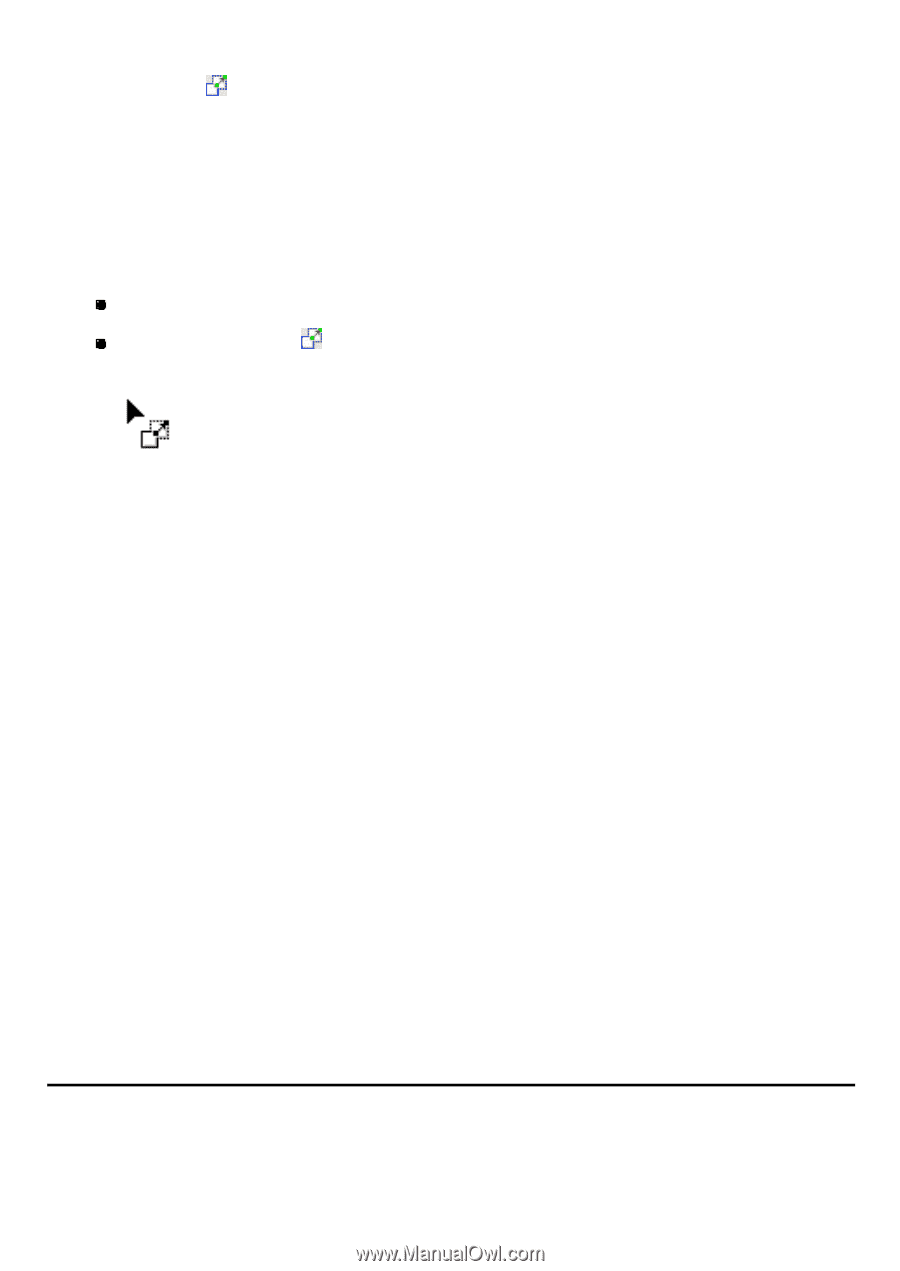
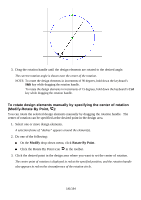
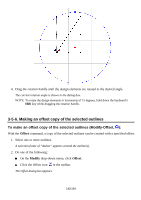
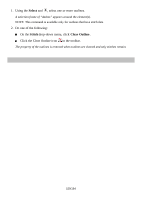
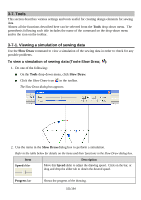
To move design element(s) by aligning a specified point to another (Modify-Pivot, ): You can move one or more design elements by aligning the specified point on them with another point. 1. Select one or more design elements you want to move. A selection frame of "dashes" appears around the element(s). 2. Do one of the following: On the Modify drop-down menu, click Pivot. Click the Pivot icon in the toolbar. The stitch points of all design elements are shown, and the shape of the pointer changes to . 3. Click to select a point (on the selected design elements) you want to move. The selected point turns black. 4. Click a point (on a design element not selected) to which you want to align the point specified in step 3. The selected design elements move so that the specified two points are overlapped. NOTE: The specified two points are simply overlapped, and not connected. To specify the point by inputting values: Press any of the numeric keys on the keyboard to display the Input Point dialog box. In the dialog box, input the coordinates of the position where you want to move the point specified in step 3, and then click the OK button. * Check the Relative Coordinate check box to move the point using the current position as the base of relative coordinates. Clear the Relative Coordinate check box to move the point using absolute coordinates. (Base point: X=0, Y=0) The design elements are moved to the specified position. 3-5-9. Reversing the sewing direction of design elements The Swap Start/End Point command reverses the sewing direction of the selected design elements, in other words, the positions of the start and end points are switched. 146/164
-
 1
1 -
2
-
3
-
4
-
5
-
6
-
7
-
8
-
9
-
10
-
11
-
12
-
13
-
14
-
15
-
16
-
17
-
18
-
19
-
20
-
21
-
22
-
23
-
24
-
25
-
26
-
27
-
28
-
29
-
30
-
31
-
32
-
33
-
34
-
35
-
36
-
37
-
38
-
39
-
40
-
41
-
42
-
43
-
44
-
45
-
46
-
47
-
48
-
49
-
50
-
51
-
52
-
53
-
54
-
55
-
56
-
57
-
58
-
59
-
60
-
61
-
62
-
63
-
64
-
65
-
66
-
67
-
68
-
69
-
70
-
71
-
72
-
73
-
74
-
75
-
76
-
77
-
78
-
79
-
80
-
81
-
82
-
83
-
84
-
85
-
86
-
87
-
88
-
89
-
90
-
91
-
92
-
93
-
94
-
95
-
96
-
97
-
98
-
99
-
100
-
101
-
102
-
103
-
104
-
105
-
106
-
107
-
108
-
109
-
110
-
111
-
112
-
113
-
114
-
115
-
116
-
117
-
118
-
119
-
120
-
121
-
122
-
123
-
124
-
125
-
126
-
127
-
128
-
129
-
130
-
131
-
132
-
133
-
134
-
135
-
136
-
137
-
138
-
139
-
140
-
 141
141 -
 142
142 -
 143
143 -
 144
144 -
 145
145 -
 146
146 -
 147
147 -
 148
148 -
 149
149 -
 150
150 -
 151
151 -
152
-
153
-
154
-
155
-
156
-
157
-
158
-
159
-
160
-
161
-
162
-
163
-
164
 |
 |