Brother International PS-300B Instruction Manual - English - Page 65
To import a file, Import, Follow the instructions below to place the imported file correctly, Shift
 |
View all Brother International PS-300B manuals
Add to My Manuals
Save this manual to your list of manuals |
Page 65 highlights
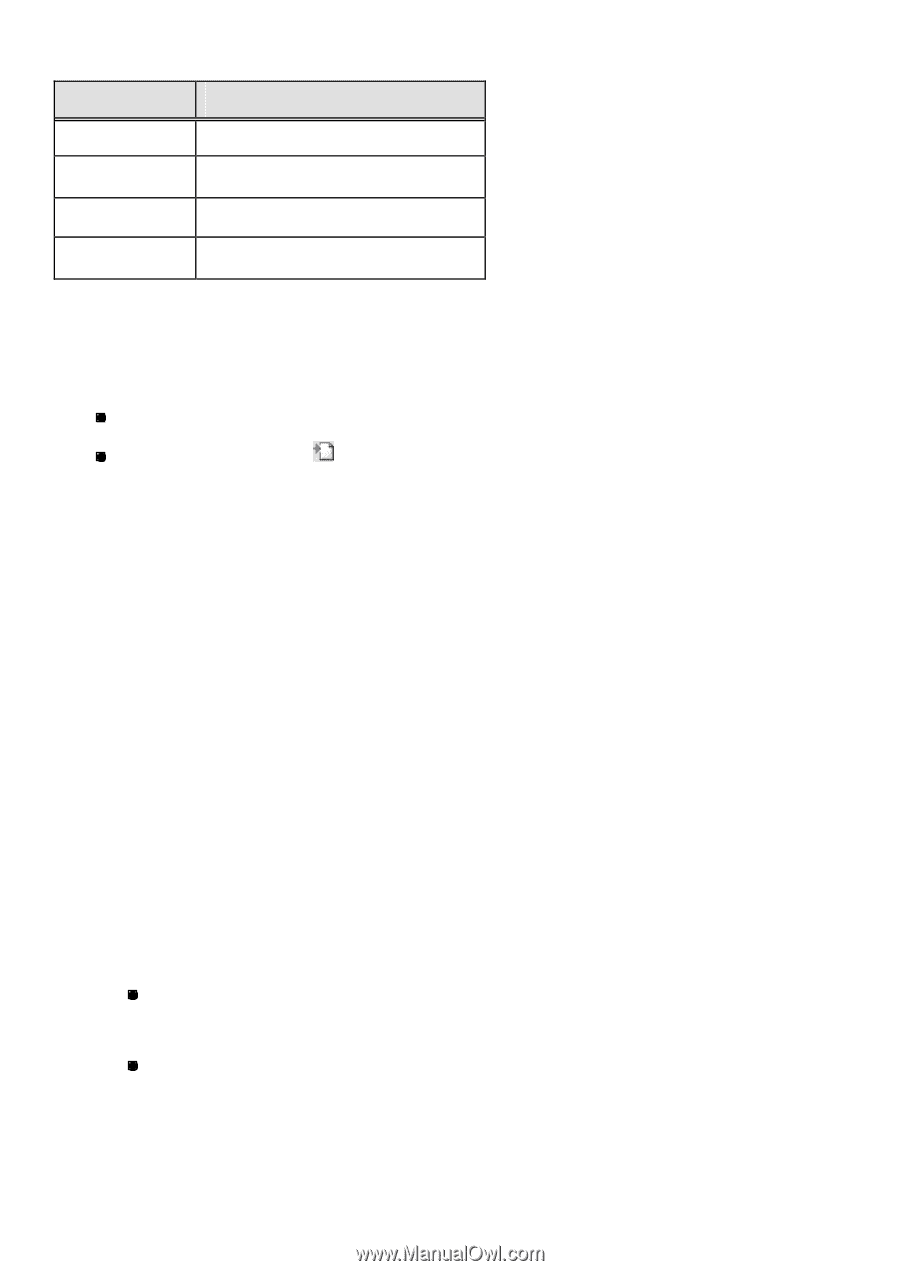
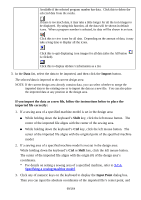
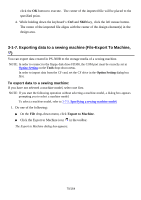
Extension emb dxf Description Brother embroidery file Auto CAD DXF file dst, .dsb, .dsz TFD stitch file if2 Satra format To import a file: 1. Do one of the following: On the File drop-down menu, click Import. Click the Import icon in the toolbar. The Open PS -300B File dialog box appears. 2. In the drop-down list at the top left corner of the dialog box, select the format for the file that you want to import. 3. In the list in the left window of the dialog box, select the folder containing the desired file. The images of the available files contained in the folder are previewed in the right window of the dialog box. NOTE: The images of files in the format designated in step 2 only are previewed. 4. Select and click on the file that you want to open, then click the OK button. 5. Click on the point where you want to place the imported file in the design area of the main window. The imported file is placed at the specified point. Follow the instructions below to place the imported file correctly: 1. If a sewing area of a specified machine model is set in the design area: While holding down the keyboard's Shift key, click the left mouse button. The center of the imported file aligns with the center of the sewing area. While holding down the keyboard's Ctrl key, click the left mouse button. The center of the imported file aligns with the original point of the specified machine model. 65/164
-
 1
1 -
2
-
3
-
4
-
5
-
6
-
7
-
8
-
9
-
10
-
11
-
12
-
13
-
14
-
15
-
16
-
17
-
18
-
19
-
20
-
21
-
22
-
23
-
24
-
25
-
26
-
27
-
28
-
29
-
30
-
31
-
32
-
33
-
34
-
35
-
36
-
37
-
38
-
39
-
40
-
41
-
42
-
43
-
44
-
45
-
46
-
47
-
48
-
49
-
50
-
51
-
52
-
53
-
54
-
55
-
56
-
57
-
58
-
59
-
 60
60 -
 61
61 -
 62
62 -
 63
63 -
 64
64 -
 65
65 -
 66
66 -
 67
67 -
 68
68 -
 69
69 -
 70
70 -
71
-
72
-
73
-
74
-
75
-
76
-
77
-
78
-
79
-
80
-
81
-
82
-
83
-
84
-
85
-
86
-
87
-
88
-
89
-
90
-
91
-
92
-
93
-
94
-
95
-
96
-
97
-
98
-
99
-
100
-
101
-
102
-
103
-
104
-
105
-
106
-
107
-
108
-
109
-
110
-
111
-
112
-
113
-
114
-
115
-
116
-
117
-
118
-
119
-
120
-
121
-
122
-
123
-
124
-
125
-
126
-
127
-
128
-
129
-
130
-
131
-
132
-
133
-
134
-
135
-
136
-
137
-
138
-
139
-
140
-
141
-
142
-
143
-
144
-
145
-
146
-
147
-
148
-
149
-
150
-
151
-
152
-
153
-
154
-
155
-
156
-
157
-
158
-
159
-
160
-
161
-
162
-
163
-
164
 |
 |