Brother International PS-300B Instruction Manual - English - Page 52
Trace, Trace Pitch, Trace Margin, Shape, Show/Hide, Image
 |
View all Brother International PS-300B manuals
Add to My Manuals
Save this manual to your list of manuals |
Page 52 highlights
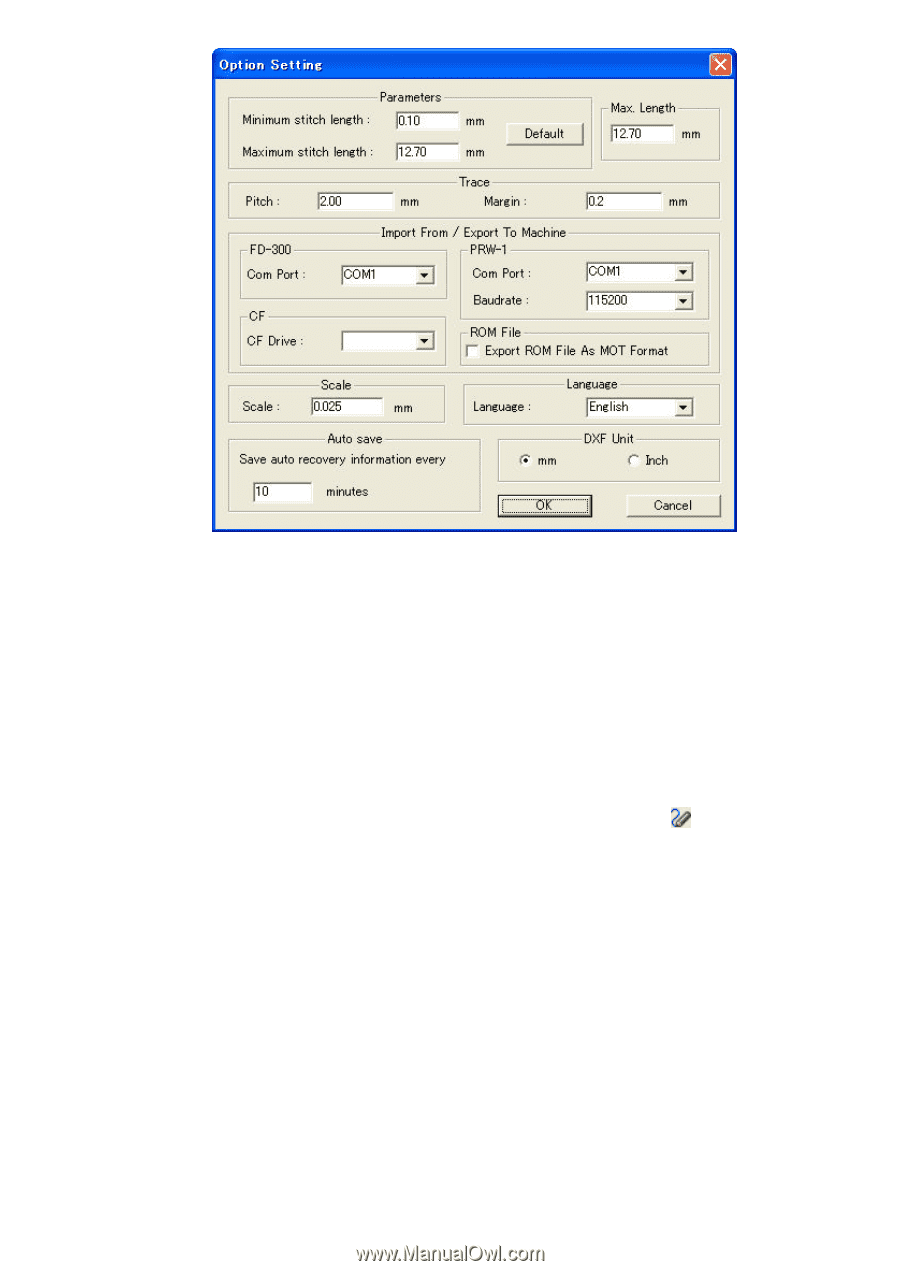
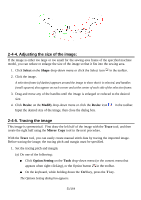
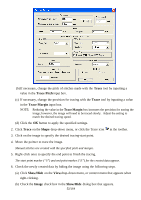
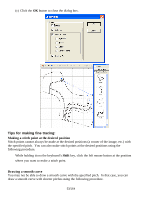
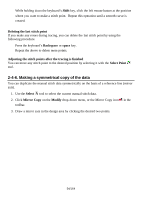
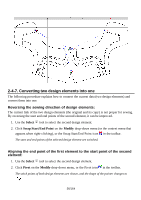
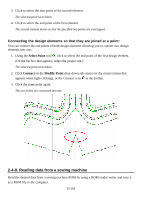
(b) If necessary, change the pitch of stitches made with the Trace tool by inputting a value in the Trace Pitch input box. (c) If necessary, change the precision for tracing with the Trace tool by inputting a value in the Trace Margin input box. NOTE: Reducing the value in the Trace Margin box increases the precision for tracing the image; however, the image will need to be traced slowly. Adjust the setting to match the desired tracing speed. (d) Click the OK button to apply the specified settings. 2. Click Trace on the Shape drop-down menu, or click the Trace icon in the toolbar. 3. Click on the image to specify the desired tracing-start point. 4. Move the pointer to trace the image. Manual stitches are created with the specified pitch and margin. 5. Right-click once to specify the end point to finish the tracing. The start point marker ("S") and end point marker ("E") for the created data appear. 6. Check the newly created data by hiding the image using the following steps. (a) Click Show/Hide on the Viewdrop-down menu, or context menu that appears when right-clicking. (b) Check the Image check box in the Show/Hide dialog box that appears. 52/164
-
 1
1 -
2
-
3
-
4
-
5
-
6
-
7
-
8
-
9
-
10
-
11
-
12
-
13
-
14
-
15
-
16
-
17
-
18
-
19
-
20
-
21
-
22
-
23
-
24
-
25
-
26
-
27
-
28
-
29
-
30
-
31
-
32
-
33
-
34
-
35
-
36
-
37
-
38
-
39
-
40
-
41
-
42
-
43
-
44
-
45
-
46
-
 47
47 -
 48
48 -
 49
49 -
 50
50 -
 51
51 -
 52
52 -
 53
53 -
 54
54 -
 55
55 -
 56
56 -
 57
57 -
58
-
59
-
60
-
61
-
62
-
63
-
64
-
65
-
66
-
67
-
68
-
69
-
70
-
71
-
72
-
73
-
74
-
75
-
76
-
77
-
78
-
79
-
80
-
81
-
82
-
83
-
84
-
85
-
86
-
87
-
88
-
89
-
90
-
91
-
92
-
93
-
94
-
95
-
96
-
97
-
98
-
99
-
100
-
101
-
102
-
103
-
104
-
105
-
106
-
107
-
108
-
109
-
110
-
111
-
112
-
113
-
114
-
115
-
116
-
117
-
118
-
119
-
120
-
121
-
122
-
123
-
124
-
125
-
126
-
127
-
128
-
129
-
130
-
131
-
132
-
133
-
134
-
135
-
136
-
137
-
138
-
139
-
140
-
141
-
142
-
143
-
144
-
145
-
146
-
147
-
148
-
149
-
150
-
151
-
152
-
153
-
154
-
155
-
156
-
157
-
158
-
159
-
160
-
161
-
162
-
163
-
164
 |
 |