Brother International PS-300B Instruction Manual - English - Page 51
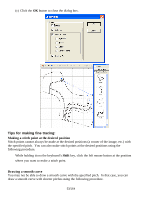
Adjusting the size of the image:, 2-4-5. Tracing the image, tool
 |
View all Brother International PS-300B manuals
Add to My Manuals
Save this manual to your list of manuals |
Page 51 highlights
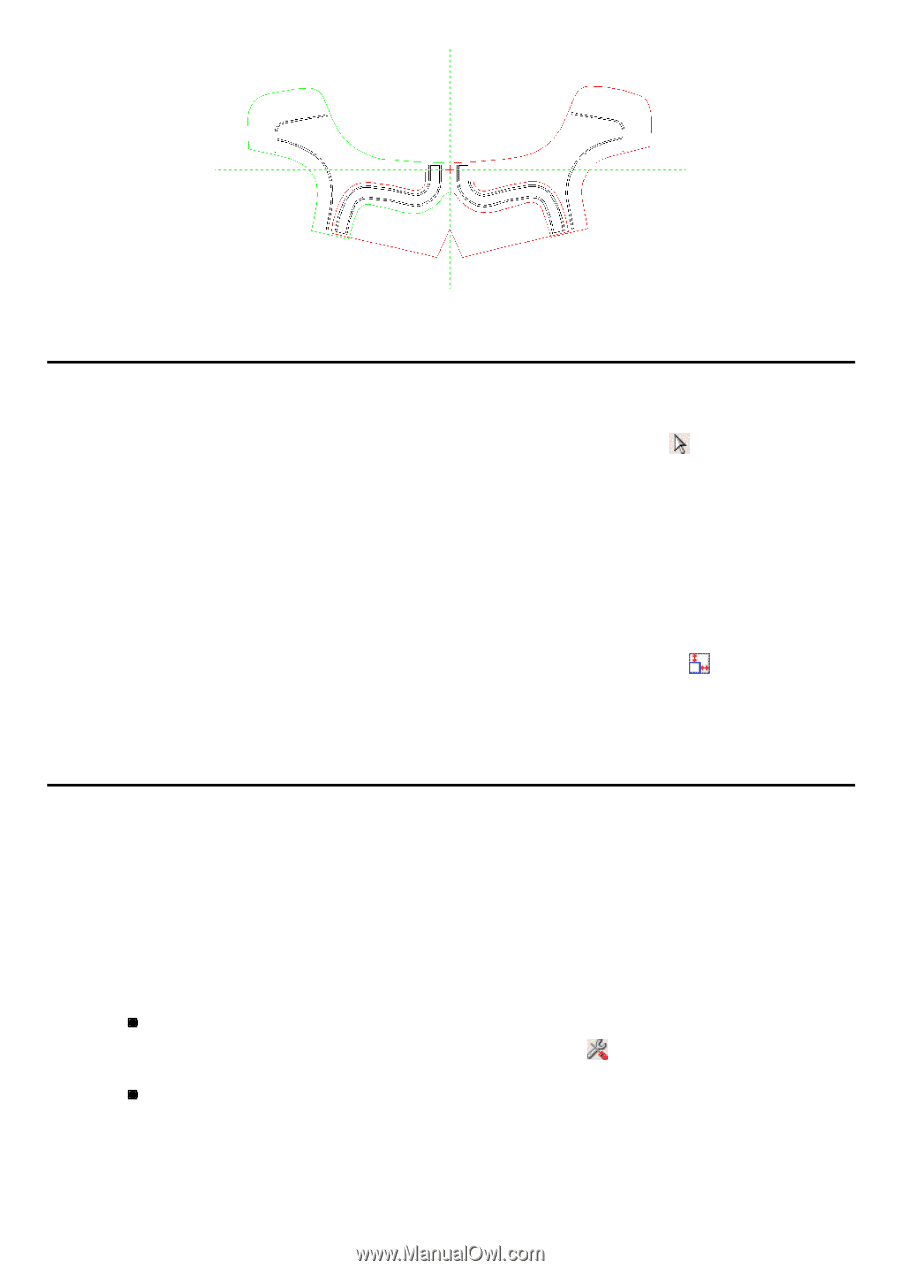
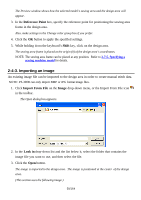
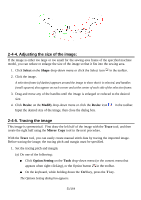
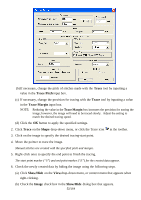
2-4-4. Adjusting the size of the image: If the image is either too large or too small for the sewing area frame of the specified machine model, you can reduce or enlarge the size of the image so that it fits into the sewing area. 1. Click Select on the Shape drop-down menu or click the Select icon in the toolbar. 2. Click the image. A selection frame (of dashes) appears around the image to show that it is selected, and handles (small squares) also appear on each corner and at the center of each side of the selection frame. 3. Drag and move any of the handles until the image is enlarged or reduced to the desired size. 4. Click Resize on the Modify drop-down menu or click the Resize icon Input the desired size of the image, then close the dialog box. in the toolbar. 2-4-5. Tracing the image This image is symmetrical. First draw the left half of the image with the Trace tool, and then create the right half using the Mirror Copy tool in the next procedure. With the Trace tool, you can easily create manual stitch data by tracing the imported image. Before tracing the image, the tracing pitch and margin must be specified. 1. Set the tracing pitch and margin: (a) Do one of the following: Click Option Setting on the Tools drop-down menu (or the context menu that appears when right-clicking), or the Option button in the toolbar. On the keyboard, while holding down the Ctrl key, press the T key. The Options Setting dialog box appears. 51/164
-
 1
1 -
2
-
3
-
4
-
5
-
6
-
7
-
8
-
9
-
10
-
11
-
12
-
13
-
14
-
15
-
16
-
17
-
18
-
19
-
20
-
21
-
22
-
23
-
24
-
25
-
26
-
27
-
28
-
29
-
30
-
31
-
32
-
33
-
34
-
35
-
36
-
37
-
38
-
39
-
40
-
41
-
42
-
43
-
44
-
45
-
 46
46 -
 47
47 -
 48
48 -
 49
49 -
 50
50 -
 51
51 -
 52
52 -
 53
53 -
 54
54 -
 55
55 -
 56
56 -
57
-
58
-
59
-
60
-
61
-
62
-
63
-
64
-
65
-
66
-
67
-
68
-
69
-
70
-
71
-
72
-
73
-
74
-
75
-
76
-
77
-
78
-
79
-
80
-
81
-
82
-
83
-
84
-
85
-
86
-
87
-
88
-
89
-
90
-
91
-
92
-
93
-
94
-
95
-
96
-
97
-
98
-
99
-
100
-
101
-
102
-
103
-
104
-
105
-
106
-
107
-
108
-
109
-
110
-
111
-
112
-
113
-
114
-
115
-
116
-
117
-
118
-
119
-
120
-
121
-
122
-
123
-
124
-
125
-
126
-
127
-
128
-
129
-
130
-
131
-
132
-
133
-
134
-
135
-
136
-
137
-
138
-
139
-
140
-
141
-
142
-
143
-
144
-
145
-
146
-
147
-
148
-
149
-
150
-
151
-
152
-
153
-
154
-
155
-
156
-
157
-
158
-
159
-
160
-
161
-
162
-
163
-
164
 |
 |