Brother International PS-300B Instruction Manual - English - Page 98
Creating manual feed data Shape-Feed, Creating basting data Shape-Baste, How to create manual stitch
 |
View all Brother International PS-300B manuals
Add to My Manuals
Save this manual to your list of manuals |
Page 98 highlights
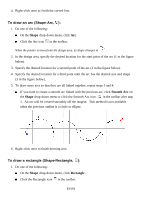
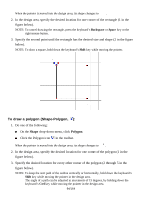
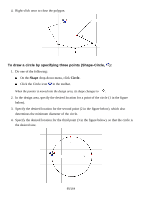
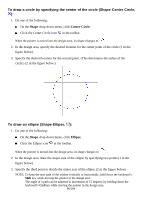
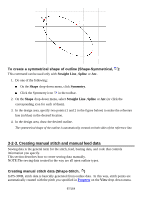
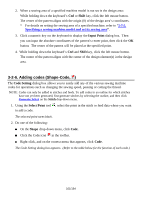
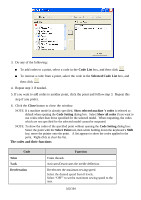
With the Stitch command, individual stitch (needle-drop) points can be added in order to control the stitch length or provide intricate details to an outline (such as a small copyright or trademark symbol or extra securing stitches). In this case, however, you must be careful not to create stitches exceeding the maximum stitch length you specified in Option on the Tools drop-down menu. Stitches that exceed the maximum stitch length or less than the minimum stitch length are shown as red lines to enable you to distinguish them easily. Creating manual feed data (Shape-Feed, ) With the Feed command, you can create manual feed data. The manual feed data is shown as dotted black lines enabling you to distinguish this data from connection feed data. (These are shown as dotted blue lines.) Creating basting data (Shape-Baste, ) With the Baste command, you can create basting data connecting the previous point and the desired position. (The basting data is shown as dotted black lines without Trim codes.) How to create manual stitch, manual feed and basting data The basic operation to create these stitch data is the same as outline data: (1) draw lines with the mouse manually, (2) use the Input Outline (Stitch, Feed) dialog box, and (3) use the Input Point dialog box. (Refer to 3-2-1. Creating Outline Data for details.) 1. Do one of the following: To create manual stitch data, click Stitch on the Shape drop-down menu, or click the Stitch icon in the toolbar. When the pointer is moved into the design area, its shape changes to . To create manual feed data, click Feed on the Shape drop-down menu, or click the Feed icon in the toolbar. When the pointer is moved into the design area, its shape changes to . To create basting data, first select the Feed command, then click Baste on the Shape drop-down menu, or click the Baste icon in the toolbar. When the pointer is moved into the design area, its shape changes to . 2. Do one of the following: In the design area, click to specify the start point of the data, and then continue clicking at the points where you want to create the data. Press any of the numeric keys on the keyboard. The Input Outline (Stitch, Feed) dialog box appears. 98/164
-
 1
1 -
2
-
3
-
4
-
5
-
6
-
7
-
8
-
9
-
10
-
11
-
12
-
13
-
14
-
15
-
16
-
17
-
18
-
19
-
20
-
21
-
22
-
23
-
24
-
25
-
26
-
27
-
28
-
29
-
30
-
31
-
32
-
33
-
34
-
35
-
36
-
37
-
38
-
39
-
40
-
41
-
42
-
43
-
44
-
45
-
46
-
47
-
48
-
49
-
50
-
51
-
52
-
53
-
54
-
55
-
56
-
57
-
58
-
59
-
60
-
61
-
62
-
63
-
64
-
65
-
66
-
67
-
68
-
69
-
70
-
71
-
72
-
73
-
74
-
75
-
76
-
77
-
78
-
79
-
80
-
81
-
82
-
83
-
84
-
85
-
86
-
87
-
88
-
89
-
90
-
91
-
92
-
 93
93 -
 94
94 -
 95
95 -
 96
96 -
 97
97 -
 98
98 -
 99
99 -
 100
100 -
 101
101 -
 102
102 -
 103
103 -
104
-
105
-
106
-
107
-
108
-
109
-
110
-
111
-
112
-
113
-
114
-
115
-
116
-
117
-
118
-
119
-
120
-
121
-
122
-
123
-
124
-
125
-
126
-
127
-
128
-
129
-
130
-
131
-
132
-
133
-
134
-
135
-
136
-
137
-
138
-
139
-
140
-
141
-
142
-
143
-
144
-
145
-
146
-
147
-
148
-
149
-
150
-
151
-
152
-
153
-
154
-
155
-
156
-
157
-
158
-
159
-
160
-
161
-
162
-
163
-
164
 |
 |
