Brother International PS-300B Instruction Manual - English - Page 121
Balanced Width, Right Width, Left Width, Width, Zigzag Pitch, Zigzag Point, Compensation
 |
View all Brother International PS-300B manuals
Add to My Manuals
Save this manual to your list of manuals |
Page 121 highlights
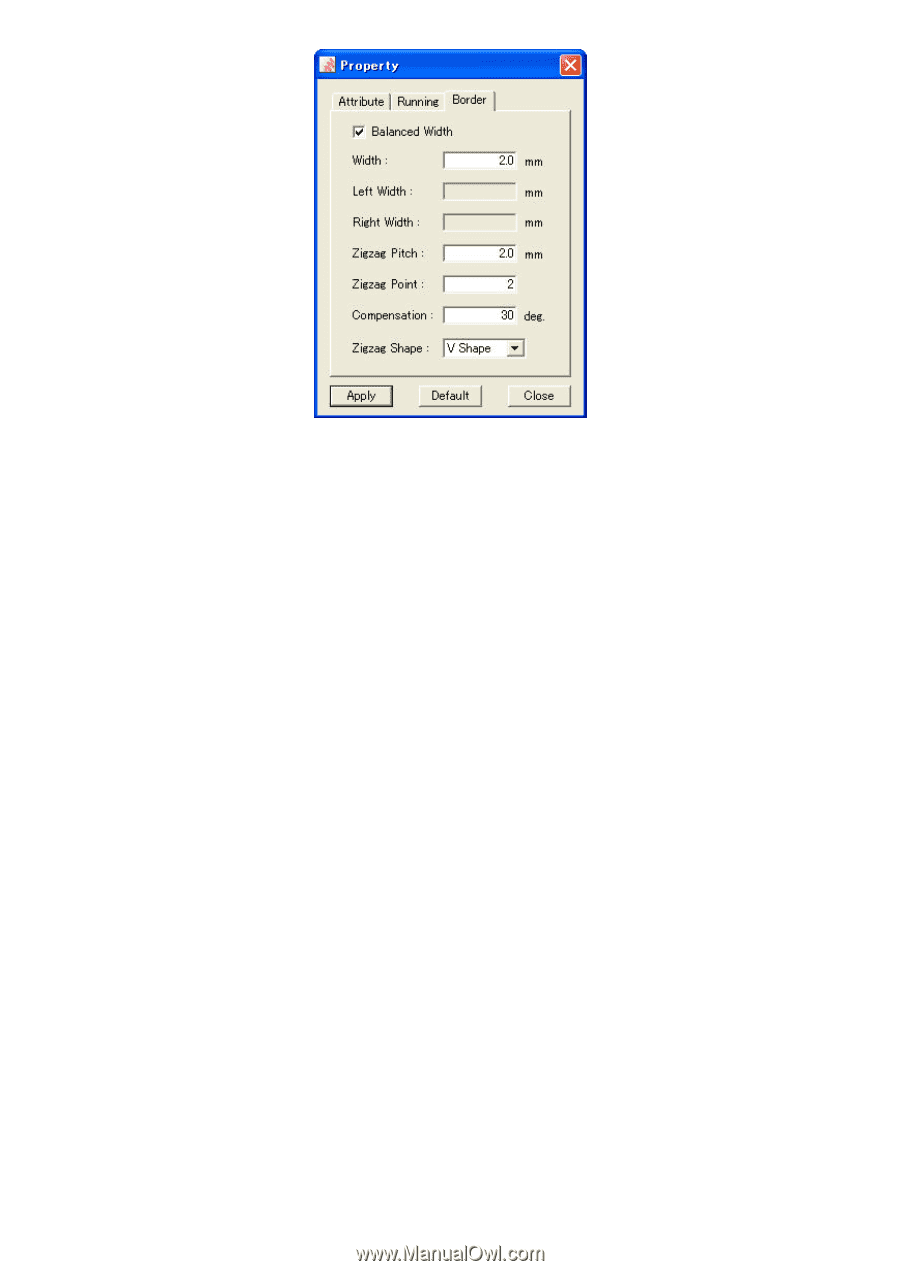
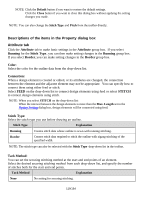
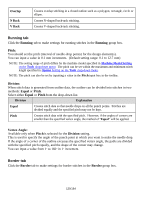
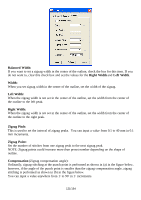
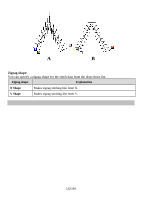
Balanced Width: If you want to set a zigzag width in the center of the outline, check the box for this item. If you do not want to, clear this check box and set the values for the Right Width and Left Width. Width: When you set zigzag width in the center of the outline, set the width of the zigzag. Left Width: When the zigzag width is not set in the center of the outline, set the width from the center of the outline to the left peak. Right Width: When the zigzag width is not set in the center of the outline, set the width from the center of the outline to the right peak. Zigzag Pitch: This is used to set the interval of zigzag peaks. You can input a value from 0.1 to 40 mm in 0.1 mm increments. Zigzag Point: Set the number of stitches from one zigzag peak to the next zigzag peak. NOTE: Zigzag points could increase more than preset number depending on the shape of outline. Compensation (Zigzag compensation angle): Ordinarily, zigzag stitching at the punch point is performed as shown in (a) in the figure below, however, if the angle of the punch point is smaller than the zigzag compensation angle, zigzag stitching is performed as shown in (b) in the figure below. You can input a value anywhere from 1° to 90° in 1° increments. 121/164
-
 1
1 -
2
-
3
-
4
-
5
-
6
-
7
-
8
-
9
-
10
-
11
-
12
-
13
-
14
-
15
-
16
-
17
-
18
-
19
-
20
-
21
-
22
-
23
-
24
-
25
-
26
-
27
-
28
-
29
-
30
-
31
-
32
-
33
-
34
-
35
-
36
-
37
-
38
-
39
-
40
-
41
-
42
-
43
-
44
-
45
-
46
-
47
-
48
-
49
-
50
-
51
-
52
-
53
-
54
-
55
-
56
-
57
-
58
-
59
-
60
-
61
-
62
-
63
-
64
-
65
-
66
-
67
-
68
-
69
-
70
-
71
-
72
-
73
-
74
-
75
-
76
-
77
-
78
-
79
-
80
-
81
-
82
-
83
-
84
-
85
-
86
-
87
-
88
-
89
-
90
-
91
-
92
-
93
-
94
-
95
-
96
-
97
-
98
-
99
-
100
-
101
-
102
-
103
-
104
-
105
-
106
-
107
-
108
-
109
-
110
-
111
-
112
-
113
-
114
-
115
-
 116
116 -
 117
117 -
 118
118 -
 119
119 -
 120
120 -
 121
121 -
 122
122 -
 123
123 -
 124
124 -
 125
125 -
 126
126 -
127
-
128
-
129
-
130
-
131
-
132
-
133
-
134
-
135
-
136
-
137
-
138
-
139
-
140
-
141
-
142
-
143
-
144
-
145
-
146
-
147
-
148
-
149
-
150
-
151
-
152
-
153
-
154
-
155
-
156
-
157
-
158
-
159
-
160
-
161
-
162
-
163
-
164
 |
 |