Brother International PE-DESIGN 10 Instruction Manual - Page 192
Embroidery data for the jumbo, frame, Layout & Editing], Design Center], Layout &, Editing]
 |
View all Brother International PE-DESIGN 10 manuals
Add to My Manuals
Save this manual to your list of manuals |
Page 192 highlights
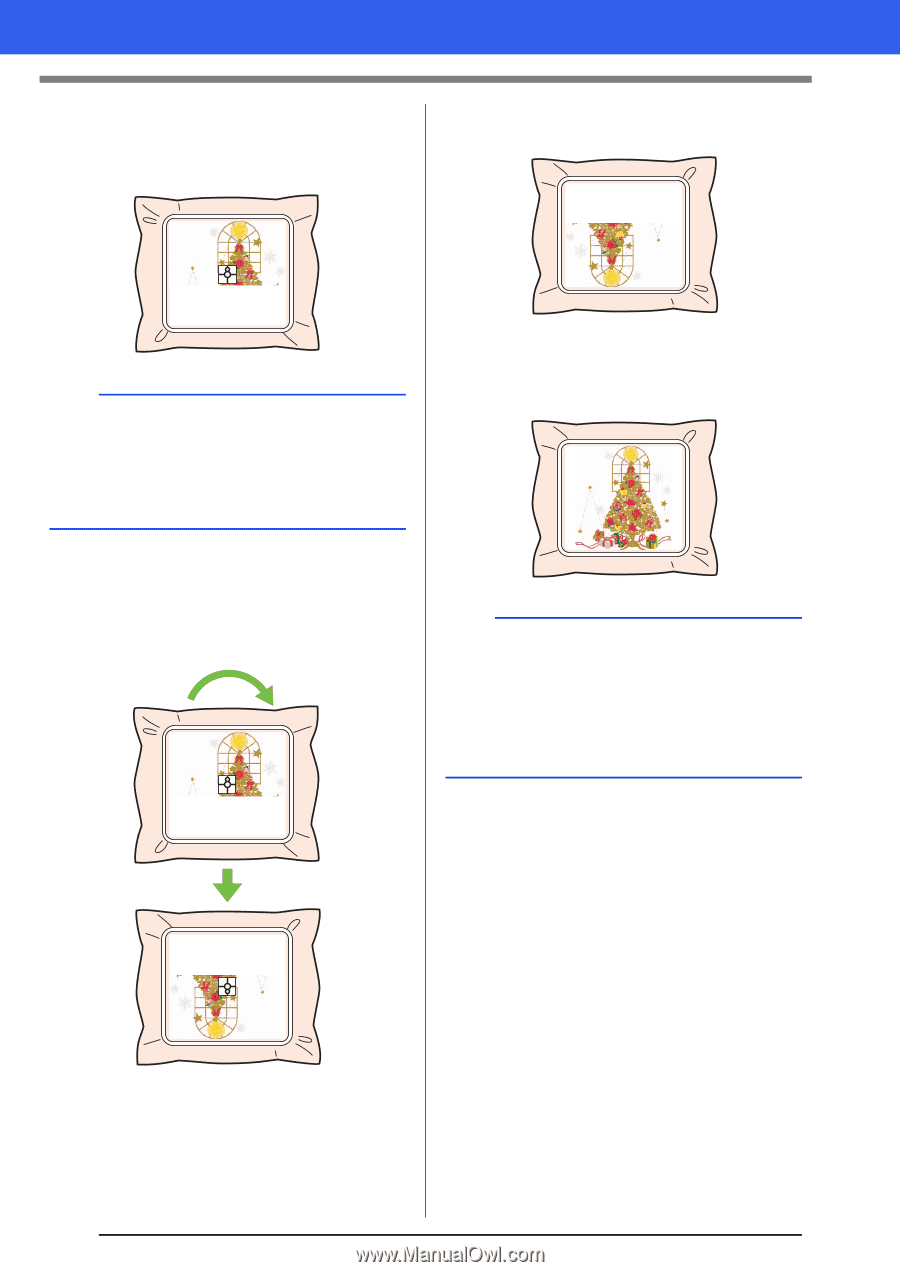
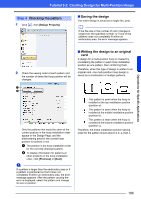
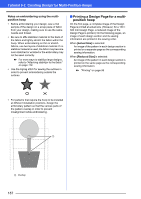
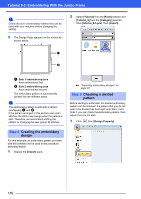
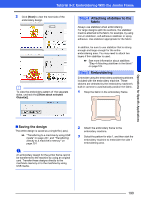
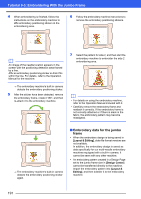
Tutorial 9-3: Embroidering With the Jumbo Frame 4 When embroidering is finished, follow the instructions on the embroidery machine to affix embroidery positioning sticker on the embroidering area. 6 Follow the embroidery machine instructions to remove the embroidery positioning stickers. b An image of the needle location appears in the screen with the positioning detection area framed by a line. Affix an embroidery positioning sticker so that it fits within the line. For details, refer to the Operation Manual for the machine. The embroidery machine's built-in camera detects the embroidery positioning sticker. 5 After the sticker have been detected, remove the embroidery frame, rotate it 180°, and then re-attach it to the embroidery machine. 7 Select the pattern for side 2, and then start the embroidery machine to embroider the side 2 embroidering area. b • For details on using the embroidery machine, refer to the Operation Manual included with it. • Carefully remove the embroidery frame and reattach it correctly. If the embroidery frame is not correctly attached or if there is slack in the fabric, the embroidery pattern may become misaligned. The embroidery machine's built-in camera detects the embroidery positioning sticker again. ■ Embroidery data for the jumbo frame • When the embroidery design is being saved in [Layout & Editing], older file format versions are not available. In addition, the embroidery design is saved as data specifically for our multi-needle embroidery machines equipped with a built-in camera. It cannot be sewn with any other machine. • An embroidery pattern created in a Design Page set to the jumbo frame size in [Design Center] cannot be transferred directly to the machine. Import the embroidery pattern into [Layout & Editing], and then transfer it to the embroidery machine. 191
-
 1
1 -
2
-
3
-
4
-
5
-
6
-
7
-
8
-
9
-
10
-
11
-
12
-
13
-
14
-
15
-
16
-
17
-
18
-
19
-
20
-
21
-
22
-
23
-
24
-
25
-
26
-
27
-
28
-
29
-
30
-
31
-
32
-
33
-
34
-
35
-
36
-
37
-
38
-
39
-
40
-
41
-
42
-
43
-
44
-
45
-
46
-
47
-
48
-
49
-
50
-
51
-
52
-
53
-
54
-
55
-
56
-
57
-
58
-
59
-
60
-
61
-
62
-
63
-
64
-
65
-
66
-
67
-
68
-
69
-
70
-
71
-
72
-
73
-
74
-
75
-
76
-
77
-
78
-
79
-
80
-
81
-
82
-
83
-
84
-
85
-
86
-
87
-
88
-
89
-
90
-
91
-
92
-
93
-
94
-
95
-
96
-
97
-
98
-
99
-
100
-
101
-
102
-
103
-
104
-
105
-
106
-
107
-
108
-
109
-
110
-
111
-
112
-
113
-
114
-
115
-
116
-
117
-
118
-
119
-
120
-
121
-
122
-
123
-
124
-
125
-
126
-
127
-
128
-
129
-
130
-
131
-
132
-
133
-
134
-
135
-
136
-
137
-
138
-
139
-
140
-
141
-
142
-
143
-
144
-
145
-
146
-
147
-
148
-
149
-
150
-
151
-
152
-
153
-
154
-
155
-
156
-
157
-
158
-
159
-
160
-
161
-
162
-
163
-
164
-
165
-
166
-
167
-
168
-
169
-
170
-
171
-
172
-
173
-
174
-
175
-
176
-
177
-
178
-
179
-
180
-
181
-
182
-
183
-
184
-
185
-
186
-
 187
187 -
 188
188 -
 189
189 -
 190
190 -
 191
191 -
 192
192 -
 193
193 -
 194
194 -
 195
195 -
 196
196 -
 197
197 -
198
-
199
-
200
-
201
-
202
-
203
-
204
-
205
-
206
-
207
-
208
-
209
-
210
-
211
-
212
-
213
-
214
-
215
-
216
-
217
-
218
-
219
-
220
-
221
-
222
-
223
-
224
-
225
-
226
-
227
-
228
-
229
-
230
-
231
-
232
-
233
-
234
-
235
-
236
-
237
-
238
-
239
-
240
-
241
-
242
-
243
-
244
-
245
-
246
-
247
-
248
-
249
-
250
-
251
-
252
-
253
-
254
-
255
-
256
-
257
-
258
-
259
-
260
-
261
-
262
-
263
-
264
-
265
-
266
-
267
-
268
-
269
-
270
-
271
-
272
-
273
-
274
-
275
-
276
-
277
-
278
-
279
-
280
-
281
-
282
-
283
-
284
-
285
-
286
-
287
-
288
-
289
-
290
-
291
-
292
-
293
-
294
-
295
-
296
-
297
-
298
-
299
-
300
-
301
-
302
-
303
-
304
-
305
-
306
-
307
-
308
-
309
-
310
-
311
-
312
-
313
-
314
-
315
-
316
-
317
-
318
-
319
-
320
-
321
-
322
-
323
-
324
-
325
-
326
-
327
-
328
-
329
-
330
-
331
-
332
-
333
-
334
-
335
-
336
-
337
-
338
-
339
-
340
-
341
-
342
-
343
-
344
-
345
-
346
-
347
-
348
-
349
-
350
-
351
-
352
-
353
 |
 |