HP DesignJet T850 DesignJet T850 Printer Series DesignJet T950 Printer SeriesU - Page 104
Calibrate the scanner, If calibration fails
 |
View all HP DesignJet T850 manuals
Add to My Manuals
Save this manual to your list of manuals |
Page 104 highlights
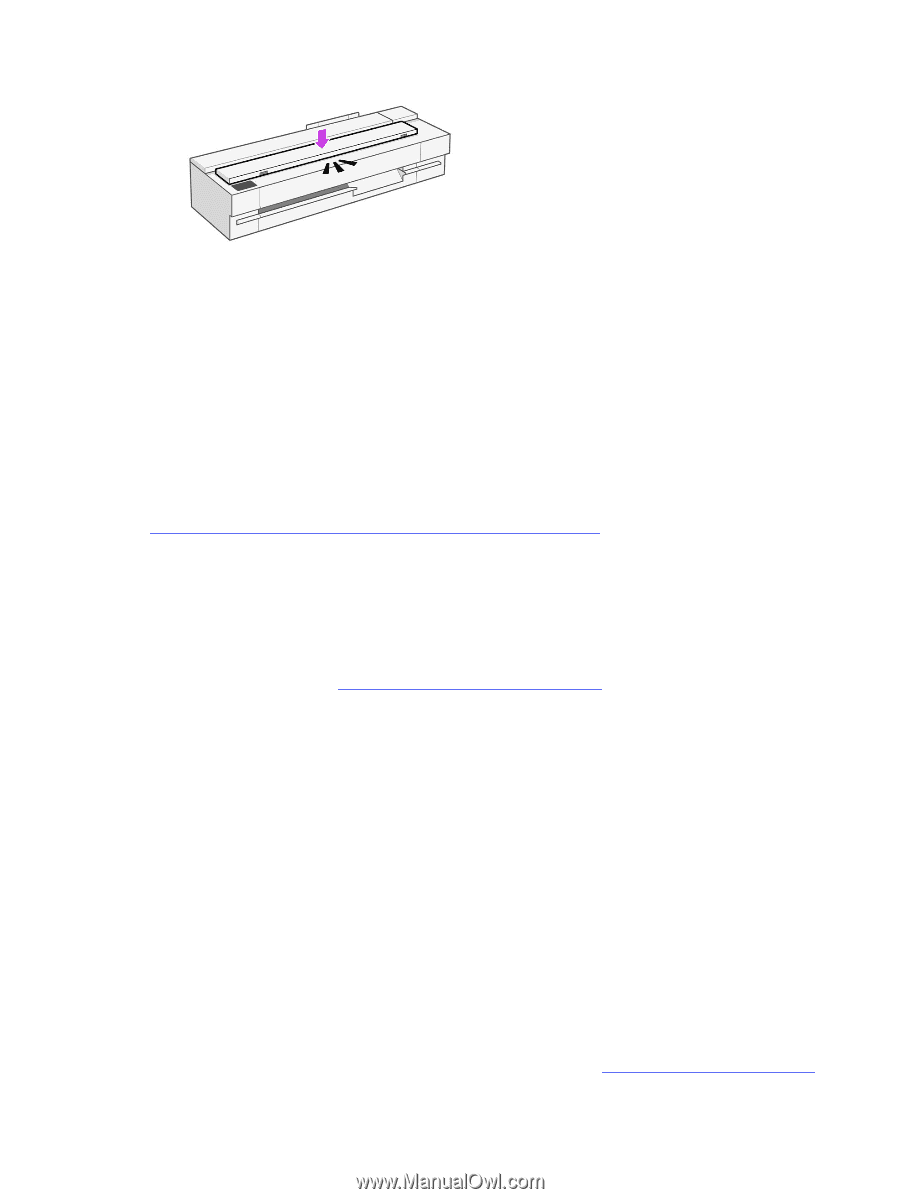
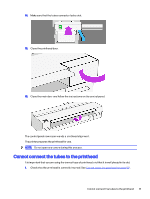
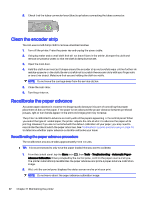
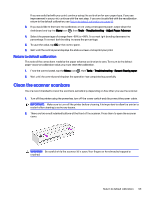
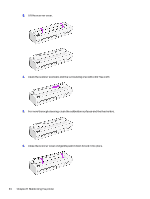
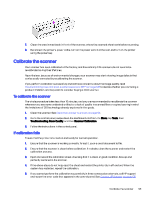
7. Clean the area immediately in front of the scanner, where the scanned sheet rests before scanning. 8. Reconnect the printer's power cable, turn on the power switch at the rear, and turn on the printer using the power key. Calibrate the scanner Your scanner has been calibrated at the factory, and theoretically CIS scanners do not need to be recalibrated during their lifetimes. Nevertheless, because of environmental changes, your scanner may start showing image defects that can be easily corrected by recalibrating the scanner. If you perform calibration successfully and still have concerns about the image quality, read Troubleshooting copy and scan quality issues (only MFP) on page 128 to decide whether you are facing a product limitation, and may want to consider buying a CCD scanner. To calibrate the scanner The whole procedure takes less than 10 minutes, and you are recommended to recalibrate the scanner whenever you see some undesired artifact or a lack of quality in scanned files or copies, bearing in mind the limitations of CIS technology already explained in this guide. 1. Clean the scanner. See Clean the scanner scanbars on page 93. 2. Go to the control panel, swipe down the dashboard and from the Menu, tap Tools, then Troubleshooting, Scan Quality, and then Scanner Calibration. 3. Follow the instructions in the control panel. If calibration fails Ensure that the printer is turned on and ready for normal operation. 1. Ensure that the scanner is working correctly. To test it, scan a small document to file. 2. Ensure that the scanner is clean before calibration. If in doubt, clean the scanner and restart the calibration process. 3. Eject and reload the calibration sheet, checking that it is clean, in good condition, face up and perfectly centered in the scanner. 4. If the above steps do not help, eject the sheet and restart the printer (turn off and on). When the system has restarted, repeat the calibration. 5. If you cannot perform the calibration successfully in three consecutive attempts, call HP support and report the error code that appears in the control panel. See Contact HP Support on page 170 Calibrate the scanner 95
-
 1
1 -
2
-
3
-
4
-
5
-
6
-
7
-
8
-
9
-
10
-
11
-
12
-
13
-
14
-
15
-
16
-
17
-
18
-
19
-
20
-
21
-
22
-
23
-
24
-
25
-
26
-
27
-
28
-
29
-
30
-
31
-
32
-
33
-
34
-
35
-
36
-
37
-
38
-
39
-
40
-
41
-
42
-
43
-
44
-
45
-
46
-
47
-
48
-
49
-
50
-
51
-
52
-
53
-
54
-
55
-
56
-
57
-
58
-
59
-
60
-
61
-
62
-
63
-
64
-
65
-
66
-
67
-
68
-
69
-
70
-
71
-
72
-
73
-
74
-
75
-
76
-
77
-
78
-
79
-
80
-
81
-
82
-
83
-
84
-
85
-
86
-
87
-
88
-
89
-
90
-
91
-
92
-
93
-
94
-
95
-
96
-
97
-
98
-
 99
99 -
 100
100 -
 101
101 -
 102
102 -
 103
103 -
 104
104 -
 105
105 -
 106
106 -
 107
107 -
 108
108 -
 109
109 -
110
-
111
-
112
-
113
-
114
-
115
-
116
-
117
-
118
-
119
-
120
-
121
-
122
-
123
-
124
-
125
-
126
-
127
-
128
-
129
-
130
-
131
-
132
-
133
-
134
-
135
-
136
-
137
-
138
-
139
-
140
-
141
-
142
-
143
-
144
-
145
-
146
-
147
-
148
-
149
-
150
-
151
-
152
-
153
-
154
-
155
-
156
-
157
-
158
-
159
-
160
-
161
-
162
-
163
-
164
-
165
-
166
-
167
-
168
-
169
-
170
-
171
-
172
-
173
-
174
-
175
-
176
-
177
-
178
-
179
-
180
-
181
-
182
-
183
-
184
-
185
-
186
-
187
-
188
-
189
-
190
-
191
 |
 |