HP DesignJet T850 DesignJet T850 Printer Series DesignJet T950 Printer SeriesU - Page 61
Scanning only MFP, In this case, you must choose a folder accessible through the network.
 |
View all HP DesignJet T850 manuals
Add to My Manuals
Save this manual to your list of manuals |
Page 61 highlights
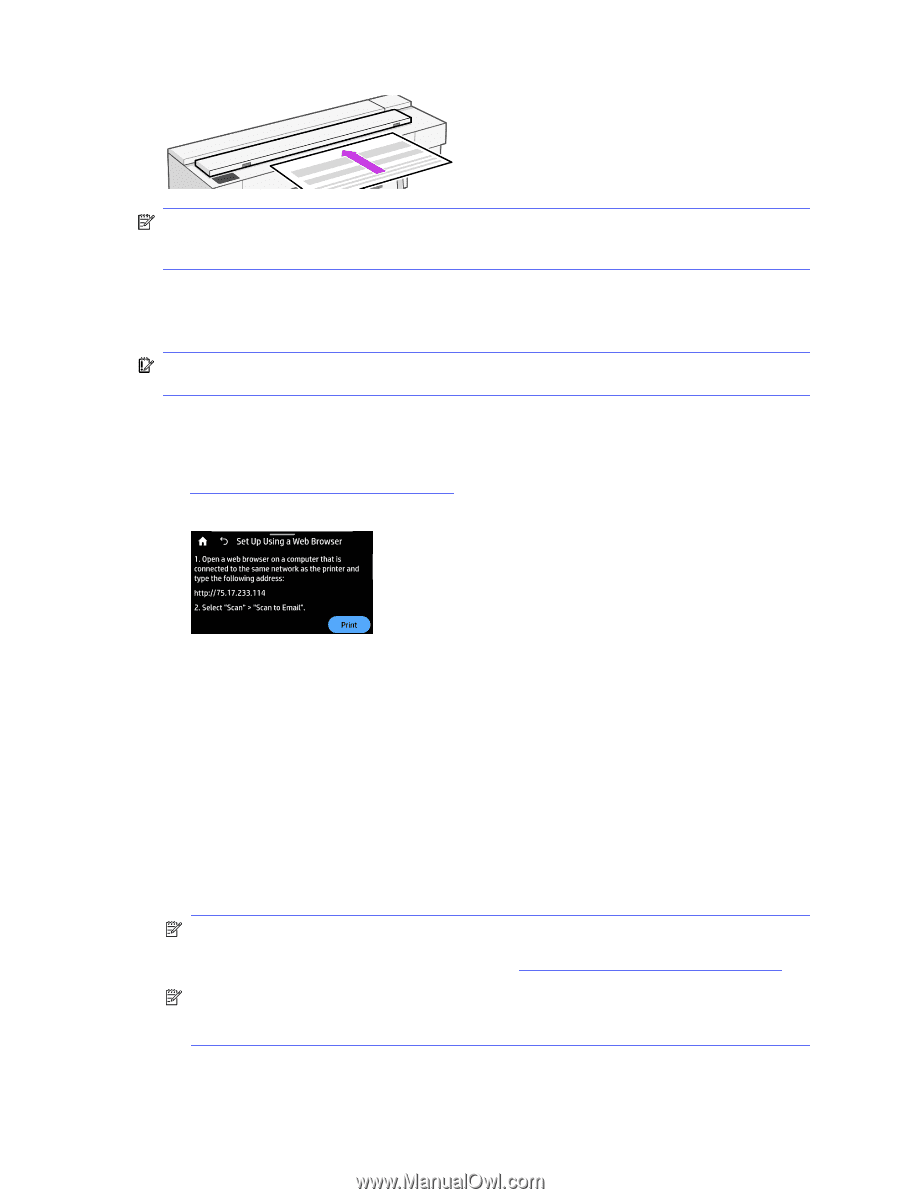
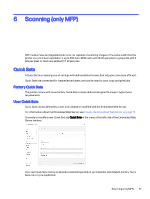
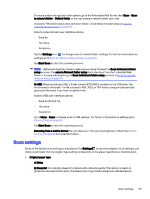
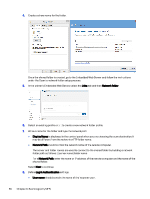
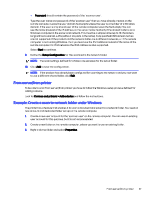
NOTE: The maximum length of paper that the scanner can scan depends on the paper width, among other options such as scan resolution. An alert is displayed if the maximum length is exceeded. Push the sheet into the insertion slot until you feel it contact the rollers. The scanner will automatically grab the sheet and move it into position for scanning. If you feel that the sheet has loaded badly and you want to try again, you can pull it out manually. IMPORTANT: Do not try to feed the scanner while the printer is printing, as only one action can be done at a time. Paper will not be accepted by the scanner during printing. At the control panel, go to the home screen and select Scan, then select where you would like to store the scanned image: - Into an email: Before using this option, make sure the setup process has been completed. See Scan to email setup process on page 54. If the setup process has not been done, the following message appears on the control panel: If you have already configured the email server in the Embedded Web Server, you must provide the email address(es) to which the scanned job will be sent. Scan to email user interface options: ○ Sender ○ Send to: ● Contact ● Group ● Addresses Tap Start Scan to start the scanning process. NOTE: Before starting the process, make sure you have followed the Scan to email setup process. The scan to email setup has to be done from the Embedded Web Server. For more information, go to Scan to email setup process on Scan to email setup process on page 54. NOTE: If the scanned image is larger than the maximum permitted, the printer will ask you if you want to try to send it anyway. If you want to change this option, go to the Embedded Web Server and select Scan to email setup > Maximum size of email.. - To a network folder: In this case, you must choose a folder accessible through the network. 52 Chapter 6 Scanning (only MFP)
-
 1
1 -
2
-
3
-
4
-
5
-
6
-
7
-
8
-
9
-
10
-
11
-
12
-
13
-
14
-
15
-
16
-
17
-
18
-
19
-
20
-
21
-
22
-
23
-
24
-
25
-
26
-
27
-
28
-
29
-
30
-
31
-
32
-
33
-
34
-
35
-
36
-
37
-
38
-
39
-
40
-
41
-
42
-
43
-
44
-
45
-
46
-
47
-
48
-
49
-
50
-
51
-
52
-
53
-
54
-
55
-
 56
56 -
 57
57 -
 58
58 -
 59
59 -
 60
60 -
 61
61 -
 62
62 -
 63
63 -
 64
64 -
 65
65 -
 66
66 -
67
-
68
-
69
-
70
-
71
-
72
-
73
-
74
-
75
-
76
-
77
-
78
-
79
-
80
-
81
-
82
-
83
-
84
-
85
-
86
-
87
-
88
-
89
-
90
-
91
-
92
-
93
-
94
-
95
-
96
-
97
-
98
-
99
-
100
-
101
-
102
-
103
-
104
-
105
-
106
-
107
-
108
-
109
-
110
-
111
-
112
-
113
-
114
-
115
-
116
-
117
-
118
-
119
-
120
-
121
-
122
-
123
-
124
-
125
-
126
-
127
-
128
-
129
-
130
-
131
-
132
-
133
-
134
-
135
-
136
-
137
-
138
-
139
-
140
-
141
-
142
-
143
-
144
-
145
-
146
-
147
-
148
-
149
-
150
-
151
-
152
-
153
-
154
-
155
-
156
-
157
-
158
-
159
-
160
-
161
-
162
-
163
-
164
-
165
-
166
-
167
-
168
-
169
-
170
-
171
-
172
-
173
-
174
-
175
-
176
-
177
-
178
-
179
-
180
-
181
-
182
-
183
-
184
-
185
-
186
-
187
-
188
-
189
-
190
-
191
 |
 |