HP DesignJet T850 DesignJet T850 Printer Series DesignJet T950 Printer SeriesU - Page 133
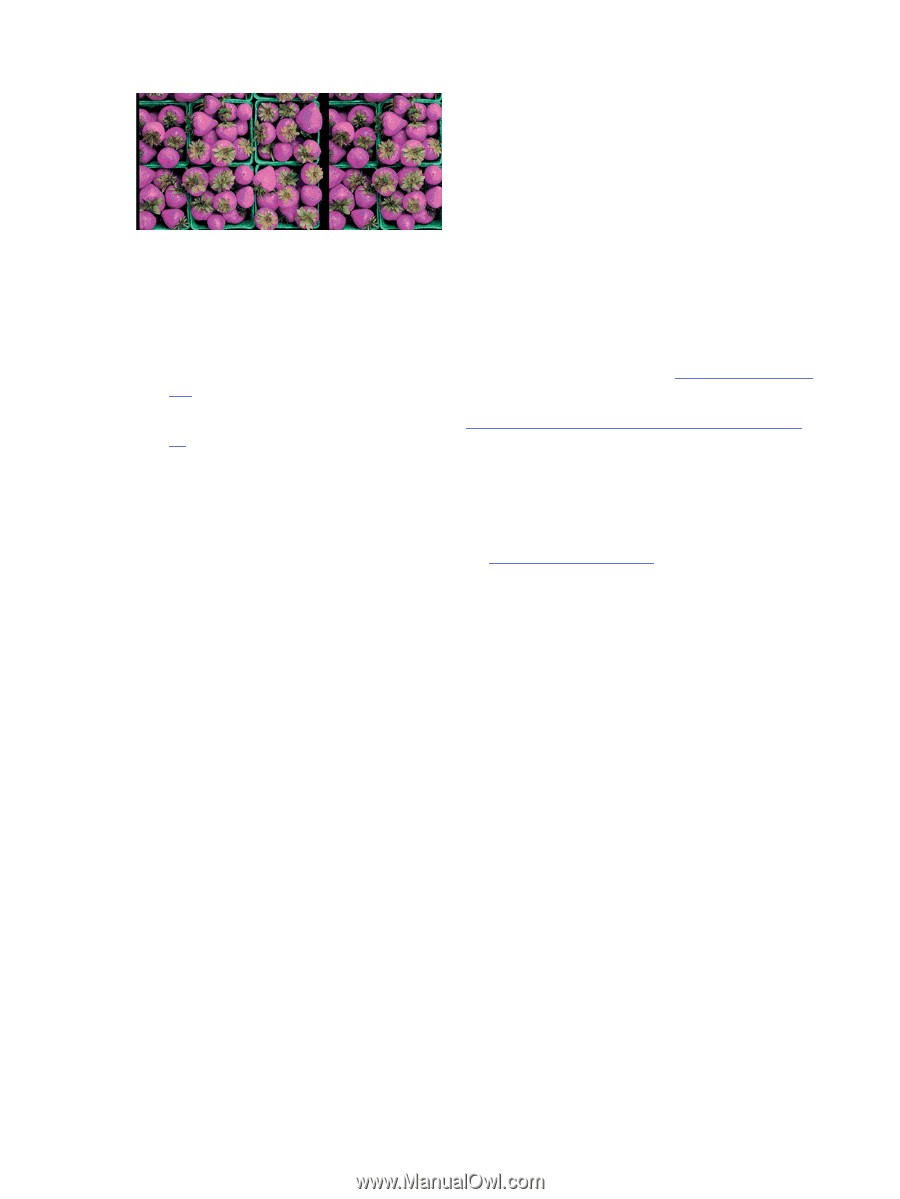
Colors are fading, Image is incomplete (clipped at the bottom), Image is clipped
 |
View all HP DesignJet T850 manuals
Add to My Manuals
Save this manual to your list of manuals |
Page 133 highlights
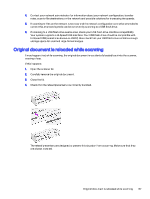
1. Check that the paper type you have loaded corresponds to the paper type selected. 2. Check that you are printing on the correct side of the paper. 3. Check that you are using appropriate print-quality settings. For the most accurate colors, select Normal or Best quality. 4. If using glossy paper, check that you are using the supported paper type. See Order paper on page 100 and ensure the glossy paper is compatible with pigment inks. 5. Print the Print Quality Diagnostic Report. See To print the Print Quality Diagnostic Report on page 86. Colors are fading Lamination will increase the life of prints (depending on the type of lamination) with all paper types. Check you are using a recommended paper type (see Order paper on page 100). For more information about lamination, consult your laminate provider. Image is incomplete (clipped at the bottom) If the image is incomplete you may have cut the data being received, or there could be a communication issue. ● Did you tap Cancel before all the data were received by the printer? If so, you have ended the data transmission and will have to print the page again. ● There may be a communications problem between your computer and the printer. Check your network cable, or your Wi-Fi connection. ● Check to make sure that your software settings are correct for your current page size (for example, long-axis prints). ● If you are using network software, make sure it has not timed out. Image is clipped Clipping normally indicates a discrepancy between the actual printable area on the loaded paper and the printable area as understood by your software. ● Check the actual printable area for the paper size you have loaded. printable area = paper size - margins (5×5×5×5 mm0.2×0.2×0.2×0.2 in) 124 Chapter 14 Troubleshooting print-quality issues
-
 1
1 -
2
-
3
-
4
-
5
-
6
-
7
-
8
-
9
-
10
-
11
-
12
-
13
-
14
-
15
-
16
-
17
-
18
-
19
-
20
-
21
-
22
-
23
-
24
-
25
-
26
-
27
-
28
-
29
-
30
-
31
-
32
-
33
-
34
-
35
-
36
-
37
-
38
-
39
-
40
-
41
-
42
-
43
-
44
-
45
-
46
-
47
-
48
-
49
-
50
-
51
-
52
-
53
-
54
-
55
-
56
-
57
-
58
-
59
-
60
-
61
-
62
-
63
-
64
-
65
-
66
-
67
-
68
-
69
-
70
-
71
-
72
-
73
-
74
-
75
-
76
-
77
-
78
-
79
-
80
-
81
-
82
-
83
-
84
-
85
-
86
-
87
-
88
-
89
-
90
-
91
-
92
-
93
-
94
-
95
-
96
-
97
-
98
-
99
-
100
-
101
-
102
-
103
-
104
-
105
-
106
-
107
-
108
-
109
-
110
-
111
-
112
-
113
-
114
-
115
-
116
-
117
-
118
-
119
-
120
-
121
-
122
-
123
-
124
-
125
-
126
-
127
-
 128
128 -
 129
129 -
 130
130 -
 131
131 -
 132
132 -
 133
133 -
 134
134 -
 135
135 -
 136
136 -
 137
137 -
 138
138 -
139
-
140
-
141
-
142
-
143
-
144
-
145
-
146
-
147
-
148
-
149
-
150
-
151
-
152
-
153
-
154
-
155
-
156
-
157
-
158
-
159
-
160
-
161
-
162
-
163
-
164
-
165
-
166
-
167
-
168
-
169
-
170
-
171
-
172
-
173
-
174
-
175
-
176
-
177
-
178
-
179
-
180
-
181
-
182
-
183
-
184
-
185
-
186
-
187
-
188
-
189
-
190
-
191
 |
 |