HP DesignJet T850 DesignJet T850 Printer Series DesignJet T950 Printer SeriesU - Page 90
With the Windows driver: Select
 |
View all HP DesignJet T850 manuals
Add to My Manuals
Save this manual to your list of manuals |
Page 90 highlights
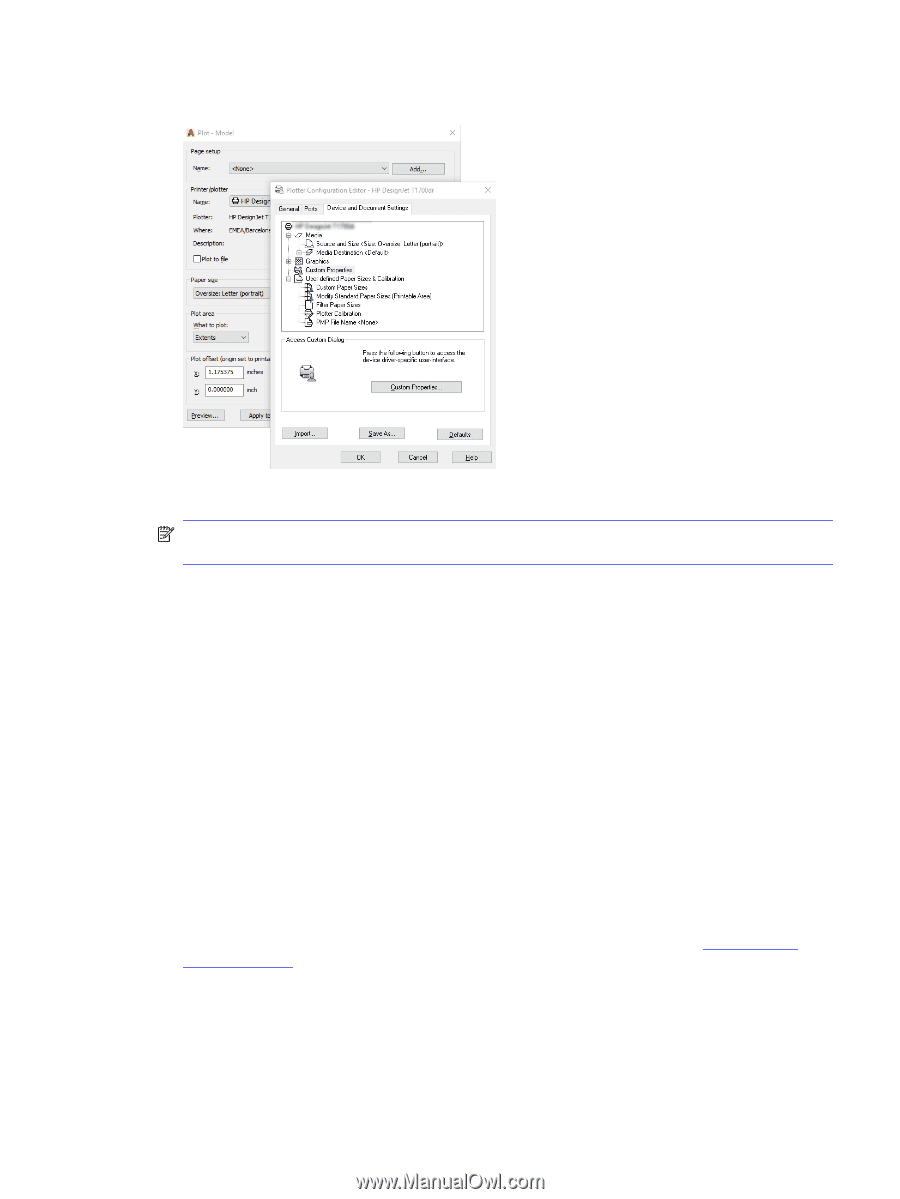
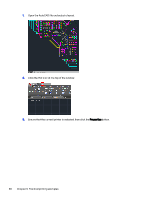
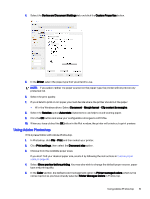
4. Select the Device and Document Settings tab, and click the Custom Properties button. 5. In the Driver, select the paper type that you intend to use. NOTE: If you select neither the paper source nor the paper type, the printer will not print on any protected roll. 6. Select the print quality. 7. If you intend to print on roll paper, you must decide where the printer should cut the paper. ● With the Windows driver: Select Document > Margin layout > Clip content by margins. 8. Select the Rotation option Autorotate. Autorotation can help to avoid wasting paper. 9. Click the OK button and save your configuration changes to a PC3 file. 10. When you have clicked the OK button in the Plot window, the printer will construct a print preview. Using Adobe Photoshop Print a presentation with Adobe Photoshop. 1. In Photoshop, click File > Print and then select your printer. 2. Click Print settings, then select the Document size option. 3. Choose from the available paper sizes. If you don't find your desired paper size, create it by following the instructions in Custom paper sizes on page 36. 4. Select Show preview before printing. You may also wish to change the default paper source, paper type and print quality. 5. In the Color section, the default color management option is Printer managed colors, which is the correct option as you have already selected Printer Manages Colors in Photoshop. Using Adobe Photoshop 81
-
 1
1 -
2
-
3
-
4
-
5
-
6
-
7
-
8
-
9
-
10
-
11
-
12
-
13
-
14
-
15
-
16
-
17
-
18
-
19
-
20
-
21
-
22
-
23
-
24
-
25
-
26
-
27
-
28
-
29
-
30
-
31
-
32
-
33
-
34
-
35
-
36
-
37
-
38
-
39
-
40
-
41
-
42
-
43
-
44
-
45
-
46
-
47
-
48
-
49
-
50
-
51
-
52
-
53
-
54
-
55
-
56
-
57
-
58
-
59
-
60
-
61
-
62
-
63
-
64
-
65
-
66
-
67
-
68
-
69
-
70
-
71
-
72
-
73
-
74
-
75
-
76
-
77
-
78
-
79
-
80
-
81
-
82
-
83
-
84
-
 85
85 -
 86
86 -
 87
87 -
 88
88 -
 89
89 -
 90
90 -
 91
91 -
 92
92 -
 93
93 -
 94
94 -
 95
95 -
96
-
97
-
98
-
99
-
100
-
101
-
102
-
103
-
104
-
105
-
106
-
107
-
108
-
109
-
110
-
111
-
112
-
113
-
114
-
115
-
116
-
117
-
118
-
119
-
120
-
121
-
122
-
123
-
124
-
125
-
126
-
127
-
128
-
129
-
130
-
131
-
132
-
133
-
134
-
135
-
136
-
137
-
138
-
139
-
140
-
141
-
142
-
143
-
144
-
145
-
146
-
147
-
148
-
149
-
150
-
151
-
152
-
153
-
154
-
155
-
156
-
157
-
158
-
159
-
160
-
161
-
162
-
163
-
164
-
165
-
166
-
167
-
168
-
169
-
170
-
171
-
172
-
173
-
174
-
175
-
176
-
177
-
178
-
179
-
180
-
181
-
182
-
183
-
184
-
185
-
186
-
187
-
188
-
189
-
190
-
191
 |
 |