Brother International WP1700MDS Owners Manual - English - Page 90
SS3008d
 |
View all Brother International WP1700MDS manuals
Add to My Manuals
Save this manual to your list of manuals |
Page 90 highlights
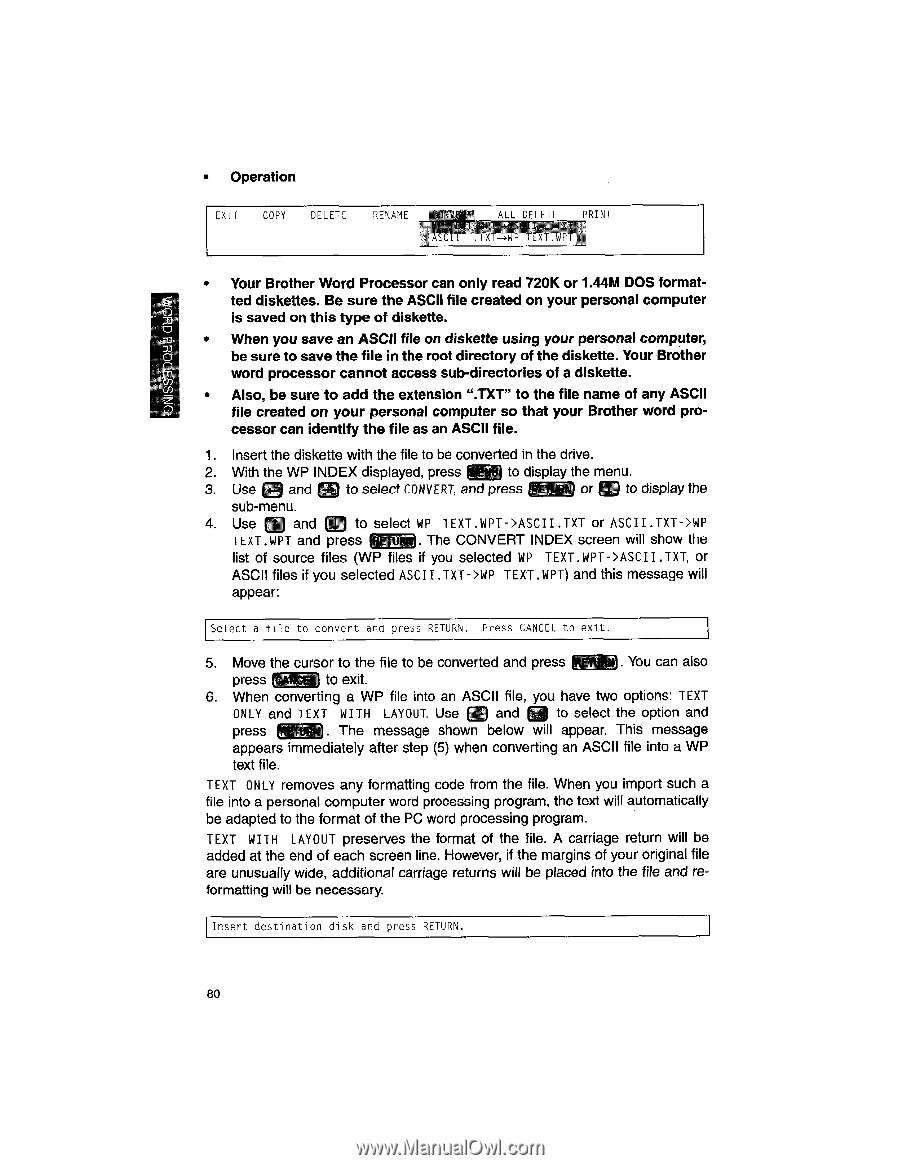
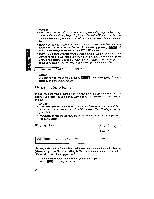
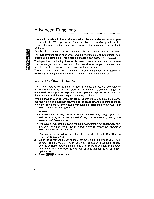
SS3008d OH • Operation EXIT COPY DELETE RENAME yle ALL DELETE PRINT . IAi-wr iLAT.wri • Your Brother Word Processor can only read 720K or 1.44M DOS formatted diskettes. Be sure the ASCII file created on your personal computer is saved on this type of diskette. • When you save an ASCII file on diskette using your personal computer, be sure to save the file in the root directory of the diskette. Your Brother word processor cannot access sub-directories of a diskette. • Also, be sure to add the extension ".TXT" to the file name of any ASCII file created on your personal computer so that your Brother word processor can identify the file as an ASCII file. 1. Insert the diskette with the file to be converted in the drive. 2. With the WP INDEX displayed, press to display the menu. 3. Use and to select CONVERT, and press or M to display the sub-menu. 4. Use CO and in to select WP TEXT.WPT->ASCII .TXT or ASCII .TXT->WP 1EXT.WPT and press IR tj. The CONVERT INDEX screen will show the list of source files (WP files if you selected WP TEXT. WPT->ASCII .TXT, or ASCII files if you selected ASCII .TXT->WP TEXT.WPT) and this message will appear: Select a file to convert and press RETURN. Press CANCEL to exit. 5. Move the cursor to the file to be converted and press . You can also press ic.ANCEL to exit. 6. When converting a WP file into an ASCII file, you have two options: TEXT ONLY and TEXT WITH LAYOUT. Use DI and n to select the option and press The message shown below will appear. This message appears immediately after step (5) when converting an ASCII file into a WP text file. TEXT ONLY removes any formatting code from the file. When you import such a file into a personal computer word processing program, the text will automatically be adapted to the format of the PC word processing program. TEXT WITH LAYOUT preserves the format of the file. A carriage return will be added at the end of each screen line. However, if the margins of your original file are unusually wide, additional carriage returns will be placed into the file and re- formatting will be necessary. Insert destination disk and press RETURN. 80
-
 1
1 -
2
-
3
-
4
-
5
-
6
-
7
-
8
-
9
-
10
-
11
-
12
-
13
-
14
-
15
-
16
-
17
-
18
-
19
-
20
-
21
-
22
-
23
-
24
-
25
-
26
-
27
-
28
-
29
-
30
-
31
-
32
-
33
-
34
-
35
-
36
-
37
-
38
-
39
-
40
-
41
-
42
-
43
-
44
-
45
-
46
-
47
-
48
-
49
-
50
-
51
-
52
-
53
-
54
-
55
-
56
-
57
-
58
-
59
-
60
-
61
-
62
-
63
-
64
-
65
-
66
-
67
-
68
-
69
-
70
-
71
-
72
-
73
-
74
-
75
-
76
-
77
-
78
-
79
-
80
-
81
-
82
-
83
-
84
-
 85
85 -
 86
86 -
 87
87 -
 88
88 -
 89
89 -
 90
90 -
 91
91 -
 92
92 -
 93
93 -
 94
94 -
 95
95 -
96
-
97
-
98
-
99
-
100
-
101
-
102
-
103
-
104
-
105
-
106
-
107
-
108
-
109
-
110
-
111
-
112
-
113
-
114
-
115
-
116
-
117
-
118
-
119
-
120
-
121
-
122
-
123
-
124
-
125
-
126
-
127
-
128
-
129
-
130
-
131
-
132
-
133
-
134
-
135
-
136
-
137
-
138
-
139
-
140
-
141
-
142
-
143
-
144
-
145
-
146
-
147
-
148
-
149
-
150
-
151
-
152
-
153
-
154
-
155
-
156
-
157
-
158
-
159
-
160
-
161
-
162
-
163
-
164
-
165
-
166
-
167
-
168
-
169
-
170
-
171
-
172
-
173
-
174
-
175
-
176
-
177
-
178
-
179
-
180
-
181
-
182
-
183
-
184
-
185
-
186
-
187
-
188
-
189
-
190
-
191
-
192
-
193
-
194
-
195
-
196
-
197
-
198
-
199
-
200
-
201
-
202
-
203
-
204
-
205
-
206
-
207
-
208
-
209
-
210
-
211
-
212
-
213
-
214
-
215
-
216
-
217
-
218
-
219
-
220
-
221
-
222
-
223
-
224
-
225
-
226
-
227
-
228
-
229
-
230
-
231
-
232
-
233
-
234
-
235
-
236
-
237
-
238
-
239
-
240
-
241
-
242
-
243
-
244
-
245
-
246
-
247
-
248
-
249
-
250
-
251
-
252
-
253
-
254
-
255
-
256
-
257
-
258
-
259
-
260
-
261
-
262
-
263
-
264
-
265
-
266
-
267
-
268
-
269
-
270
-
271
-
272
-
273
-
274
-
275
-
276
-
277
-
278
-
279
-
280
-
281
-
282
-
283
-
284
-
285
-
286
-
287
-
288
-
289
-
290
-
291
-
292
-
293
-
294
-
295
-
296
-
297
-
298
-
299
-
300
-
301
-
302
-
303
-
304
-
305
-
306
-
307
-
308
-
309
-
310
-
311
-
312
-
313
-
314
-
315
-
316
 |
 |