Brother International WP1700MDS Owners Manual - English - Page 95
Layout, Function
 |
View all Brother International WP1700MDS manuals
Add to My Manuals
Save this manual to your list of manuals |
Page 95 highlights
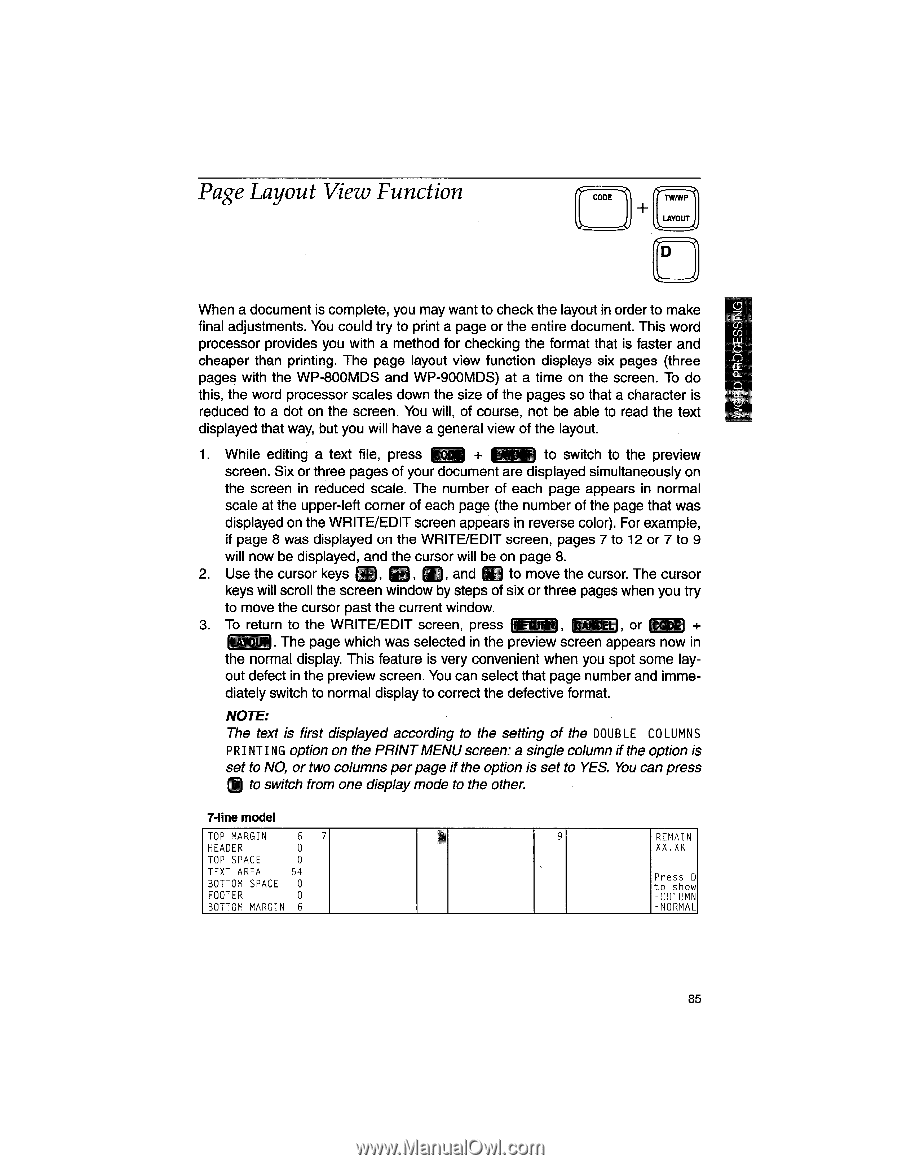
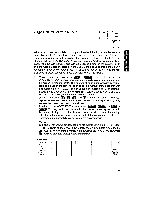
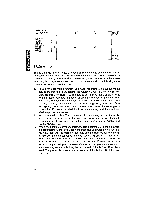
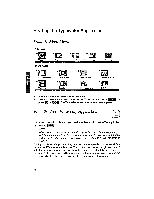
Page Layout View Function CODE 1" LAYOUT D When a document is complete, you may want to check the layout in order to make final adjustments. You could try to print a page or the entire document. This word processor provides you with a method for checking the format that is faster and cheaper than printing. The page layout view function displays six pages (three pages with the WP-800MDS and WP-900MDS) at a time on the screen. To do 0ULU I 0 this, the word processor scales down the size of the pages so that a character is cc reduced to a dot on the screen. You will, of course, not be able to read the text displayed that way, but you will have a general view of the layout. 1. While editing a text file, press Mil + NM to switch to the preview screen. Six or three pages of your document are displayed simultaneously on the screen in reduced scale. The number of each page appears in normal scale at the upper-left corner of each page (the number of the page that was displayed on the WRITE/EDIT screen appears in reverse color). For example, if page 8 was displayed on the WRITE/EDIT screen, pages 7 to 12 or 7 to 9 will now be displayed, and the cursor will be on page 8. 2. Use the cursor keys E), al and m to move the cursor. The cursor keys will scroll the screen window by steps of six or three pages when you try to move the cursor past the current window. 3. To return to the WRITE/EDIT screen, press lame/..1, C 4 , or t- + . The page which was selected in the preview screen appears now in the normal display. This feature is very convenient when you spot some lay- out defect in the preview screen. You can select that page number and imme- diately switch to normal display to correct the defective format. NOTE: The text is first displayed according to the setting of the DOUBLE COLUMNS PRINTING option on the PRINT MENU screen: a single column if the option is set to NO, or two columns per page if the option is set to YES. You can press (I) to switch from one display mode to the other. 7-line model TOP MARGIN 6 7 HEADER U TOP SPACE 0 TEXT AREA 54 BOTTOM SPACE 0 FOOTER 0 BOTTOM MARGIN 6 9 REMAIN XX.XK Press D to show -COLUMN -NORMAL 85
-
 1
1 -
2
-
3
-
4
-
5
-
6
-
7
-
8
-
9
-
10
-
11
-
12
-
13
-
14
-
15
-
16
-
17
-
18
-
19
-
20
-
21
-
22
-
23
-
24
-
25
-
26
-
27
-
28
-
29
-
30
-
31
-
32
-
33
-
34
-
35
-
36
-
37
-
38
-
39
-
40
-
41
-
42
-
43
-
44
-
45
-
46
-
47
-
48
-
49
-
50
-
51
-
52
-
53
-
54
-
55
-
56
-
57
-
58
-
59
-
60
-
61
-
62
-
63
-
64
-
65
-
66
-
67
-
68
-
69
-
70
-
71
-
72
-
73
-
74
-
75
-
76
-
77
-
78
-
79
-
80
-
81
-
82
-
83
-
84
-
85
-
86
-
87
-
88
-
89
-
 90
90 -
 91
91 -
 92
92 -
 93
93 -
 94
94 -
 95
95 -
 96
96 -
 97
97 -
 98
98 -
 99
99 -
 100
100 -
101
-
102
-
103
-
104
-
105
-
106
-
107
-
108
-
109
-
110
-
111
-
112
-
113
-
114
-
115
-
116
-
117
-
118
-
119
-
120
-
121
-
122
-
123
-
124
-
125
-
126
-
127
-
128
-
129
-
130
-
131
-
132
-
133
-
134
-
135
-
136
-
137
-
138
-
139
-
140
-
141
-
142
-
143
-
144
-
145
-
146
-
147
-
148
-
149
-
150
-
151
-
152
-
153
-
154
-
155
-
156
-
157
-
158
-
159
-
160
-
161
-
162
-
163
-
164
-
165
-
166
-
167
-
168
-
169
-
170
-
171
-
172
-
173
-
174
-
175
-
176
-
177
-
178
-
179
-
180
-
181
-
182
-
183
-
184
-
185
-
186
-
187
-
188
-
189
-
190
-
191
-
192
-
193
-
194
-
195
-
196
-
197
-
198
-
199
-
200
-
201
-
202
-
203
-
204
-
205
-
206
-
207
-
208
-
209
-
210
-
211
-
212
-
213
-
214
-
215
-
216
-
217
-
218
-
219
-
220
-
221
-
222
-
223
-
224
-
225
-
226
-
227
-
228
-
229
-
230
-
231
-
232
-
233
-
234
-
235
-
236
-
237
-
238
-
239
-
240
-
241
-
242
-
243
-
244
-
245
-
246
-
247
-
248
-
249
-
250
-
251
-
252
-
253
-
254
-
255
-
256
-
257
-
258
-
259
-
260
-
261
-
262
-
263
-
264
-
265
-
266
-
267
-
268
-
269
-
270
-
271
-
272
-
273
-
274
-
275
-
276
-
277
-
278
-
279
-
280
-
281
-
282
-
283
-
284
-
285
-
286
-
287
-
288
-
289
-
290
-
291
-
292
-
293
-
294
-
295
-
296
-
297
-
298
-
299
-
300
-
301
-
302
-
303
-
304
-
305
-
306
-
307
-
308
-
309
-
310
-
311
-
312
-
313
-
314
-
315
-
316
 |
 |