Brother International PEDESIGN 7.0 Users Manual - English - Page 171
Saving frequently used, sewing attributes
 |
View all Brother International PEDESIGN 7.0 manuals
Add to My Manuals
Save this manual to your list of manuals |
Page 171 highlights
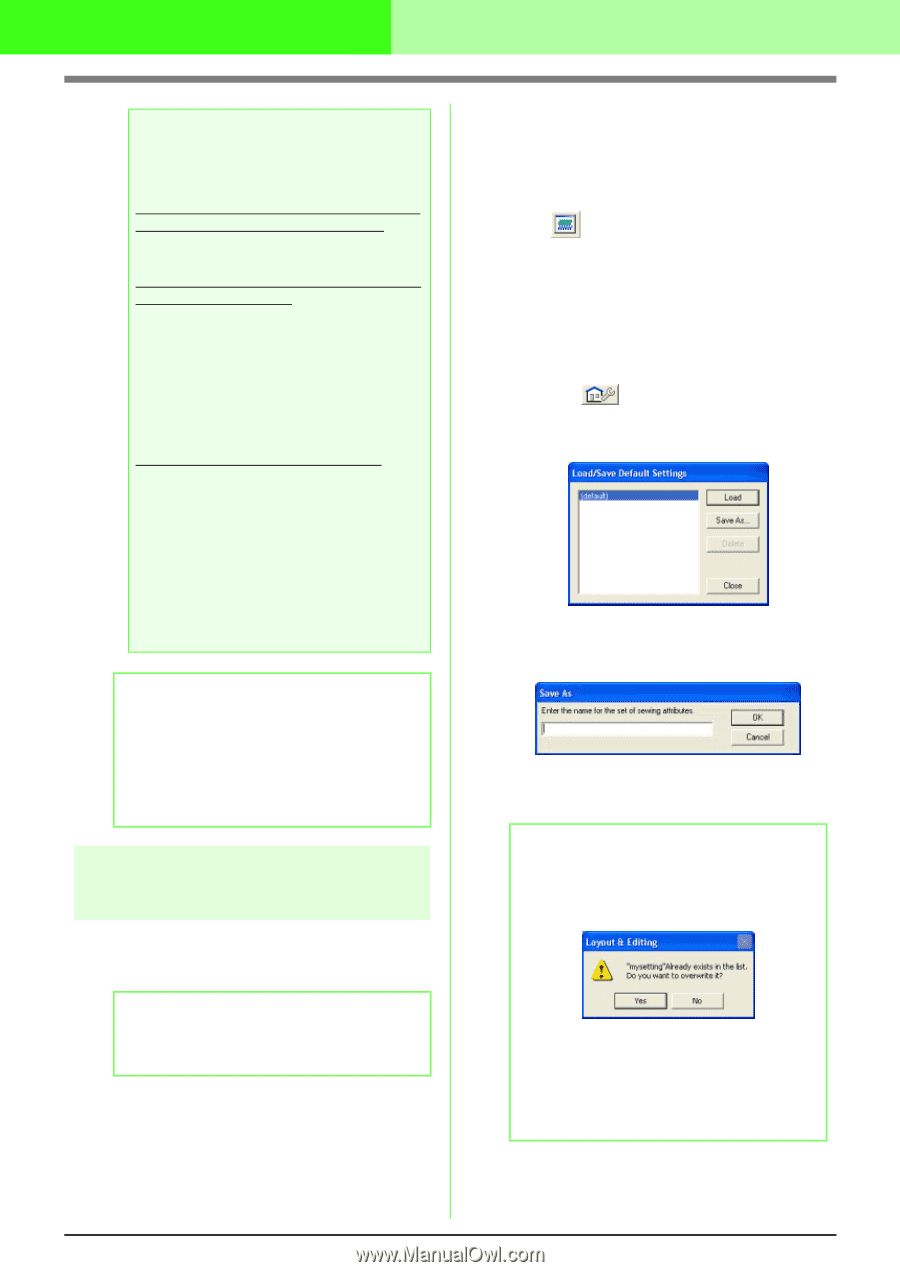
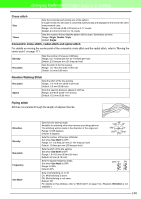
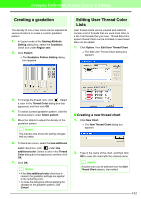
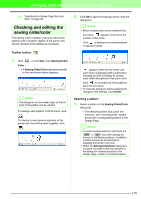
Arranging Embroidery Designs (Layout & Editing) a Note: Thread colors in embroidery patterns created with this software may appear differently on the embroidering machine. 1. Embroidery machines without a function for displaying thread color information The specified thread information cannot be displayed on some machines. 2. Embroidery machines with a function for displaying thread colors Of the thread information specified in the embroidery pattern, only the thread colors are displayed on the machine. However, the thread color names that are displayed are limited to the machine's preset thread color names. Therefore, use thread color names in the embroidery pattern that are closest to the machine's preset thread color names. 3. Machines with a thread color index Some machines can display the thread information (such as the color, the color name as well as the brand name and thread number) specified with this software. The machines can display the color, the color name as well as the brand name and thread number. However, for items edited or added by the user (items marked with an asterisk (*)), only the thread number is displayed. b Memo: The edited user thread chart can also be used on a different computer. Simply copy chart2.btc from the Color folder in the PEDESIGN Ver7 folder (application folder) on the original computer to the Color folder at the same path on the destination computer. Saving frequently used sewing attributes Frequently used sewing attributes can be saved together, and recalled when specifying sewing attributes. b Memo: Settings in both Beginner mode and Expert mode can be saved. I Opening the Sewing Attribute Setting dialog box 1. Click one of the Tool Box buttons used to draw or select objects. 2. Click in the Toolbar → The Sewing Attribute Setting dialog box appears. I Saving the settings in a list 1. If necessary, change the settings in the Sewing Attribute Setting dialog box, and then click . → The Load/Save Default Setting dialog box appears. 2. Click Save as. → The Save As dialog box appears. 3. Type in a name for the group of settings, and then click OK to register the group in a list. b Memo: If the name for the settings entered in the Save As dialog box is already registered, the following message appears. • To overwrite the previously registered settings, click OK. • If you do not want to overwrite the existing settings, click Cancel, and then type in a different name for the settings. 165
-
 1
1 -
2
-
3
-
4
-
5
-
6
-
7
-
8
-
9
-
10
-
11
-
12
-
13
-
14
-
15
-
16
-
17
-
18
-
19
-
20
-
21
-
22
-
23
-
24
-
25
-
26
-
27
-
28
-
29
-
30
-
31
-
32
-
33
-
34
-
35
-
36
-
37
-
38
-
39
-
40
-
41
-
42
-
43
-
44
-
45
-
46
-
47
-
48
-
49
-
50
-
51
-
52
-
53
-
54
-
55
-
56
-
57
-
58
-
59
-
60
-
61
-
62
-
63
-
64
-
65
-
66
-
67
-
68
-
69
-
70
-
71
-
72
-
73
-
74
-
75
-
76
-
77
-
78
-
79
-
80
-
81
-
82
-
83
-
84
-
85
-
86
-
87
-
88
-
89
-
90
-
91
-
92
-
93
-
94
-
95
-
96
-
97
-
98
-
99
-
100
-
101
-
102
-
103
-
104
-
105
-
106
-
107
-
108
-
109
-
110
-
111
-
112
-
113
-
114
-
115
-
116
-
117
-
118
-
119
-
120
-
121
-
122
-
123
-
124
-
125
-
126
-
127
-
128
-
129
-
130
-
131
-
132
-
133
-
134
-
135
-
136
-
137
-
138
-
139
-
140
-
141
-
142
-
143
-
144
-
145
-
146
-
147
-
148
-
149
-
150
-
151
-
152
-
153
-
154
-
155
-
156
-
157
-
158
-
159
-
160
-
161
-
162
-
163
-
164
-
165
-
 166
166 -
 167
167 -
 168
168 -
 169
169 -
 170
170 -
 171
171 -
 172
172 -
 173
173 -
 174
174 -
 175
175 -
 176
176 -
177
-
178
-
179
-
180
-
181
-
182
-
183
-
184
-
185
-
186
-
187
-
188
-
189
-
190
-
191
-
192
-
193
-
194
-
195
-
196
-
197
-
198
-
199
-
200
-
201
-
202
-
203
-
204
-
205
-
206
-
207
-
208
-
209
-
210
-
211
-
212
-
213
-
214
-
215
-
216
-
217
-
218
-
219
-
220
-
221
-
222
-
223
-
224
-
225
-
226
-
227
-
228
-
229
-
230
-
231
-
232
-
233
-
234
-
235
-
236
-
237
-
238
-
239
-
240
-
241
-
242
-
243
-
244
-
245
-
246
-
247
-
248
-
249
-
250
-
251
-
252
-
253
-
254
-
255
-
256
-
257
-
258
-
259
-
260
-
261
-
262
-
263
-
264
-
265
-
266
-
267
-
268
-
269
-
270
-
271
-
272
-
273
-
274
-
275
-
276
-
277
-
278
-
279
-
280
-
281
-
282
-
283
-
284
-
285
-
286
-
287
-
288
-
289
-
290
-
291
-
292
-
293
-
294
-
295
-
296
-
297
-
298
-
299
-
300
-
301
-
302
-
303
-
304
-
305
-
306
-
307
-
308
-
309
-
310
-
311
-
312
-
313
-
314
-
315
-
316
-
317
-
318
-
319
-
320
-
321
-
322
-
323
-
324
-
325
-
326
-
327
-
328
-
329
-
330
-
331
-
332
-
333
-
334
-
335
-
336
-
337
-
338
-
339
-
340
-
341
-
342
-
343
-
344
-
345
-
346
-
347
-
348
-
349
-
350
-
351
-
352
-
353
-
354
-
355
-
356
-
357
-
358
-
359
-
360
-
361
 |
 |