Brother International PEDESIGN 7.0 Users Manual - English - Page 283
Opening Embroidery Designs
 |
View all Brother International PEDESIGN 7.0 manuals
Add to My Manuals
Save this manual to your list of manuals |
Page 283 highlights
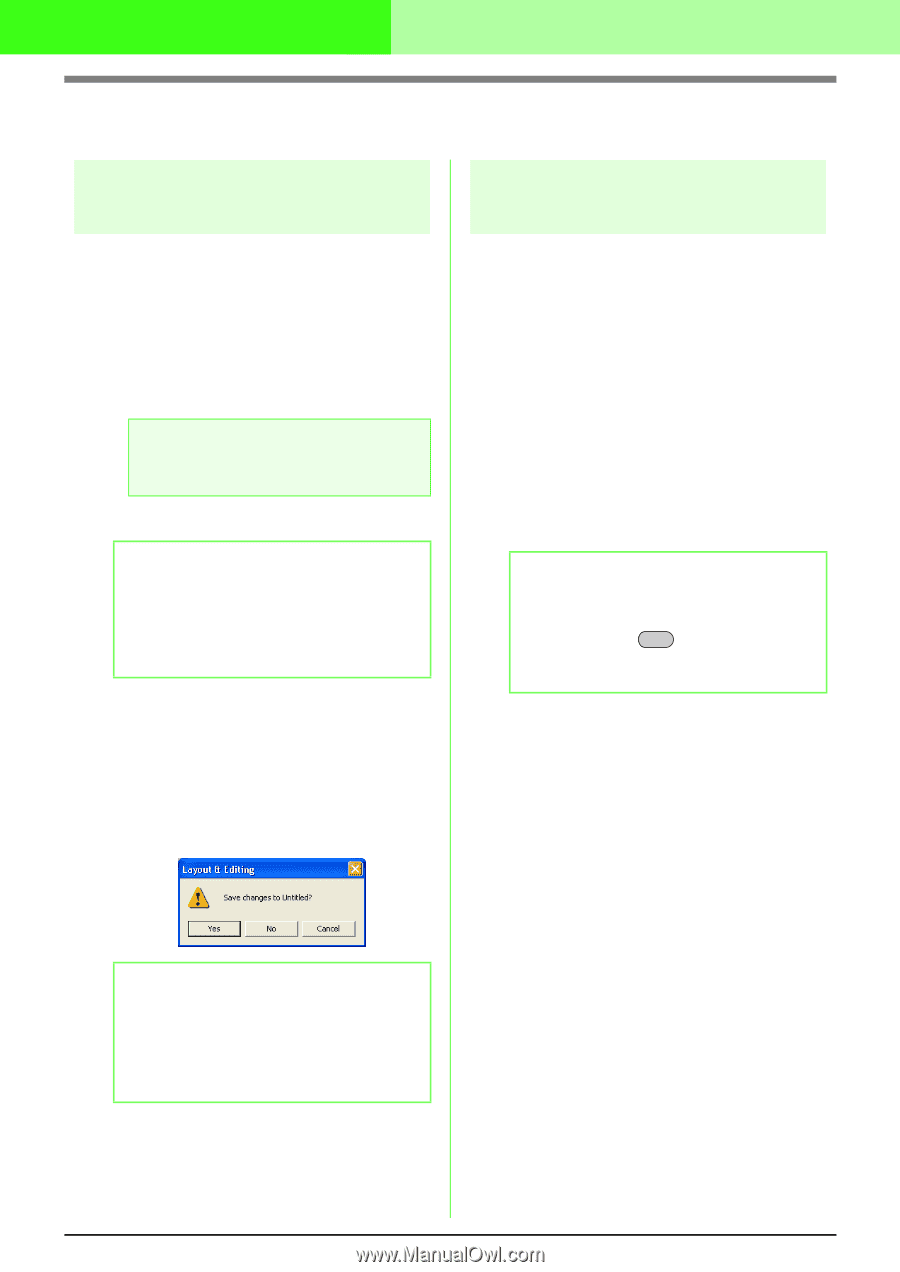
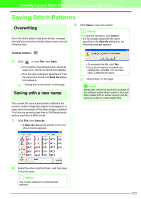
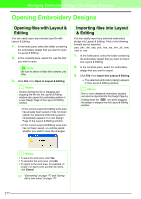
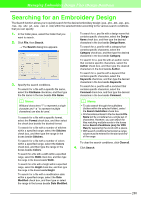
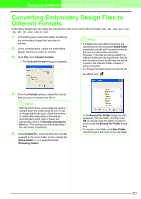
Managing Embroidery Design Files (Design Database) Opening Embroidery Designs Opening files with Layout & Editing You can easily open any selected .pes file with Layout & Editing. 1. In the folder pane, select the folder containing the embroidery design that you want to open in Layout & Editing. 2. In the contents pane, select the .pes file that you want to open. a Note: Be sure to select a folder that contains .pes files. 3. Click File, then Open in Layout & Editing. b Memo: Double-clicking the file or dragging and dropping the file into the Layout & Editing window also opens the embroidery pattern in a new Design Page of the Layout & Editing window. → If the current Layout & Editing work area has already been saved or has not been edited, the selected embroidery pattern immediately appears in a new Design Page of the Layout & Editing window. → If the current Layout & Editing work area has not been saved, you will be asked whether you want to save the changes. Importing files into Layout & Editing You can easily import any selected embroidery design into Layout & Editing. Files in the following formats can be imported. .pes, .phc, .dst, .exp, .pcs, .hus, .vip, .shv, .jef, .sew, .csd, or .xxx 1. In the folder pane, select the folder containing the embroidery design that you want to import into Layout & Editing. 2. In the contents pane, select the embroidery design that you want to import. 3. Click File, then Import Into Layout & Editing. → The selected embroidery design appears in the Layout & Editing window. b Memo: One or more displayed embroidery designs can also be imported into the Design Page by holding down the Ctrl key while dragging the design or designs into the Layout & Editing window. b Memo: • To save the work area, click Yes. • To abandon the work area, click No. • To return to the work area, for example, to modify it or save it with another file name, click Cancel. c "Overwriting" on page 177 and "Saving with a new name" on page 177 277
-
 1
1 -
2
-
3
-
4
-
5
-
6
-
7
-
8
-
9
-
10
-
11
-
12
-
13
-
14
-
15
-
16
-
17
-
18
-
19
-
20
-
21
-
22
-
23
-
24
-
25
-
26
-
27
-
28
-
29
-
30
-
31
-
32
-
33
-
34
-
35
-
36
-
37
-
38
-
39
-
40
-
41
-
42
-
43
-
44
-
45
-
46
-
47
-
48
-
49
-
50
-
51
-
52
-
53
-
54
-
55
-
56
-
57
-
58
-
59
-
60
-
61
-
62
-
63
-
64
-
65
-
66
-
67
-
68
-
69
-
70
-
71
-
72
-
73
-
74
-
75
-
76
-
77
-
78
-
79
-
80
-
81
-
82
-
83
-
84
-
85
-
86
-
87
-
88
-
89
-
90
-
91
-
92
-
93
-
94
-
95
-
96
-
97
-
98
-
99
-
100
-
101
-
102
-
103
-
104
-
105
-
106
-
107
-
108
-
109
-
110
-
111
-
112
-
113
-
114
-
115
-
116
-
117
-
118
-
119
-
120
-
121
-
122
-
123
-
124
-
125
-
126
-
127
-
128
-
129
-
130
-
131
-
132
-
133
-
134
-
135
-
136
-
137
-
138
-
139
-
140
-
141
-
142
-
143
-
144
-
145
-
146
-
147
-
148
-
149
-
150
-
151
-
152
-
153
-
154
-
155
-
156
-
157
-
158
-
159
-
160
-
161
-
162
-
163
-
164
-
165
-
166
-
167
-
168
-
169
-
170
-
171
-
172
-
173
-
174
-
175
-
176
-
177
-
178
-
179
-
180
-
181
-
182
-
183
-
184
-
185
-
186
-
187
-
188
-
189
-
190
-
191
-
192
-
193
-
194
-
195
-
196
-
197
-
198
-
199
-
200
-
201
-
202
-
203
-
204
-
205
-
206
-
207
-
208
-
209
-
210
-
211
-
212
-
213
-
214
-
215
-
216
-
217
-
218
-
219
-
220
-
221
-
222
-
223
-
224
-
225
-
226
-
227
-
228
-
229
-
230
-
231
-
232
-
233
-
234
-
235
-
236
-
237
-
238
-
239
-
240
-
241
-
242
-
243
-
244
-
245
-
246
-
247
-
248
-
249
-
250
-
251
-
252
-
253
-
254
-
255
-
256
-
257
-
258
-
259
-
260
-
261
-
262
-
263
-
264
-
265
-
266
-
267
-
268
-
269
-
270
-
271
-
272
-
273
-
274
-
275
-
276
-
277
-
 278
278 -
 279
279 -
 280
280 -
 281
281 -
 282
282 -
 283
283 -
 284
284 -
 285
285 -
 286
286 -
 287
287 -
 288
288 -
289
-
290
-
291
-
292
-
293
-
294
-
295
-
296
-
297
-
298
-
299
-
300
-
301
-
302
-
303
-
304
-
305
-
306
-
307
-
308
-
309
-
310
-
311
-
312
-
313
-
314
-
315
-
316
-
317
-
318
-
319
-
320
-
321
-
322
-
323
-
324
-
325
-
326
-
327
-
328
-
329
-
330
-
331
-
332
-
333
-
334
-
335
-
336
-
337
-
338
-
339
-
340
-
341
-
342
-
343
-
344
-
345
-
346
-
347
-
348
-
349
-
350
-
351
-
352
-
353
-
354
-
355
-
356
-
357
-
358
-
359
-
360
-
361
 |
 |