Brother International PEDESIGN 7.0 Users Manual - English - Page 181
Viewing design in the, reference window
 |
View all Brother International PEDESIGN 7.0 manuals
Add to My Manuals
Save this manual to your list of manuals |
Page 181 highlights
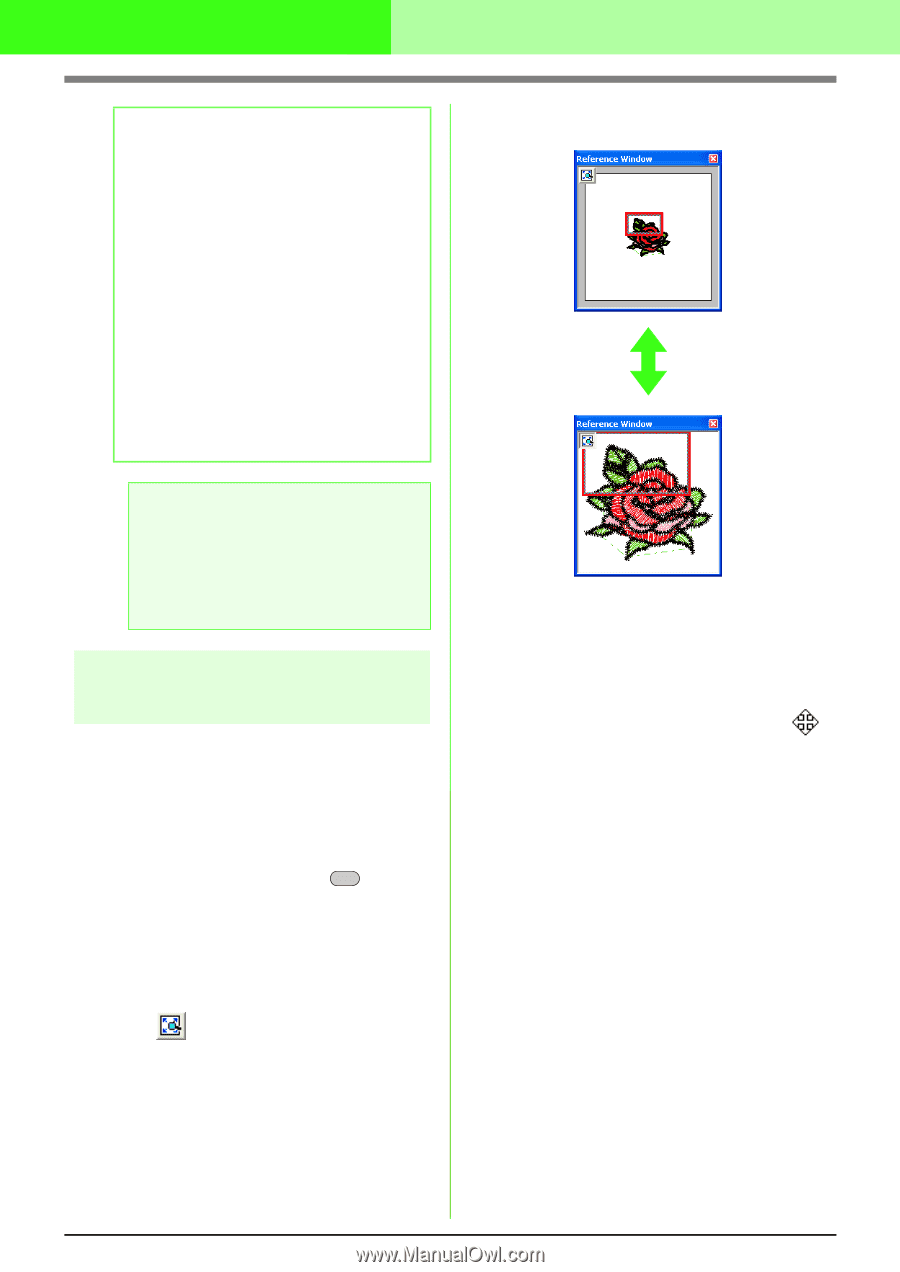
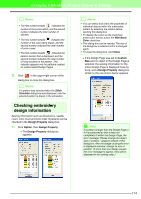
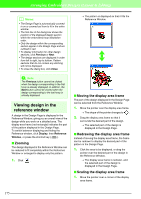
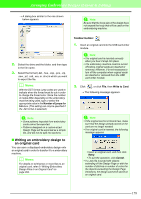
Arranging Embroidery Designs (Layout & Editing) b Memo: • The Design Page is automatically zoomed in on or zoomed out from to fit in the entire window. • The first line of the dialog box shows the position of the displayed design section within the embroidery hoop installation order. • Only the design within the corresponding section appear in the Design Page and are outlined in red. • To display information for other design sections, click Previous or Next. • The design sections are displayed in order from left to right, top to bottom. Pattern sections that do not contain any stitching will not be displayed. • To close the dialog box, click Close. → The pattern is displayed so that it fills the Reference Window. a Note: The Previous button cannot be clicked when the design corresponding to the first hoop is already displayed. In addition, the Next button cannot be clicked when the design corresponding to the last hoop is already displayed. Viewing design in the reference window A design in the Design Page is displayed in the Reference Window, giving you an overall view of the design while you work on a detailed area. The display area frame (red rectangle) indicates the part of the pattern displayed in the Design Page. To switch between displaying and hiding the Reference window, click Display, then Reference Window, or press the shortcut key ( F11 ). I Zooming The design displayed in the Reference Window can be reduced to fit completely within the Reference Window or enlarged to display only the pattern. 1. Click . I Moving the display area frame The part of the design displayed in the Design Page can be selected from the Reference Window. 1. Move the pointer over the display area frame. → The shape of the pointer changes to . 2. Drag the display area frame so that it surrounds the desired part of the design. → The selected part of the design is displayed in the Design Page. I Redrawing the display area frame Instead of moving the display area frame, the frame can be redrawn to display the desired part of the pattern in the Design Page. 1. Click the area to be displayed, or drag the pointer over the desired part of the design in the Reference Window. → The display area frame is redrawn, and the selected part of the design is displayed in the Design Page. I Scaling the display area frame 1. Move the pointer over a corner of the display area frame. 175
-
 1
1 -
2
-
3
-
4
-
5
-
6
-
7
-
8
-
9
-
10
-
11
-
12
-
13
-
14
-
15
-
16
-
17
-
18
-
19
-
20
-
21
-
22
-
23
-
24
-
25
-
26
-
27
-
28
-
29
-
30
-
31
-
32
-
33
-
34
-
35
-
36
-
37
-
38
-
39
-
40
-
41
-
42
-
43
-
44
-
45
-
46
-
47
-
48
-
49
-
50
-
51
-
52
-
53
-
54
-
55
-
56
-
57
-
58
-
59
-
60
-
61
-
62
-
63
-
64
-
65
-
66
-
67
-
68
-
69
-
70
-
71
-
72
-
73
-
74
-
75
-
76
-
77
-
78
-
79
-
80
-
81
-
82
-
83
-
84
-
85
-
86
-
87
-
88
-
89
-
90
-
91
-
92
-
93
-
94
-
95
-
96
-
97
-
98
-
99
-
100
-
101
-
102
-
103
-
104
-
105
-
106
-
107
-
108
-
109
-
110
-
111
-
112
-
113
-
114
-
115
-
116
-
117
-
118
-
119
-
120
-
121
-
122
-
123
-
124
-
125
-
126
-
127
-
128
-
129
-
130
-
131
-
132
-
133
-
134
-
135
-
136
-
137
-
138
-
139
-
140
-
141
-
142
-
143
-
144
-
145
-
146
-
147
-
148
-
149
-
150
-
151
-
152
-
153
-
154
-
155
-
156
-
157
-
158
-
159
-
160
-
161
-
162
-
163
-
164
-
165
-
166
-
167
-
168
-
169
-
170
-
171
-
172
-
173
-
174
-
175
-
 176
176 -
 177
177 -
 178
178 -
 179
179 -
 180
180 -
 181
181 -
 182
182 -
 183
183 -
 184
184 -
 185
185 -
 186
186 -
187
-
188
-
189
-
190
-
191
-
192
-
193
-
194
-
195
-
196
-
197
-
198
-
199
-
200
-
201
-
202
-
203
-
204
-
205
-
206
-
207
-
208
-
209
-
210
-
211
-
212
-
213
-
214
-
215
-
216
-
217
-
218
-
219
-
220
-
221
-
222
-
223
-
224
-
225
-
226
-
227
-
228
-
229
-
230
-
231
-
232
-
233
-
234
-
235
-
236
-
237
-
238
-
239
-
240
-
241
-
242
-
243
-
244
-
245
-
246
-
247
-
248
-
249
-
250
-
251
-
252
-
253
-
254
-
255
-
256
-
257
-
258
-
259
-
260
-
261
-
262
-
263
-
264
-
265
-
266
-
267
-
268
-
269
-
270
-
271
-
272
-
273
-
274
-
275
-
276
-
277
-
278
-
279
-
280
-
281
-
282
-
283
-
284
-
285
-
286
-
287
-
288
-
289
-
290
-
291
-
292
-
293
-
294
-
295
-
296
-
297
-
298
-
299
-
300
-
301
-
302
-
303
-
304
-
305
-
306
-
307
-
308
-
309
-
310
-
311
-
312
-
313
-
314
-
315
-
316
-
317
-
318
-
319
-
320
-
321
-
322
-
323
-
324
-
325
-
326
-
327
-
328
-
329
-
330
-
331
-
332
-
333
-
334
-
335
-
336
-
337
-
338
-
339
-
340
-
341
-
342
-
343
-
344
-
345
-
346
-
347
-
348
-
349
-
350
-
351
-
352
-
353
-
354
-
355
-
356
-
357
-
358
-
359
-
360
-
361
 |
 |