Brother International PEDESIGN 7.0 Users Manual - English - Page 209
Flipping outlines horizontally or, vertically, Rotating outlines
 |
View all Brother International PEDESIGN 7.0 manuals
Add to My Manuals
Save this manual to your list of manuals |
Page 209 highlights
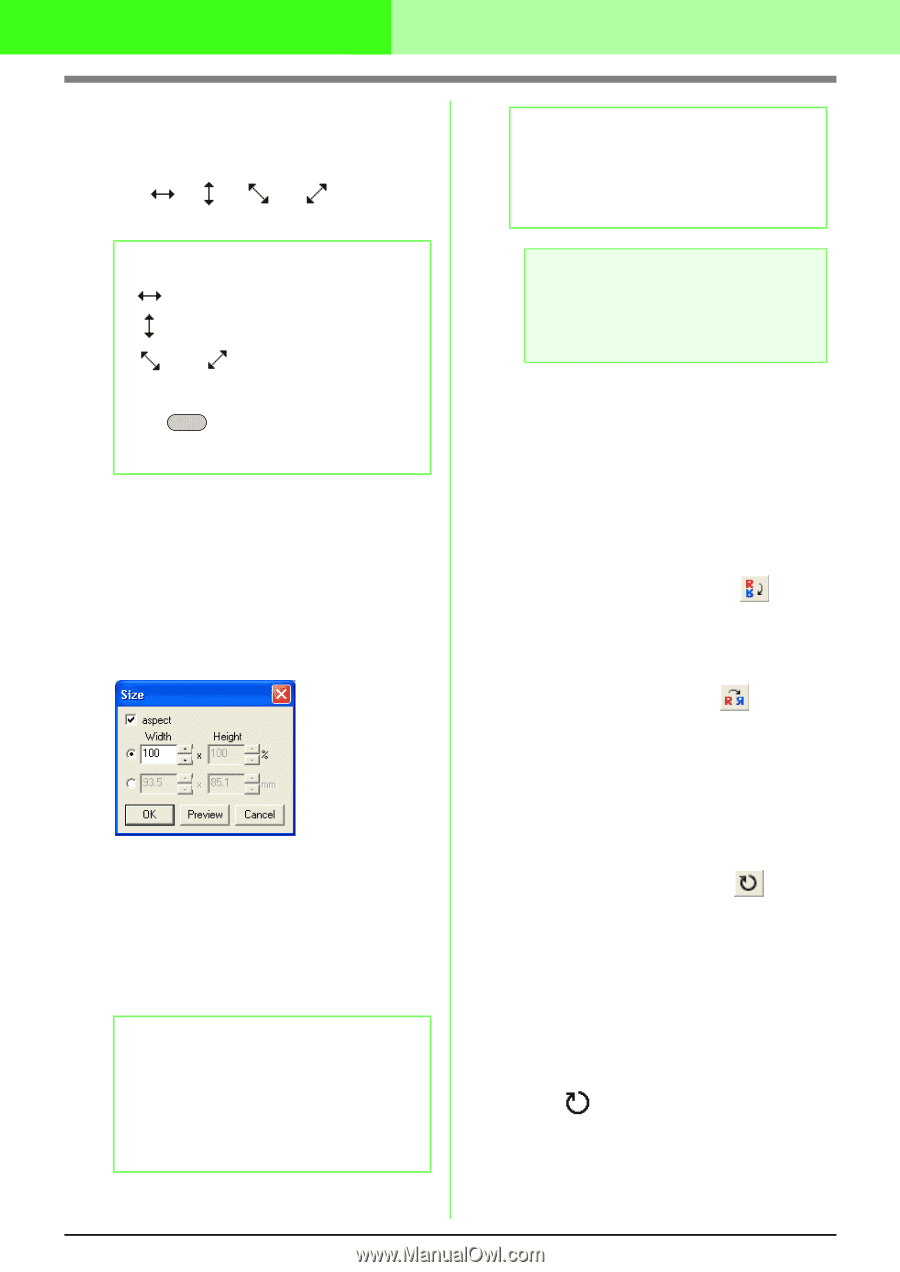
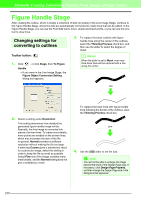
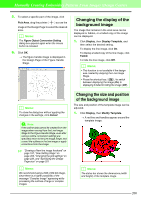
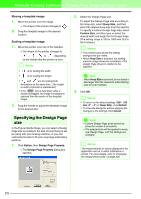
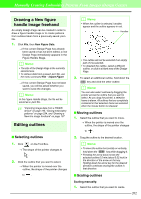
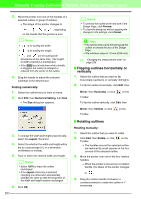
Manually Creating Embroidery Patterns From Images (Design Center) 2. Move the pointer over one of the handles of a selected outline or group of outlines. → The shape of the pointer changes to , , or , depending on the handle that the pointer is over. b Memo: • is for scaling the width. • is for scaling the height. • and are for scaling both dimensions at the same time. (The heightto-width proportion is maintained.) • If the Shift key is held down while a handle is dragged, the outline is enlarged or reduced from the center of the outline. 3. Drag the handle to adjust the selected outline(s) to the desired size. Scaling numerically: 1. Select the outline that you want to resize. 2. Click Edit, then Numerical Setting, then Size. → The Size dialog box appears. 3. To change the width and height proportionally, select the aspect check box. 4. Select the whether the width and height will be set as a percentage (%) or a dimension (millimeters or inches). 5. Type or select the desired width and height. b Memo: • Select 100% to leave the outline unchanged. • If the aspect check box is selected, changing one dimension automatically changes the other so that the proportion of the width and height remains unchanged. 6. Click OK. 203 b Memo: • To preview the outline at the new size in the Design Page, click Preview. • To close the dialog box without applying the changes to the settings, click Cancel. a Note: • You cannot enter a size that will cause the outline to exceed the size of the Design Page. • The minimum value is 1.0 mm (0.04 inch). c "Changing the measurement units" on page 236 I Flipping outlines horizontally or vertically 1. Select the outline that you want to flip horizontally (up/down) or vertically (left/right). 2. To flip the outline horizontally, click Edit, then Mirror, then Horizontal, or click on the Toolbar. To flip the outline vertically, click Edit, then Mirror, then Vertical, or click Toolbar. on the I Rotating outlines Rotating manually: 1. Select the outline that you want to rotate. 2. Click Edit, then Rotate, or click Toolbar. on the → The handles around the selected outline are replaced by small squares at the four corners of the selected outline. 3. Move the pointer over one of the four rotation handles. → When the pointer is moved over a rotation handle, the shape of the pointer changes to . 4. Drag the rotation handle clockwise or counterclockwise to rotate the outline in 1° increments.
-
 1
1 -
2
-
3
-
4
-
5
-
6
-
7
-
8
-
9
-
10
-
11
-
12
-
13
-
14
-
15
-
16
-
17
-
18
-
19
-
20
-
21
-
22
-
23
-
24
-
25
-
26
-
27
-
28
-
29
-
30
-
31
-
32
-
33
-
34
-
35
-
36
-
37
-
38
-
39
-
40
-
41
-
42
-
43
-
44
-
45
-
46
-
47
-
48
-
49
-
50
-
51
-
52
-
53
-
54
-
55
-
56
-
57
-
58
-
59
-
60
-
61
-
62
-
63
-
64
-
65
-
66
-
67
-
68
-
69
-
70
-
71
-
72
-
73
-
74
-
75
-
76
-
77
-
78
-
79
-
80
-
81
-
82
-
83
-
84
-
85
-
86
-
87
-
88
-
89
-
90
-
91
-
92
-
93
-
94
-
95
-
96
-
97
-
98
-
99
-
100
-
101
-
102
-
103
-
104
-
105
-
106
-
107
-
108
-
109
-
110
-
111
-
112
-
113
-
114
-
115
-
116
-
117
-
118
-
119
-
120
-
121
-
122
-
123
-
124
-
125
-
126
-
127
-
128
-
129
-
130
-
131
-
132
-
133
-
134
-
135
-
136
-
137
-
138
-
139
-
140
-
141
-
142
-
143
-
144
-
145
-
146
-
147
-
148
-
149
-
150
-
151
-
152
-
153
-
154
-
155
-
156
-
157
-
158
-
159
-
160
-
161
-
162
-
163
-
164
-
165
-
166
-
167
-
168
-
169
-
170
-
171
-
172
-
173
-
174
-
175
-
176
-
177
-
178
-
179
-
180
-
181
-
182
-
183
-
184
-
185
-
186
-
187
-
188
-
189
-
190
-
191
-
192
-
193
-
194
-
195
-
196
-
197
-
198
-
199
-
200
-
201
-
202
-
203
-
 204
204 -
 205
205 -
 206
206 -
 207
207 -
 208
208 -
 209
209 -
 210
210 -
 211
211 -
 212
212 -
 213
213 -
 214
214 -
215
-
216
-
217
-
218
-
219
-
220
-
221
-
222
-
223
-
224
-
225
-
226
-
227
-
228
-
229
-
230
-
231
-
232
-
233
-
234
-
235
-
236
-
237
-
238
-
239
-
240
-
241
-
242
-
243
-
244
-
245
-
246
-
247
-
248
-
249
-
250
-
251
-
252
-
253
-
254
-
255
-
256
-
257
-
258
-
259
-
260
-
261
-
262
-
263
-
264
-
265
-
266
-
267
-
268
-
269
-
270
-
271
-
272
-
273
-
274
-
275
-
276
-
277
-
278
-
279
-
280
-
281
-
282
-
283
-
284
-
285
-
286
-
287
-
288
-
289
-
290
-
291
-
292
-
293
-
294
-
295
-
296
-
297
-
298
-
299
-
300
-
301
-
302
-
303
-
304
-
305
-
306
-
307
-
308
-
309
-
310
-
311
-
312
-
313
-
314
-
315
-
316
-
317
-
318
-
319
-
320
-
321
-
322
-
323
-
324
-
325
-
326
-
327
-
328
-
329
-
330
-
331
-
332
-
333
-
334
-
335
-
336
-
337
-
338
-
339
-
340
-
341
-
342
-
343
-
344
-
345
-
346
-
347
-
348
-
349
-
350
-
351
-
352
-
353
-
354
-
355
-
356
-
357
-
358
-
359
-
360
-
361
 |
 |