Brother International PEDESIGN 7.0 Users Manual - English - Page 184
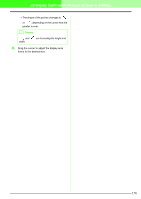
Writing an embroidery design to, an original card
 |
View all Brother International PEDESIGN 7.0 manuals
Add to My Manuals
Save this manual to your list of manuals |
Page 184 highlights
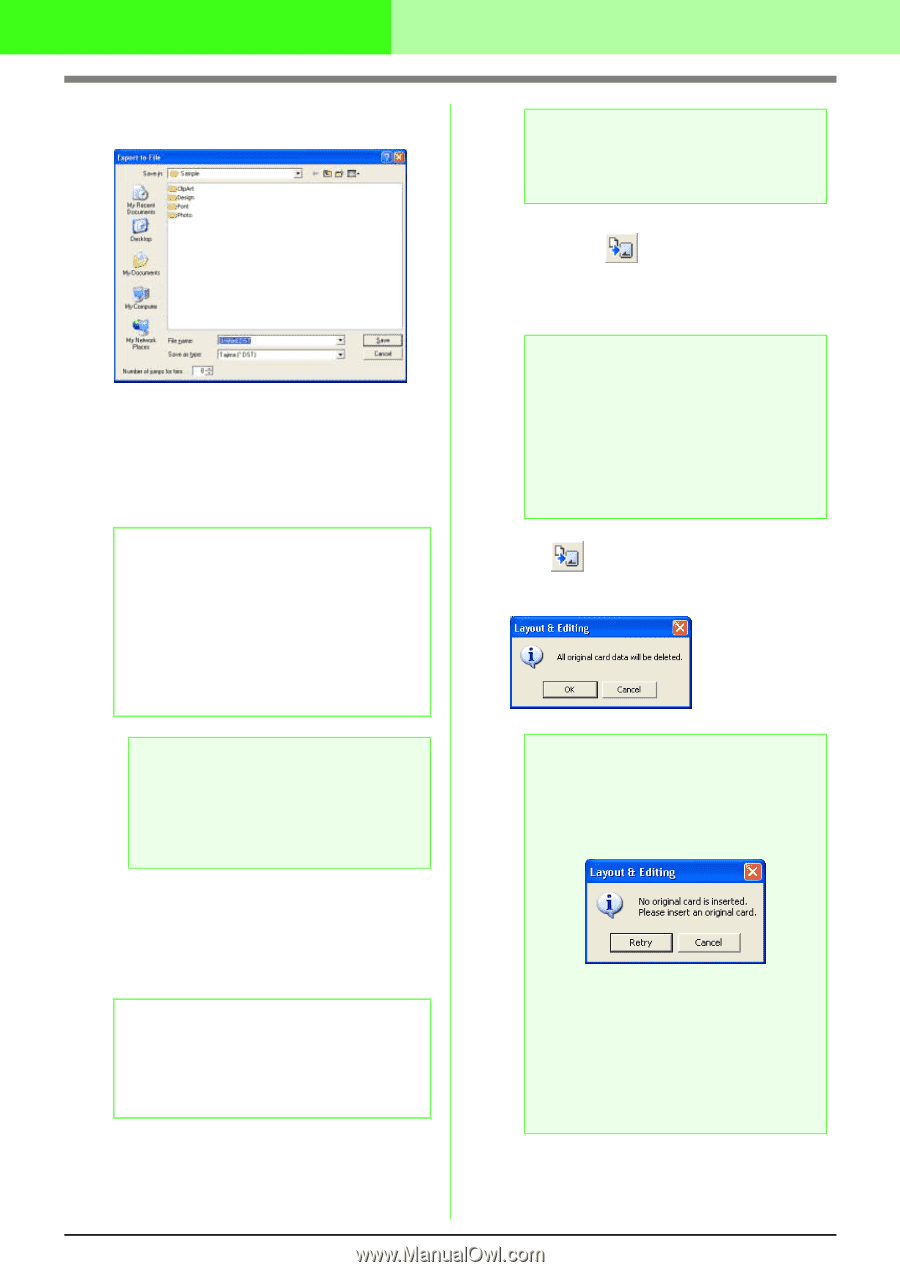
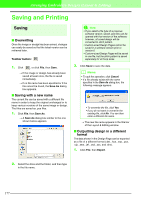
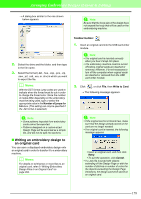
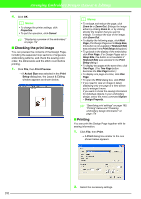
Arranging Embroidery Designs (Layout & Editing) → A dialog box similar to the one shown below appears. a Note: Be sure that the hoop size of the design does not exceed the hoop that will be used on the embroidering machine. 2. Select the drive and the folder, and then type in the file name. 3. Select the format (.dst, .hus, .exp, .pcs, .vip, .sew, .jef, .csd, .xxx, or .shv) in which you want to export the file. b Memo: With the DST format, jump codes are used to indicate when the thread must be cut in order to change the thread color. Since the number of codes differ depending on the embroidery machine being used, type or select the appropriate value in the Number of jumps for trim box. (This setting can only be specified if the .dst format is selected.) a Note: • Some patterns imported from embroidery cards cannot be exported. • Patterns designed on a custom-sized Design Page will be exported as a simple file, and will not be split into sections. I Writing an embroidery design to an original card You can save a displayed embroidery design onto an original card in order to transfer it to a embroidery machine. b Memo: For details on writing two or more files to an original card, refer to "Writing Embroidery Design Files to an Original Card" on page 284. Toolbar button: 1. Insert an original card into the USB card writer module. a Note: • The original card is inserted correctly when you hear it snap into place. • The embroidery machine must be turned off before original cards are inserted or removed. However, it is not necessary to turn off the computer when original cards are inserted or removed from the USB card writer module. 2. Click , or click File, then Write to Card. → The following message appears. a Note: • If the original card is not brand new, make sure that the design already stored on the card are no longer needed. • If no original card is inserted, the following message appears • Insert an original card, and then click Retry. • To quit the operation, click Cancel. • If a .pes file is saved with objects extending off the Design Page or with the number of stitches or number of colors for the objects exceeding the Design Page limitations, the design cannot be saved on an original card. 178
-
 1
1 -
2
-
3
-
4
-
5
-
6
-
7
-
8
-
9
-
10
-
11
-
12
-
13
-
14
-
15
-
16
-
17
-
18
-
19
-
20
-
21
-
22
-
23
-
24
-
25
-
26
-
27
-
28
-
29
-
30
-
31
-
32
-
33
-
34
-
35
-
36
-
37
-
38
-
39
-
40
-
41
-
42
-
43
-
44
-
45
-
46
-
47
-
48
-
49
-
50
-
51
-
52
-
53
-
54
-
55
-
56
-
57
-
58
-
59
-
60
-
61
-
62
-
63
-
64
-
65
-
66
-
67
-
68
-
69
-
70
-
71
-
72
-
73
-
74
-
75
-
76
-
77
-
78
-
79
-
80
-
81
-
82
-
83
-
84
-
85
-
86
-
87
-
88
-
89
-
90
-
91
-
92
-
93
-
94
-
95
-
96
-
97
-
98
-
99
-
100
-
101
-
102
-
103
-
104
-
105
-
106
-
107
-
108
-
109
-
110
-
111
-
112
-
113
-
114
-
115
-
116
-
117
-
118
-
119
-
120
-
121
-
122
-
123
-
124
-
125
-
126
-
127
-
128
-
129
-
130
-
131
-
132
-
133
-
134
-
135
-
136
-
137
-
138
-
139
-
140
-
141
-
142
-
143
-
144
-
145
-
146
-
147
-
148
-
149
-
150
-
151
-
152
-
153
-
154
-
155
-
156
-
157
-
158
-
159
-
160
-
161
-
162
-
163
-
164
-
165
-
166
-
167
-
168
-
169
-
170
-
171
-
172
-
173
-
174
-
175
-
176
-
177
-
178
-
 179
179 -
 180
180 -
 181
181 -
 182
182 -
 183
183 -
 184
184 -
 185
185 -
 186
186 -
 187
187 -
 188
188 -
 189
189 -
190
-
191
-
192
-
193
-
194
-
195
-
196
-
197
-
198
-
199
-
200
-
201
-
202
-
203
-
204
-
205
-
206
-
207
-
208
-
209
-
210
-
211
-
212
-
213
-
214
-
215
-
216
-
217
-
218
-
219
-
220
-
221
-
222
-
223
-
224
-
225
-
226
-
227
-
228
-
229
-
230
-
231
-
232
-
233
-
234
-
235
-
236
-
237
-
238
-
239
-
240
-
241
-
242
-
243
-
244
-
245
-
246
-
247
-
248
-
249
-
250
-
251
-
252
-
253
-
254
-
255
-
256
-
257
-
258
-
259
-
260
-
261
-
262
-
263
-
264
-
265
-
266
-
267
-
268
-
269
-
270
-
271
-
272
-
273
-
274
-
275
-
276
-
277
-
278
-
279
-
280
-
281
-
282
-
283
-
284
-
285
-
286
-
287
-
288
-
289
-
290
-
291
-
292
-
293
-
294
-
295
-
296
-
297
-
298
-
299
-
300
-
301
-
302
-
303
-
304
-
305
-
306
-
307
-
308
-
309
-
310
-
311
-
312
-
313
-
314
-
315
-
316
-
317
-
318
-
319
-
320
-
321
-
322
-
323
-
324
-
325
-
326
-
327
-
328
-
329
-
330
-
331
-
332
-
333
-
334
-
335
-
336
-
337
-
338
-
339
-
340
-
341
-
342
-
343
-
344
-
345
-
346
-
347
-
348
-
349
-
350
-
351
-
352
-
353
-
354
-
355
-
356
-
357
-
358
-
359
-
360
-
361
 |
 |