Brother International PEDESIGN 7.0 Users Manual - English - Page 276
Editing a Motif Stitch Pattern Motif Mode
 |
View all Brother International PEDESIGN 7.0 manuals
Add to My Manuals
Save this manual to your list of manuals |
Page 276 highlights
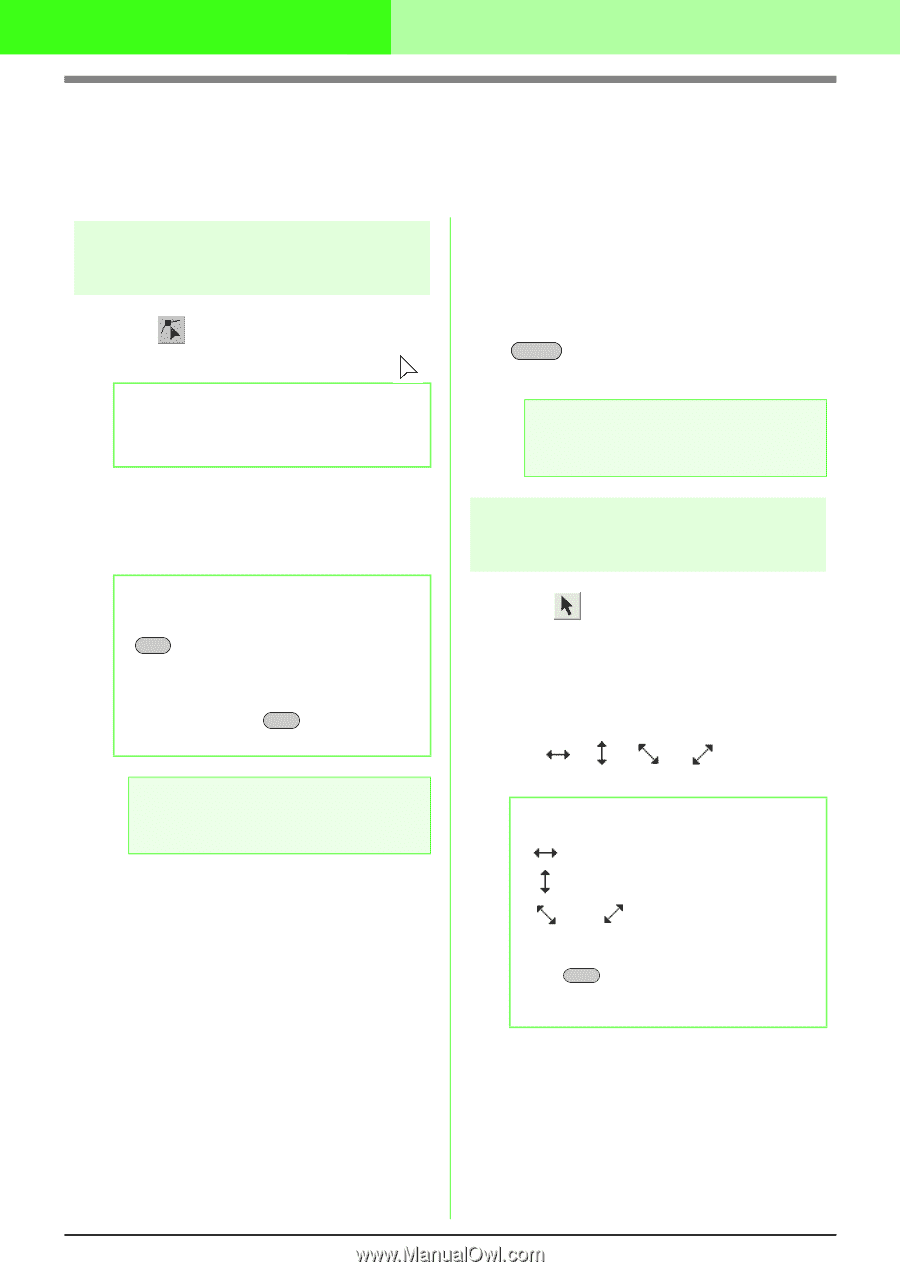
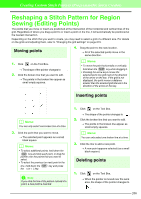
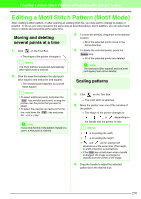
Creating Custom Stitch Patterns (Programmable Stitch Creator) Editing a Motif Stitch Pattern (Motif Mode) After creating a stitch pattern, or after opening an existing motif file, you may want to change its shape or position. To do so, you can proceed in the same way as described above, but in addition, you can select and move or delete several points at the same time. Moving and deleting several points at a time 1. Click on the Tool Box. → The shape of the pointer changes to . b Memo: The Point Edit tool is selected automatically when Motif mode is entered. 2. Click the base line between the start point (blue square) and end point (red square). → The selected point appears as a small black square. 3. To move the point(s), drag them to the desired location. → All of the selected points move in the same direction. 4. To delete the selected points, press the Delete key. → All of the selected points are deleted. a Note: The start point (blue square) and end point (red square) can not be deleted. Scaling patterns b Memo: • To select additional points, hold down the Ctrl key and click each point, or drag the pointer over the points that you want to select. • To select the previous (or next) point in the line, hold down the Ctrl key and press the → (or ←) key. a Note: If you click the line of the pattern instead of a point, a new point is inserted. 1. Click on the Tool Box. → The motif stitch is selected. 2. Move the pointer over one of the handles of the pattern. → The shape of the pointer changes to , , or , depending on the handle that the pointer is over. b Memo: • is for scaling the width. • is for scaling the height. • and are for scaling both dimensions at the same time. (The heightto-width proportion is maintained.) • If the Shift key is held down while a handle is dragged, the image is enlarged or reduced from the center of the image. 3. Drag the handle to adjust the selected pattern(s) to the desired size. 270
-
 1
1 -
2
-
3
-
4
-
5
-
6
-
7
-
8
-
9
-
10
-
11
-
12
-
13
-
14
-
15
-
16
-
17
-
18
-
19
-
20
-
21
-
22
-
23
-
24
-
25
-
26
-
27
-
28
-
29
-
30
-
31
-
32
-
33
-
34
-
35
-
36
-
37
-
38
-
39
-
40
-
41
-
42
-
43
-
44
-
45
-
46
-
47
-
48
-
49
-
50
-
51
-
52
-
53
-
54
-
55
-
56
-
57
-
58
-
59
-
60
-
61
-
62
-
63
-
64
-
65
-
66
-
67
-
68
-
69
-
70
-
71
-
72
-
73
-
74
-
75
-
76
-
77
-
78
-
79
-
80
-
81
-
82
-
83
-
84
-
85
-
86
-
87
-
88
-
89
-
90
-
91
-
92
-
93
-
94
-
95
-
96
-
97
-
98
-
99
-
100
-
101
-
102
-
103
-
104
-
105
-
106
-
107
-
108
-
109
-
110
-
111
-
112
-
113
-
114
-
115
-
116
-
117
-
118
-
119
-
120
-
121
-
122
-
123
-
124
-
125
-
126
-
127
-
128
-
129
-
130
-
131
-
132
-
133
-
134
-
135
-
136
-
137
-
138
-
139
-
140
-
141
-
142
-
143
-
144
-
145
-
146
-
147
-
148
-
149
-
150
-
151
-
152
-
153
-
154
-
155
-
156
-
157
-
158
-
159
-
160
-
161
-
162
-
163
-
164
-
165
-
166
-
167
-
168
-
169
-
170
-
171
-
172
-
173
-
174
-
175
-
176
-
177
-
178
-
179
-
180
-
181
-
182
-
183
-
184
-
185
-
186
-
187
-
188
-
189
-
190
-
191
-
192
-
193
-
194
-
195
-
196
-
197
-
198
-
199
-
200
-
201
-
202
-
203
-
204
-
205
-
206
-
207
-
208
-
209
-
210
-
211
-
212
-
213
-
214
-
215
-
216
-
217
-
218
-
219
-
220
-
221
-
222
-
223
-
224
-
225
-
226
-
227
-
228
-
229
-
230
-
231
-
232
-
233
-
234
-
235
-
236
-
237
-
238
-
239
-
240
-
241
-
242
-
243
-
244
-
245
-
246
-
247
-
248
-
249
-
250
-
251
-
252
-
253
-
254
-
255
-
256
-
257
-
258
-
259
-
260
-
261
-
262
-
263
-
264
-
265
-
266
-
267
-
268
-
269
-
270
-
 271
271 -
 272
272 -
 273
273 -
 274
274 -
 275
275 -
 276
276 -
 277
277 -
 278
278 -
 279
279 -
 280
280 -
 281
281 -
282
-
283
-
284
-
285
-
286
-
287
-
288
-
289
-
290
-
291
-
292
-
293
-
294
-
295
-
296
-
297
-
298
-
299
-
300
-
301
-
302
-
303
-
304
-
305
-
306
-
307
-
308
-
309
-
310
-
311
-
312
-
313
-
314
-
315
-
316
-
317
-
318
-
319
-
320
-
321
-
322
-
323
-
324
-
325
-
326
-
327
-
328
-
329
-
330
-
331
-
332
-
333
-
334
-
335
-
336
-
337
-
338
-
339
-
340
-
341
-
342
-
343
-
344
-
345
-
346
-
347
-
348
-
349
-
350
-
351
-
352
-
353
-
354
-
355
-
356
-
357
-
358
-
359
-
360
-
361
 |
 |