Adobe 65045315 Photoshop Elements Manual - Page 217

Liquify, Apply the Liquify filter

Page 217 highlights

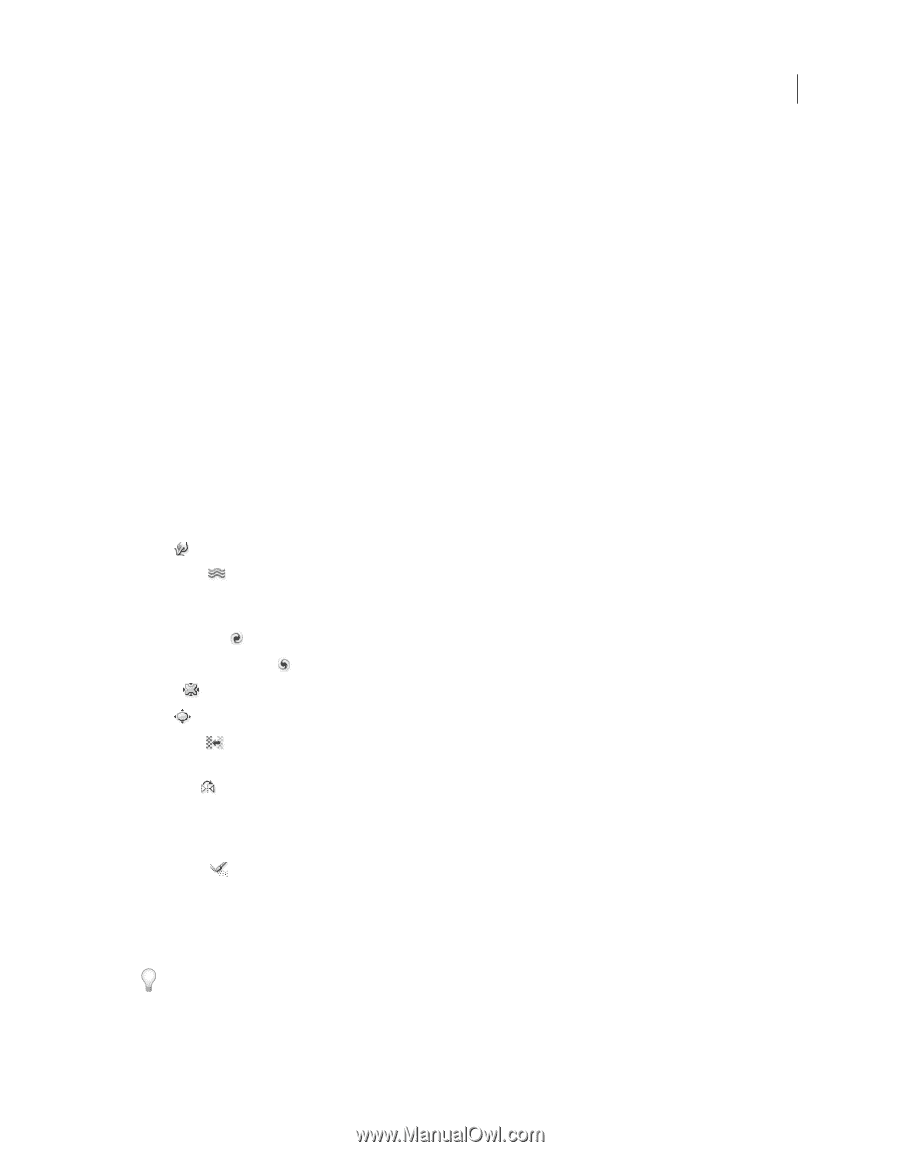
USING PHOTOSHOP ELEMENTS 10 211 Filters, effects, styles, and artwork Liquify The Liquify filter makes it easy to manipulate areas of an image as if those areas had been melted. You work with a preview image of the current layer, using special tools to warp, twirl, expand, contract, shift, or reflect areas of the image. You can make subtle changes to retouch an image or drastic distortions to create an artistic effect. More Help topics "About filters" on page 200 Apply the Liquify filter 1 In the Edit workspace, select an image, layer, or area. 2 Choose Filter > Distort > Liquify. 3 To zoom in on or out of the image preview, do one of the following: • Choose a zoom level from the pop-up menu in the lower-left area of the dialog box. • Select the Zoom tool from the toolbox in the dialog box, and click in the image to zoom in, or Alt-click (Option- click in Mac OS) to zoom out. You can also use the Zoom tool to drag over an area of the preview you want to magnify. • Select a tool from the toolbox. 4 Select one of the following tools from the toolbox: Warp Pushes pixels forward as you drag. Turbulence Smoothly scrambles pixels and creates fire, clouds, waves, and similar effects. To adjust the smoothness, drag the Turbulent Jitter pop-up slider in the Tool Options section, or enter a value between 1 and 100 in the text box. Higher values increase smoothness. Twirl Clockwise Rotates pixels clockwise as you hold down the mouse button or drag. Twirl Counter Clockwise Rotates pixels counterclockwise as you hold down the mouse button or drag. Pucker Moves pixels toward the center of the brush area as you hold down the mouse button or drag. Bloat Moves pixels away from the center of the brush area as you hold down the mouse button or drag. Shift Pixels Moves pixels perpendicularly to the stroke direction. Drag to move pixels to the left, and Alt-drag (Option-drag in Mac OS) to move pixels to the right. Reflection Copies pixels to the brush area. Drag to reflect the area perpendicular to the direction of the stroke (to the left of or below the stroke). Alt-drag (Option-drag in Mac OS) to reflect the area in the direction opposite the stroke (for example, the area above a downward stroke). Use overlapping strokes to create an effect similar to a reflection in water. Reconstruct Fully or partially reverses the changes you've made. 5 In the Tool Options section, adjust the brush size and pressure of the tool, as needed: • To change the brush size, drag the pop-up slider, or enter a brush size value from 1 to 600 pixels. • To change the brush pressure, drag the pop-up slider, or enter a brush pressure value from 1 to 100. A low brush pressure makes more gradual changes. • If you're using a stylus tablet, select Stylus Pressure. Last updated 1/2/2012
  • 1
  • 2
  • 3
  • 4
  • 5
  • 6
  • 7
  • 8
  • 9
  • 10
  • 11
  • 12
  • 13
  • 14
  • 15
  • 16
  • 17
  • 18
  • 19
  • 20
  • 21
  • 22
  • 23
  • 24
  • 25
  • 26
  • 27
  • 28
  • 29
  • 30
  • 31
  • 32
  • 33
  • 34
  • 35
  • 36
  • 37
  • 38
  • 39
  • 40
  • 41
  • 42
  • 43
  • 44
  • 45
  • 46
  • 47
  • 48
  • 49
  • 50
  • 51
  • 52
  • 53
  • 54
  • 55
  • 56
  • 57
  • 58
  • 59
  • 60
  • 61
  • 62
  • 63
  • 64
  • 65
  • 66
  • 67
  • 68
  • 69
  • 70
  • 71
  • 72
  • 73
  • 74
  • 75
  • 76
  • 77
  • 78
  • 79
  • 80
  • 81
  • 82
  • 83
  • 84
  • 85
  • 86
  • 87
  • 88
  • 89
  • 90
  • 91
  • 92
  • 93
  • 94
  • 95
  • 96
  • 97
  • 98
  • 99
  • 100
  • 101
  • 102
  • 103
  • 104
  • 105
  • 106
  • 107
  • 108
  • 109
  • 110
  • 111
  • 112
  • 113
  • 114
  • 115
  • 116
  • 117
  • 118
  • 119
  • 120
  • 121
  • 122
  • 123
  • 124
  • 125
  • 126
  • 127
  • 128
  • 129
  • 130
  • 131
  • 132
  • 133
  • 134
  • 135
  • 136
  • 137
  • 138
  • 139
  • 140
  • 141
  • 142
  • 143
  • 144
  • 145
  • 146
  • 147
  • 148
  • 149
  • 150
  • 151
  • 152
  • 153
  • 154
  • 155
  • 156
  • 157
  • 158
  • 159
  • 160
  • 161
  • 162
  • 163
  • 164
  • 165
  • 166
  • 167
  • 168
  • 169
  • 170
  • 171
  • 172
  • 173
  • 174
  • 175
  • 176
  • 177
  • 178
  • 179
  • 180
  • 181
  • 182
  • 183
  • 184
  • 185
  • 186
  • 187
  • 188
  • 189
  • 190
  • 191
  • 192
  • 193
  • 194
  • 195
  • 196
  • 197
  • 198
  • 199
  • 200
  • 201
  • 202
  • 203
  • 204
  • 205
  • 206
  • 207
  • 208
  • 209
  • 210
  • 211
  • 212
  • 213
  • 214
  • 215
  • 216
  • 217
  • 218
  • 219
  • 220
  • 221
  • 222
  • 223
  • 224
  • 225
  • 226
  • 227
  • 228
  • 229
  • 230
  • 231
  • 232
  • 233
  • 234
  • 235
  • 236
  • 237
  • 238
  • 239
  • 240
  • 241
  • 242
  • 243
  • 244
  • 245
  • 246
  • 247
  • 248
  • 249
  • 250
  • 251
  • 252
  • 253
  • 254
  • 255
  • 256
  • 257
  • 258
  • 259
  • 260
  • 261
  • 262
  • 263
  • 264
  • 265
  • 266
  • 267
  • 268
  • 269
  • 270
  • 271
  • 272
  • 273
  • 274
  • 275
  • 276
  • 277
  • 278
  • 279
  • 280
  • 281
  • 282
  • 283
  • 284
  • 285
  • 286
  • 287
  • 288
  • 289
  • 290
  • 291
  • 292
  • 293
  • 294
  • 295
  • 296
  • 297
  • 298
  • 299
  • 300
  • 301
  • 302
  • 303
  • 304
  • 305
  • 306
  • 307
  • 308
  • 309
  • 310
  • 311
  • 312
  • 313
  • 314
  • 315
  • 316
  • 317
  • 318
  • 319
  • 320
  • 321
  • 322
  • 323
  • 324
  • 325
  • 326
  • 327
  • 328
  • 329
  • 330
  • 331
  • 332
  • 333
  • 334
  • 335
  • 336
  • 337
  • 338
  • 339
  • 340
  • 341

211
USING PHOTOSHOP ELEMENTS 10
Filters, effects, styles, and artwork
Last updated 1/2/2012
Liquify
The Liquify filter makes it easy to manipulate areas of an image as if those areas had been melted. You work with a
preview image of the current layer, using special tools to warp, twirl, expand, contract, shift, or reflect areas of the
image. You can make subtle changes to retouch an image or drastic distortions to create an artistic effect.
More Help topics
About filters
” on page
200
Apply the Liquify filter
1
In the Edit workspace, select an image, layer, or area.
2
Choose Filter
> Distort
> Liquify.
3
To zoom in on or out of the image preview, do one of the following:
Choose a zoom level from the pop-up menu in the lower-left area of the dialog box.
Select the Zoom tool from the toolbox in the dialog box, and click in the image to zoom in, or Alt-click (Option-
click in Mac OS) to zoom out. You can also use the Zoom tool to drag over an area of the preview you want to
magnify.
Select a tool from the toolbox.
4
Select one of the following tools from the toolbox:
Warp
Pushes pixels forward as you drag.
Turbulence
Smoothly scrambles pixels and creates fire, clouds, waves, and similar effects. To adjust the
smoothness, drag the Turbulent Jitter pop-up slider in the Tool Options section, or enter a value between 1 and 100 in
the text box. Higher values increase smoothness.
Twirl Clockwise
Rotates pixels clockwise as you hold down the mouse button or drag.
Twirl Counter Clockwise
Rotates pixels counterclockwise as you hold down the mouse button or drag.
Pucker
Moves pixels toward the center of the brush area as you hold down the mouse button or drag.
Bloat
Moves pixels away from the center of the brush area as you hold down the mouse button or drag.
Shift Pixels
Moves pixels perpendicularly to the stroke direction. Drag to move pixels to the left, and Alt-drag
(Option-drag in Mac OS) to move pixels to the right.
Reflection
Copies pixels to the brush area. Drag to reflect the area perpendicular to the direction of the stroke (to
the left of or below the stroke). Alt-drag (Option-drag in Mac OS) to reflect the area in the direction opposite the stroke
(for example, the area above a downward stroke). Use overlapping strokes to create an effect similar to a reflection in
water.
Reconstruct
Fully or partially reverses the changes you’ve made.
5
In the Tool Options section, adjust the brush size and pressure of the tool, as needed:
To change the brush size, drag the pop-up slider, or enter a brush size value from 1 to 600 pixels.
To change the brush pressure, drag the pop-up slider, or enter a brush pressure value from 1 to 100.
A low brush pressure makes more gradual changes.
If you’re using a stylus tablet, select Stylus Pressure.