Adobe 65045315 Photoshop Elements Manual - Page 264
Edit type in a type layer, Align text, Select characters, Underline, Strikethrough, Leading menu
 |
UPC - 883919176512
View all Adobe 65045315 manuals
Add to My Manuals
Save this manual to your list of manuals |
Page 264 highlights
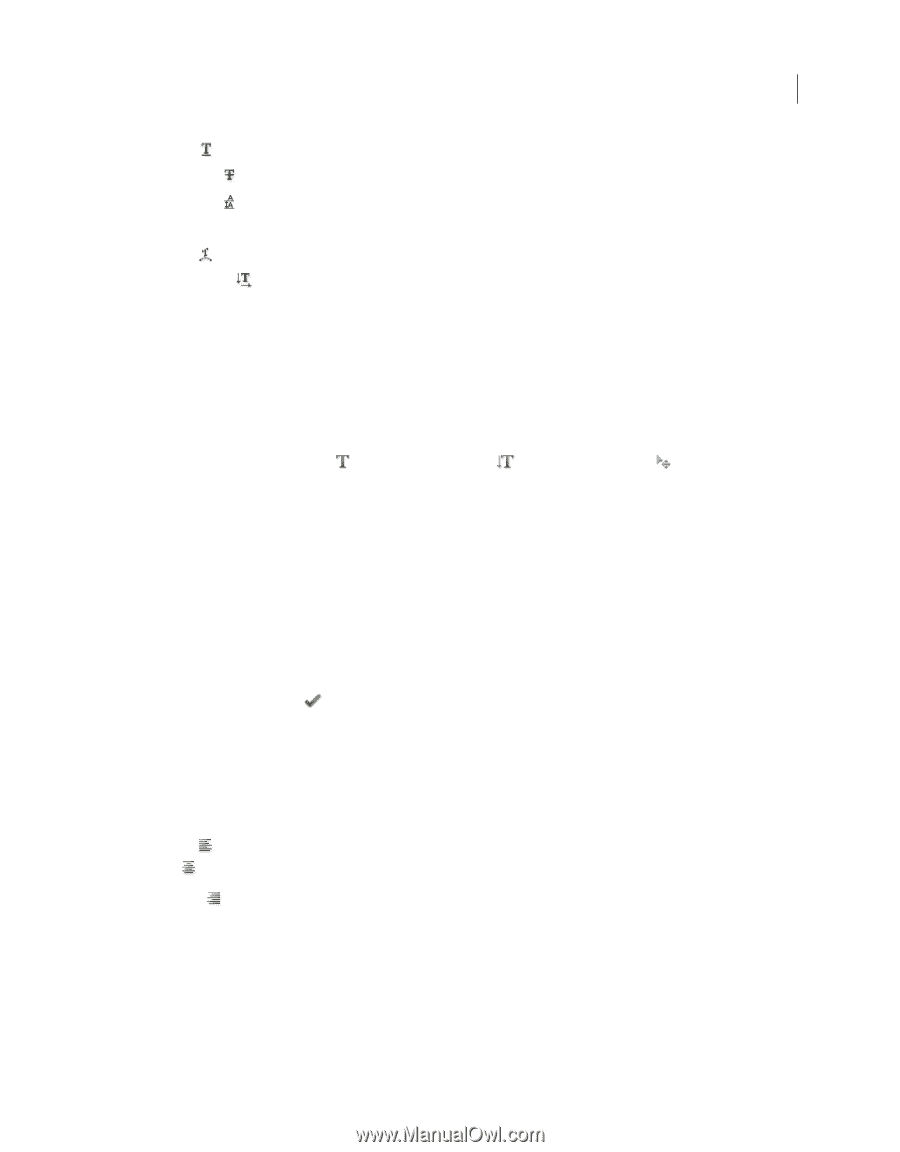
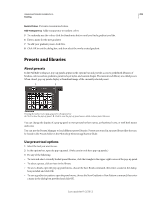
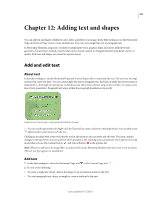
USING PHOTOSHOP ELEMENTS 10 258 Adding text and shapes Underline Applies an underline to new text or selected existing text. Strikethrough Applies a line through new text or selected existing text. Leading menu Sets the space between lines of new or selected text. Text Color menu Applies a color to new text or selected text. Warp text Warps text on the selected layer. Text Orientation Changes vertical text to horizontal and horizontal text to vertical. Edit type in a type layer After you create a text layer, you can edit the text and apply layer commands to it. You can insert new text, change existing text, and delete text in text layers. If any styles are applied to a text layer, all text inherits the attributes of those styles. You can also change the orientation (either horizontal or vertical) of a text layer. When a text layer is vertical, the type lines flow from top to bottom. When a text layer is horizontal, the type lines flow from left to right. 1 Select the Horizontal Type tool or the Vertical Type tool text). (or select the Move tool and double-click the When you click in an existing text layer, the Type tool changes at the insertion point to match the orientation of the layer. 2 Select the text layer in the Layers panel, or click the text flow to automatically select a text layer. 3 Position the insertion point in the text, and do one of the following: • Click to set the insertion point. • Select one or more characters you want to edit. • Enter text as desired. 4 Commit the text layer by doing one of the following: • Click the Commit button in the options bar. • Click in the image. • Select a different tool in the toolbox. Align text ❖ Using a type tool, click the Align pop-up menu and select any of the following: Left Align Aligns the left edge of each text line in the layer to the initial cursor position. Center Aligns the center of each text line in the layer to the initial cursor position. Right Align Aligns the right edge of each text line in the layer to the initial cursor position. Select characters 1 In the Edit workspace, select a type tool. 2 Select the text layer in the Layers panel, or click in the text flow to automatically select a text layer. 3 Position the insertion point in the text, and do one of the following: • Drag to select one or more characters. Last updated 1/2/2012
-
 1
1 -
2
-
3
-
4
-
5
-
6
-
7
-
8
-
9
-
10
-
11
-
12
-
13
-
14
-
15
-
16
-
17
-
18
-
19
-
20
-
21
-
22
-
23
-
24
-
25
-
26
-
27
-
28
-
29
-
30
-
31
-
32
-
33
-
34
-
35
-
36
-
37
-
38
-
39
-
40
-
41
-
42
-
43
-
44
-
45
-
46
-
47
-
48
-
49
-
50
-
51
-
52
-
53
-
54
-
55
-
56
-
57
-
58
-
59
-
60
-
61
-
62
-
63
-
64
-
65
-
66
-
67
-
68
-
69
-
70
-
71
-
72
-
73
-
74
-
75
-
76
-
77
-
78
-
79
-
80
-
81
-
82
-
83
-
84
-
85
-
86
-
87
-
88
-
89
-
90
-
91
-
92
-
93
-
94
-
95
-
96
-
97
-
98
-
99
-
100
-
101
-
102
-
103
-
104
-
105
-
106
-
107
-
108
-
109
-
110
-
111
-
112
-
113
-
114
-
115
-
116
-
117
-
118
-
119
-
120
-
121
-
122
-
123
-
124
-
125
-
126
-
127
-
128
-
129
-
130
-
131
-
132
-
133
-
134
-
135
-
136
-
137
-
138
-
139
-
140
-
141
-
142
-
143
-
144
-
145
-
146
-
147
-
148
-
149
-
150
-
151
-
152
-
153
-
154
-
155
-
156
-
157
-
158
-
159
-
160
-
161
-
162
-
163
-
164
-
165
-
166
-
167
-
168
-
169
-
170
-
171
-
172
-
173
-
174
-
175
-
176
-
177
-
178
-
179
-
180
-
181
-
182
-
183
-
184
-
185
-
186
-
187
-
188
-
189
-
190
-
191
-
192
-
193
-
194
-
195
-
196
-
197
-
198
-
199
-
200
-
201
-
202
-
203
-
204
-
205
-
206
-
207
-
208
-
209
-
210
-
211
-
212
-
213
-
214
-
215
-
216
-
217
-
218
-
219
-
220
-
221
-
222
-
223
-
224
-
225
-
226
-
227
-
228
-
229
-
230
-
231
-
232
-
233
-
234
-
235
-
236
-
237
-
238
-
239
-
240
-
241
-
242
-
243
-
244
-
245
-
246
-
247
-
248
-
249
-
250
-
251
-
252
-
253
-
254
-
255
-
256
-
257
-
258
-
 259
259 -
 260
260 -
 261
261 -
 262
262 -
 263
263 -
 264
264 -
 265
265 -
 266
266 -
 267
267 -
 268
268 -
 269
269 -
270
-
271
-
272
-
273
-
274
-
275
-
276
-
277
-
278
-
279
-
280
-
281
-
282
-
283
-
284
-
285
-
286
-
287
-
288
-
289
-
290
-
291
-
292
-
293
-
294
-
295
-
296
-
297
-
298
-
299
-
300
-
301
-
302
-
303
-
304
-
305
-
306
-
307
-
308
-
309
-
310
-
311
-
312
-
313
-
314
-
315
-
316
-
317
-
318
-
319
-
320
-
321
-
322
-
323
-
324
-
325
-
326
-
327
-
328
-
329
-
330
-
331
-
332
-
333
-
334
-
335
-
336
-
337
-
338
-
339
-
340
-
341
 |
 |