Brother International WP7550JPLUS Owner's Manual - English - Page 118
Underline, RETURN., press, CURSOR, RIGHT, Spreadsheet
 |
View all Brother International WP7550JPLUS manuals
Add to My Manuals
Save this manual to your list of manuals |
Page 118 highlights
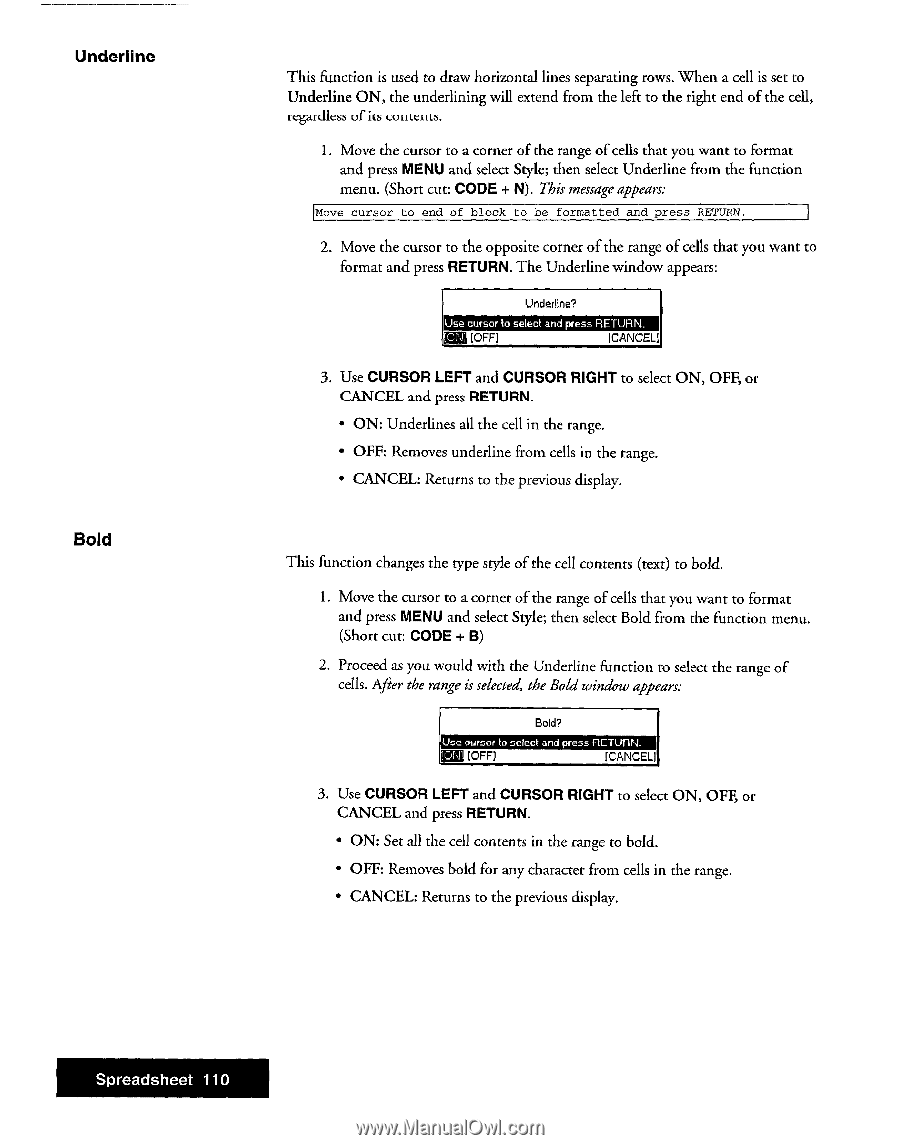
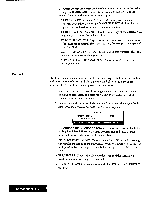
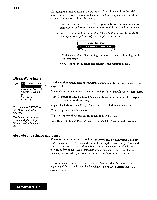
Underline Bold This function is used to draw horizontal lines separating rows. When a cell is set to Underline ON, the underlining will extend from the left to the right end of the cell, regardless of its WilLCIILS. 1. Move the cursor to a corner of the range of cells that you want to format and press MENU and select Style; then select Underline from the function menu. (Short cut: CODE + N). This message appears: Move cursor to end of block to be formatted and press RETURN. 2. Move the cursor to the opposite corner of the range of cells that you want to format and press RETURN. The Underline window appears: Underline? Use cursor to select and press RETURN. [COI [OFF] [CANCEL] 3. Use CURSOR LEFT and CURSOR RIGHT to select ON, OFF, or CANCEL and press RETURN. • ON: Underlines all the cell in the range. • OFF: Removes underline from cells in the range. • CANCEL: Returns to the previous display. This function changes the type style of the cell contents (text) to bold. 1. Move the cursor to a corner of the range of cells that you want to format and press MENU and select Style; then select Bold from the function menu. (Short cut: CODE + B) 2. Proceed as you would with the Underline function to select the range of cells. After the range is selected, the Bold window appears: Bold? Use cursor to select and press flETUI1N. !DIP [OFF] [CANCEL] 3. Use CURSOR LEFT and CURSOR RIGHT to select ON, OFF, or CANCEL and press RETURN. • ON: Set all the cell contents in the range to bold. • OFF: Removes bold for any character from cells in the range. • CANCEL: Returns to the previous display. Spreadsheet 110
-
 1
1 -
2
-
3
-
4
-
5
-
6
-
7
-
8
-
9
-
10
-
11
-
12
-
13
-
14
-
15
-
16
-
17
-
18
-
19
-
20
-
21
-
22
-
23
-
24
-
25
-
26
-
27
-
28
-
29
-
30
-
31
-
32
-
33
-
34
-
35
-
36
-
37
-
38
-
39
-
40
-
41
-
42
-
43
-
44
-
45
-
46
-
47
-
48
-
49
-
50
-
51
-
52
-
53
-
54
-
55
-
56
-
57
-
58
-
59
-
60
-
61
-
62
-
63
-
64
-
65
-
66
-
67
-
68
-
69
-
70
-
71
-
72
-
73
-
74
-
75
-
76
-
77
-
78
-
79
-
80
-
81
-
82
-
83
-
84
-
85
-
86
-
87
-
88
-
89
-
90
-
91
-
92
-
93
-
94
-
95
-
96
-
97
-
98
-
99
-
100
-
101
-
102
-
103
-
104
-
105
-
106
-
107
-
108
-
109
-
110
-
111
-
112
-
 113
113 -
 114
114 -
 115
115 -
 116
116 -
 117
117 -
 118
118 -
 119
119 -
 120
120 -
 121
121 -
 122
122 -
 123
123 -
124
-
125
-
126
-
127
-
128
-
129
-
130
-
131
-
132
-
133
-
134
-
135
-
136
-
137
-
138
-
139
-
140
-
141
-
142
-
143
-
144
-
145
-
146
-
147
-
148
-
149
-
150
-
151
-
152
-
153
-
154
-
155
-
156
-
157
-
158
-
159
-
160
-
161
-
162
-
163
-
164
-
165
-
166
-
167
-
168
-
169
-
170
-
171
-
172
-
173
-
174
-
175
-
176
-
177
-
178
-
179
-
180
-
181
-
182
-
183
-
184
-
185
-
186
-
187
-
188
-
189
-
190
-
191
-
192
-
193
-
194
-
195
-
196
-
197
-
198
-
199
-
200
-
201
-
202
-
203
-
204
-
205
-
206
-
207
-
208
-
209
-
210
-
211
-
212
-
213
-
214
-
215
-
216
-
217
-
218
-
219
-
220
-
221
-
222
-
223
-
224
-
225
-
226
-
227
-
228
-
229
-
230
-
231
-
232
-
233
-
234
-
235
-
236
-
237
-
238
-
239
-
240
-
241
-
242
-
243
-
244
-
245
-
246
-
247
-
248
-
249
-
250
-
251
-
252
 |
 |