Brother International WP7550JPLUS Owner's Manual - English - Page 153
printing, CANCEL, Selecting, records, merge
 |
View all Brother International WP7550JPLUS manuals
Add to My Manuals
Save this manual to your list of manuals |
Page 153 highlights
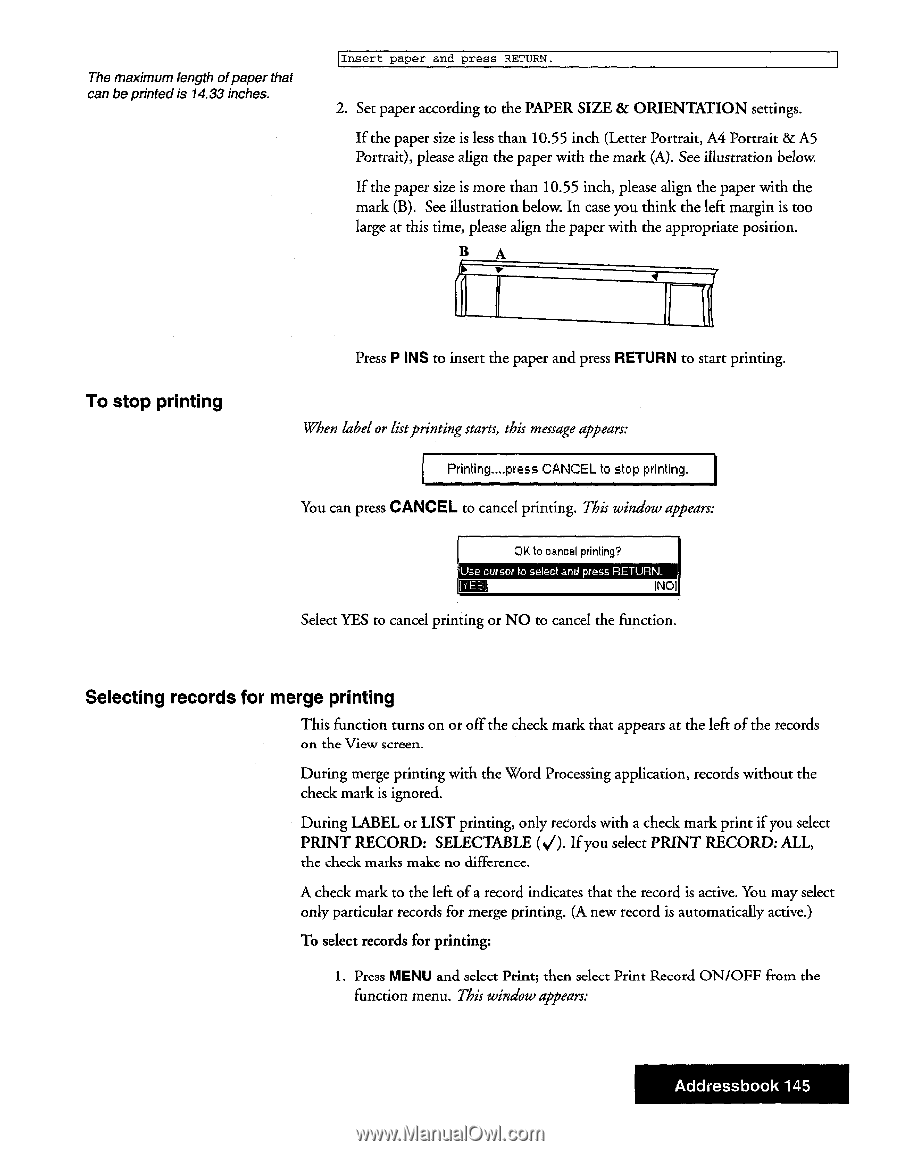
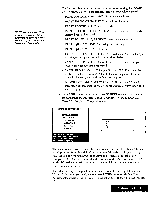
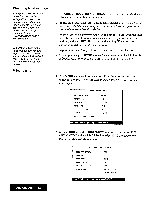
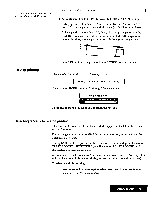
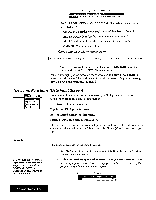
The maximum length ofpaper that can be printed is 14.33 inches. Insert paper and press RETURN. 2. Set paper according to the PAPER SIZE & ORIENTATION settings. If the paper size is less than 10.55 inch (Letter Portrait, A4 Portrait & A5 Portrait), please align the paper with the mark (A). See illustration below. If the paper size is more than 10.55 inch, please align the paper with the mark (B). See illustration below. In case you think the left margin is too large at this time, please align the paper with the appropriate position. B A To stop printing Press P INS to insert the paper and press RETURN to start printing. When label or listprintingstarts, this message appears: Printing....press CANCEL to stop printing. You can press CANCEL to cancel printing. This window appears: OK to cancel printing? Use cursor to select and press RETURN_ INOI Select YES to cancel printing or NO to cancel the function. Selecting records for merge printing This function turns on or off the check mark that appears at the left of the records on the View screen. During merge printing with the Word Processing application, records without the check mark is ignored. During LABEL or LIST printing, only records with a check mark print if you select PRINT RECORD: SELECTABLE (V). If you select PRINT RECORD: ALL, the check marks make no difference. A check mark to the left of a record indicates that the record is active. You may select only particular records for merge printing. (A new record is automatically active.) To select records for printing: 1. Press MENU and select Print; then select Print Record ON/OFF from the function menu. This window appears: Addressbook 145
-
 1
1 -
2
-
3
-
4
-
5
-
6
-
7
-
8
-
9
-
10
-
11
-
12
-
13
-
14
-
15
-
16
-
17
-
18
-
19
-
20
-
21
-
22
-
23
-
24
-
25
-
26
-
27
-
28
-
29
-
30
-
31
-
32
-
33
-
34
-
35
-
36
-
37
-
38
-
39
-
40
-
41
-
42
-
43
-
44
-
45
-
46
-
47
-
48
-
49
-
50
-
51
-
52
-
53
-
54
-
55
-
56
-
57
-
58
-
59
-
60
-
61
-
62
-
63
-
64
-
65
-
66
-
67
-
68
-
69
-
70
-
71
-
72
-
73
-
74
-
75
-
76
-
77
-
78
-
79
-
80
-
81
-
82
-
83
-
84
-
85
-
86
-
87
-
88
-
89
-
90
-
91
-
92
-
93
-
94
-
95
-
96
-
97
-
98
-
99
-
100
-
101
-
102
-
103
-
104
-
105
-
106
-
107
-
108
-
109
-
110
-
111
-
112
-
113
-
114
-
115
-
116
-
117
-
118
-
119
-
120
-
121
-
122
-
123
-
124
-
125
-
126
-
127
-
128
-
129
-
130
-
131
-
132
-
133
-
134
-
135
-
136
-
137
-
138
-
139
-
140
-
141
-
142
-
143
-
144
-
145
-
146
-
147
-
 148
148 -
 149
149 -
 150
150 -
 151
151 -
 152
152 -
 153
153 -
 154
154 -
 155
155 -
 156
156 -
 157
157 -
 158
158 -
159
-
160
-
161
-
162
-
163
-
164
-
165
-
166
-
167
-
168
-
169
-
170
-
171
-
172
-
173
-
174
-
175
-
176
-
177
-
178
-
179
-
180
-
181
-
182
-
183
-
184
-
185
-
186
-
187
-
188
-
189
-
190
-
191
-
192
-
193
-
194
-
195
-
196
-
197
-
198
-
199
-
200
-
201
-
202
-
203
-
204
-
205
-
206
-
207
-
208
-
209
-
210
-
211
-
212
-
213
-
214
-
215
-
216
-
217
-
218
-
219
-
220
-
221
-
222
-
223
-
224
-
225
-
226
-
227
-
228
-
229
-
230
-
231
-
232
-
233
-
234
-
235
-
236
-
237
-
238
-
239
-
240
-
241
-
242
-
243
-
244
-
245
-
246
-
247
-
248
-
249
-
250
-
251
-
252
 |
 |