Brother International WP7550JPLUS Owner's Manual - English - Page 76
Framing
 |
View all Brother International WP7550JPLUS manuals
Add to My Manuals
Save this manual to your list of manuals |
Page 76 highlights
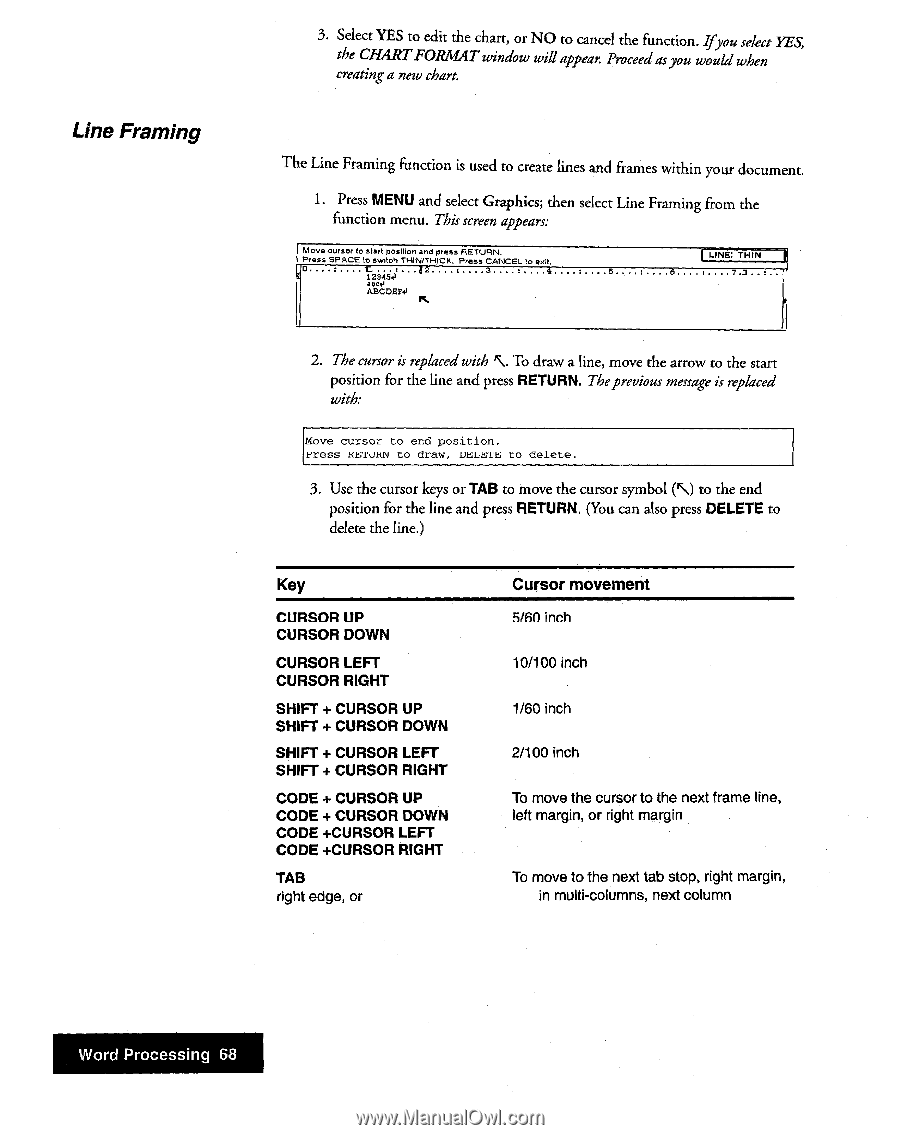
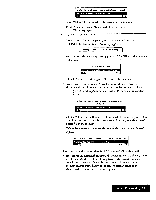
Line Framing 3. Select YES to edit the chart, or NO to cancel the function. Ifyou select YES, the. CHARTFORMAT window will appear. Proceedasyou would when creating a new chart. The Line Framing function is used to create lines and frames within your document. 1. Press MENU and select Graphics; then select Line Framing from the function menu. This screen appears: Move cursor to start posiflon and press RETURN. Press SPACE to switch THIN/THICK. Press CANCEL to Coll • = ea 3 123454 5 I 6 ass.. ABCDEFJ fi 2. The cursor is replaced with 'S. To draw a line, move the arrow to the start position for the line and press RETURN. Theprevious message is replaced with: Move cursor to end position. tress METUAN to draw, DELCIT; to delete. 3. Use the cursor keys or TAB to move the cursor symbol (NO to the end position for the line and press RETURN. (You can also press DELETE to delete the line.) Key CURSOR UP CURSOR DOWN CURSOR LEFT CURSOR RIGHT SHIFT + CURSOR UP SHIFT + CURSOR DOWN SHIFT + CURSOR LEFT SHIFT + CURSOR RIGHT CODE + CURSOR UP CODE + CURSOR DOWN CODE +CURSOR LEFT CODE +CURSOR RIGHT TAB right edge, or Cursor movement 5/60 inch 10/100 inch 1/60 inch 2/100 inch To move the cursor to the next frame line, left margin, or right margin To move to the next tab stop, right margin, in multi-columns, next column Word Processing 68
-
 1
1 -
2
-
3
-
4
-
5
-
6
-
7
-
8
-
9
-
10
-
11
-
12
-
13
-
14
-
15
-
16
-
17
-
18
-
19
-
20
-
21
-
22
-
23
-
24
-
25
-
26
-
27
-
28
-
29
-
30
-
31
-
32
-
33
-
34
-
35
-
36
-
37
-
38
-
39
-
40
-
41
-
42
-
43
-
44
-
45
-
46
-
47
-
48
-
49
-
50
-
51
-
52
-
53
-
54
-
55
-
56
-
57
-
58
-
59
-
60
-
61
-
62
-
63
-
64
-
65
-
66
-
67
-
68
-
69
-
70
-
 71
71 -
 72
72 -
 73
73 -
 74
74 -
 75
75 -
 76
76 -
 77
77 -
 78
78 -
 79
79 -
 80
80 -
 81
81 -
82
-
83
-
84
-
85
-
86
-
87
-
88
-
89
-
90
-
91
-
92
-
93
-
94
-
95
-
96
-
97
-
98
-
99
-
100
-
101
-
102
-
103
-
104
-
105
-
106
-
107
-
108
-
109
-
110
-
111
-
112
-
113
-
114
-
115
-
116
-
117
-
118
-
119
-
120
-
121
-
122
-
123
-
124
-
125
-
126
-
127
-
128
-
129
-
130
-
131
-
132
-
133
-
134
-
135
-
136
-
137
-
138
-
139
-
140
-
141
-
142
-
143
-
144
-
145
-
146
-
147
-
148
-
149
-
150
-
151
-
152
-
153
-
154
-
155
-
156
-
157
-
158
-
159
-
160
-
161
-
162
-
163
-
164
-
165
-
166
-
167
-
168
-
169
-
170
-
171
-
172
-
173
-
174
-
175
-
176
-
177
-
178
-
179
-
180
-
181
-
182
-
183
-
184
-
185
-
186
-
187
-
188
-
189
-
190
-
191
-
192
-
193
-
194
-
195
-
196
-
197
-
198
-
199
-
200
-
201
-
202
-
203
-
204
-
205
-
206
-
207
-
208
-
209
-
210
-
211
-
212
-
213
-
214
-
215
-
216
-
217
-
218
-
219
-
220
-
221
-
222
-
223
-
224
-
225
-
226
-
227
-
228
-
229
-
230
-
231
-
232
-
233
-
234
-
235
-
236
-
237
-
238
-
239
-
240
-
241
-
242
-
243
-
244
-
245
-
246
-
247
-
248
-
249
-
250
-
251
-
252
 |
 |