Brother International WP7550JPLUS Owner's Manual - English - Page 91
Using, Print, functions
 |
View all Brother International WP7550JPLUS manuals
Add to My Manuals
Save this manual to your list of manuals |
Page 91 highlights
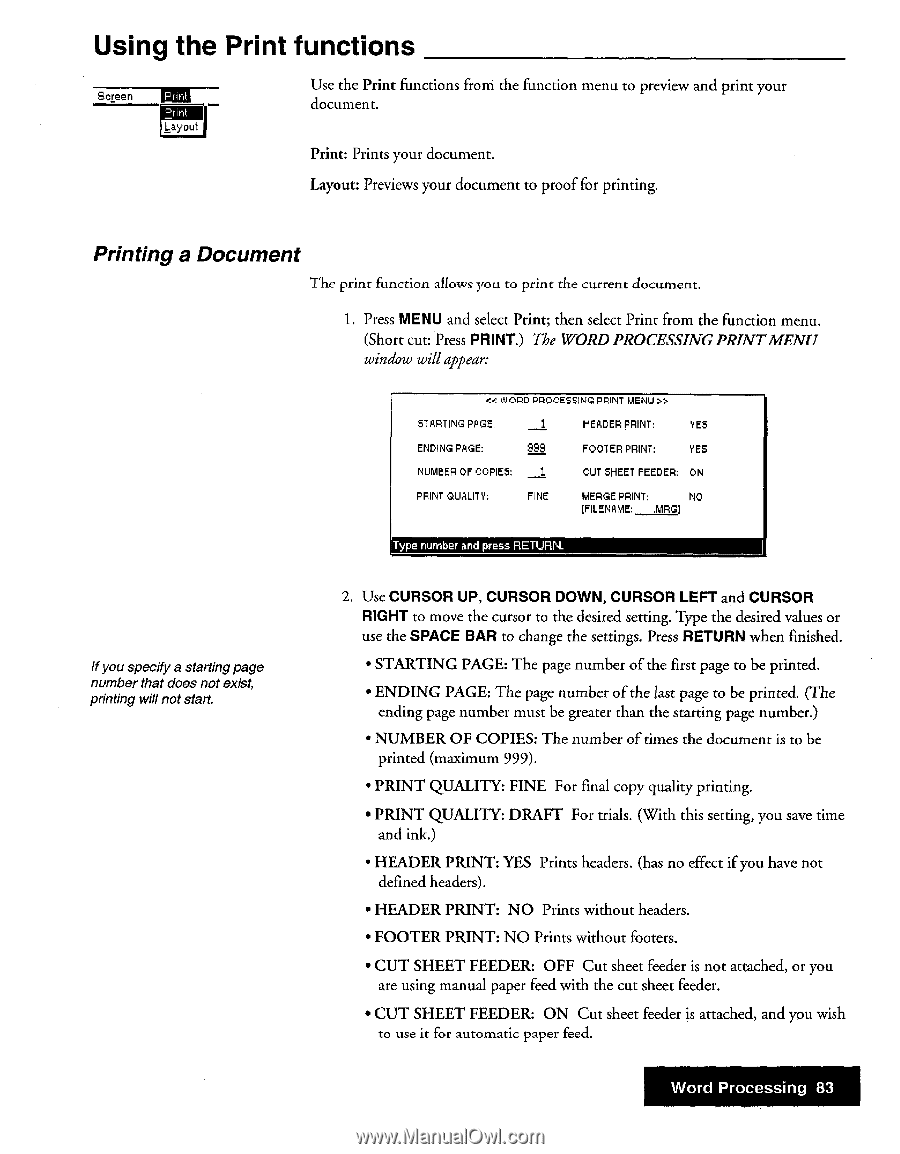
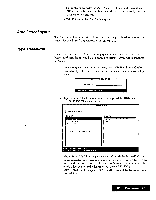
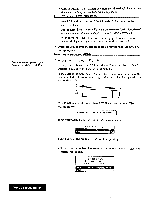
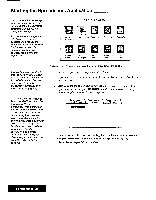
Using the Print functions Screen Entil Layout Use the Print functions from the function menu to preview and print your document. Print: Prints your document. Layout: Previews your document to proof for printing. Printing a Document The print function allows you to print the current document. 1. Press MENU and select Print; then select Print from the function menu. (Short cut: Press PRINT.) The WORDPROCESSINGPRINTMENU window will appear: t ,G CORD PROCESSING PRINT MENU ". STARTING PAGE: 1 HEADER PRINT: YES ENDING PAGE: 999 FOOTER PRINT: YE5 NUMBER OF COPIES: 1 CUT SHEET FEEDER: ON PRINT QUALITY: FINE MERGE PRINT: NO [FILENAME: .MRG) Type number and press RETURN. If you specify a starting page number that does not exist, printing will not start. 2. Use CURSOR UP, CURSOR DOWN, CURSOR LEFT and CURSOR RIGHT to move the cursor to the desired setting. Type the desired values or use the SPACE BAR to change the settings. Press RETURN when finished. • STARTING PAGE: The page number of the first page to be printed. • ENDING PAGE: The page number of the last page to be printed. (The ending page number must be greater than the starting page number.) • NUMBER OF COPIES: The number of times the document is to be printed (maximum 999). • PRINT QUALITY: FINE For final copy quality printing. • PRINT QUALITY: DRAFT For trials. (With this setting, you save time and ink.) • HEADER PRINT: YES Prints headers. (has no effect if you have not defined headers). • HEADER PRINT: NO Prints without headers. • FOOTER PRINT: NO Prints without footers. • CUT SHEET FEEDER: OFF Cut sheet feeder is not attached, or you are using manual paper feed with the cut sheet feeder. • CUT SHEET FEEDER: ON Cut sheet feeder is attached, and you wish to use it for automatic paper feed. Word Processing 83
-
 1
1 -
2
-
3
-
4
-
5
-
6
-
7
-
8
-
9
-
10
-
11
-
12
-
13
-
14
-
15
-
16
-
17
-
18
-
19
-
20
-
21
-
22
-
23
-
24
-
25
-
26
-
27
-
28
-
29
-
30
-
31
-
32
-
33
-
34
-
35
-
36
-
37
-
38
-
39
-
40
-
41
-
42
-
43
-
44
-
45
-
46
-
47
-
48
-
49
-
50
-
51
-
52
-
53
-
54
-
55
-
56
-
57
-
58
-
59
-
60
-
61
-
62
-
63
-
64
-
65
-
66
-
67
-
68
-
69
-
70
-
71
-
72
-
73
-
74
-
75
-
76
-
77
-
78
-
79
-
80
-
81
-
82
-
83
-
84
-
85
-
 86
86 -
 87
87 -
 88
88 -
 89
89 -
 90
90 -
 91
91 -
 92
92 -
 93
93 -
 94
94 -
 95
95 -
 96
96 -
97
-
98
-
99
-
100
-
101
-
102
-
103
-
104
-
105
-
106
-
107
-
108
-
109
-
110
-
111
-
112
-
113
-
114
-
115
-
116
-
117
-
118
-
119
-
120
-
121
-
122
-
123
-
124
-
125
-
126
-
127
-
128
-
129
-
130
-
131
-
132
-
133
-
134
-
135
-
136
-
137
-
138
-
139
-
140
-
141
-
142
-
143
-
144
-
145
-
146
-
147
-
148
-
149
-
150
-
151
-
152
-
153
-
154
-
155
-
156
-
157
-
158
-
159
-
160
-
161
-
162
-
163
-
164
-
165
-
166
-
167
-
168
-
169
-
170
-
171
-
172
-
173
-
174
-
175
-
176
-
177
-
178
-
179
-
180
-
181
-
182
-
183
-
184
-
185
-
186
-
187
-
188
-
189
-
190
-
191
-
192
-
193
-
194
-
195
-
196
-
197
-
198
-
199
-
200
-
201
-
202
-
203
-
204
-
205
-
206
-
207
-
208
-
209
-
210
-
211
-
212
-
213
-
214
-
215
-
216
-
217
-
218
-
219
-
220
-
221
-
222
-
223
-
224
-
225
-
226
-
227
-
228
-
229
-
230
-
231
-
232
-
233
-
234
-
235
-
236
-
237
-
238
-
239
-
240
-
241
-
242
-
243
-
244
-
245
-
246
-
247
-
248
-
249
-
250
-
251
-
252
 |
 |