Brother International WP7550JPLUS Owner's Manual - English - Page 154
Functions, input, Screen
 |
View all Brother International WP7550JPLUS manuals
Add to My Manuals
Save this manual to your list of manuals |
Page 154 highlights
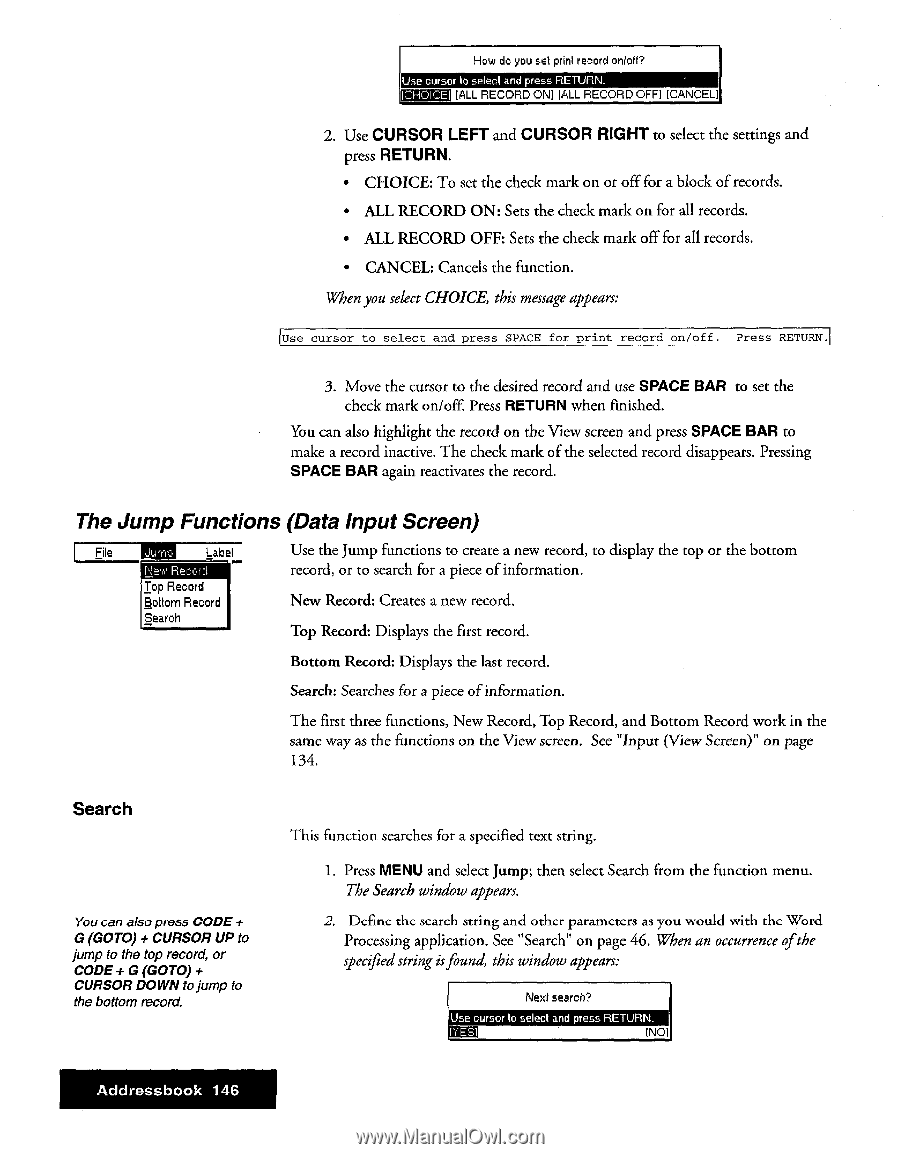
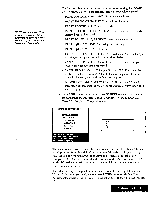
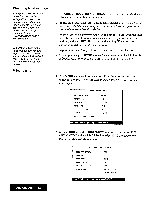
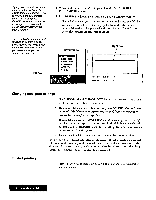
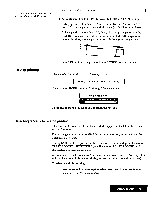
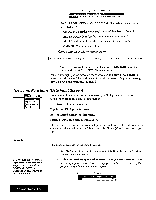
How do you set print record Wort? Use cursor to select and press RETURN. [ALL RECORD ON] [ALL RECORD OFFI [CANCEL] 2. Use CURSOR LEFT and CURSOR RIGHT to select the settings and press RETURN. • CHOICE: To set the check mark on or off for a block of records. • ALL RECORD ON: Sets the check mark on for all records. • ALL RECORD OFF: Sets the check mark off for all records. • CANCEL: Cancels the function. When you select CHOICE, this message appears: Use cursor to select and press SPACE for print record on/off. Press RETURN. 3. Move the cursor to the desired record and use SPACE BAR to set the check mark on/off. Press RETURN when finished. You can also highlight the record on the View screen and press SPACE BAR to make a record inactive. The check mark of the selected record disappears. Pressing SPACE BAR again reactivates the record. The Jump Functions (Data input Screen) File Label Hew ReDyd Top Record Bottom Record Search Use the Jump functions to create a new record, to display the top or the bottom record, or to search for a piece of information. New Record: Creates a new record. Top Record: Displays the first record. Bottom Record: Displays the last record. Search: Searches for a piece of information. The first three functions, New Record, Top Record, and Bottom Record work in the same way as the functions on the View screen. See "Input (View Screen)" on page 134. Search You can also press CODE + G (GOTO) + CURSOR UP to jump to the top record, or CODE + G (GOTO) + CURSOR DOWN to jump to the bottom record. This function searches for a specified text string. 1. Press MENU and select Jump; then select Search from the function menu. The Search window appears. 2. Define the search string and other parameters as you would with the Word Processing application. See "Search" on page 46. When an occurrence of the specified string isfound, this window appears: Next search? Use cursor to select and press RETURN. INO] Addressbook 146
-
 1
1 -
2
-
3
-
4
-
5
-
6
-
7
-
8
-
9
-
10
-
11
-
12
-
13
-
14
-
15
-
16
-
17
-
18
-
19
-
20
-
21
-
22
-
23
-
24
-
25
-
26
-
27
-
28
-
29
-
30
-
31
-
32
-
33
-
34
-
35
-
36
-
37
-
38
-
39
-
40
-
41
-
42
-
43
-
44
-
45
-
46
-
47
-
48
-
49
-
50
-
51
-
52
-
53
-
54
-
55
-
56
-
57
-
58
-
59
-
60
-
61
-
62
-
63
-
64
-
65
-
66
-
67
-
68
-
69
-
70
-
71
-
72
-
73
-
74
-
75
-
76
-
77
-
78
-
79
-
80
-
81
-
82
-
83
-
84
-
85
-
86
-
87
-
88
-
89
-
90
-
91
-
92
-
93
-
94
-
95
-
96
-
97
-
98
-
99
-
100
-
101
-
102
-
103
-
104
-
105
-
106
-
107
-
108
-
109
-
110
-
111
-
112
-
113
-
114
-
115
-
116
-
117
-
118
-
119
-
120
-
121
-
122
-
123
-
124
-
125
-
126
-
127
-
128
-
129
-
130
-
131
-
132
-
133
-
134
-
135
-
136
-
137
-
138
-
139
-
140
-
141
-
142
-
143
-
144
-
145
-
146
-
147
-
148
-
 149
149 -
 150
150 -
 151
151 -
 152
152 -
 153
153 -
 154
154 -
 155
155 -
 156
156 -
 157
157 -
 158
158 -
 159
159 -
160
-
161
-
162
-
163
-
164
-
165
-
166
-
167
-
168
-
169
-
170
-
171
-
172
-
173
-
174
-
175
-
176
-
177
-
178
-
179
-
180
-
181
-
182
-
183
-
184
-
185
-
186
-
187
-
188
-
189
-
190
-
191
-
192
-
193
-
194
-
195
-
196
-
197
-
198
-
199
-
200
-
201
-
202
-
203
-
204
-
205
-
206
-
207
-
208
-
209
-
210
-
211
-
212
-
213
-
214
-
215
-
216
-
217
-
218
-
219
-
220
-
221
-
222
-
223
-
224
-
225
-
226
-
227
-
228
-
229
-
230
-
231
-
232
-
233
-
234
-
235
-
236
-
237
-
238
-
239
-
240
-
241
-
242
-
243
-
244
-
245
-
246
-
247
-
248
-
249
-
250
-
251
-
252
 |
 |