Brother International WP7550JPLUS Owner's Manual - English - Page 56
Header/Footer
 |
View all Brother International WP7550JPLUS manuals
Add to My Manuals
Save this manual to your list of manuals |
Page 56 highlights
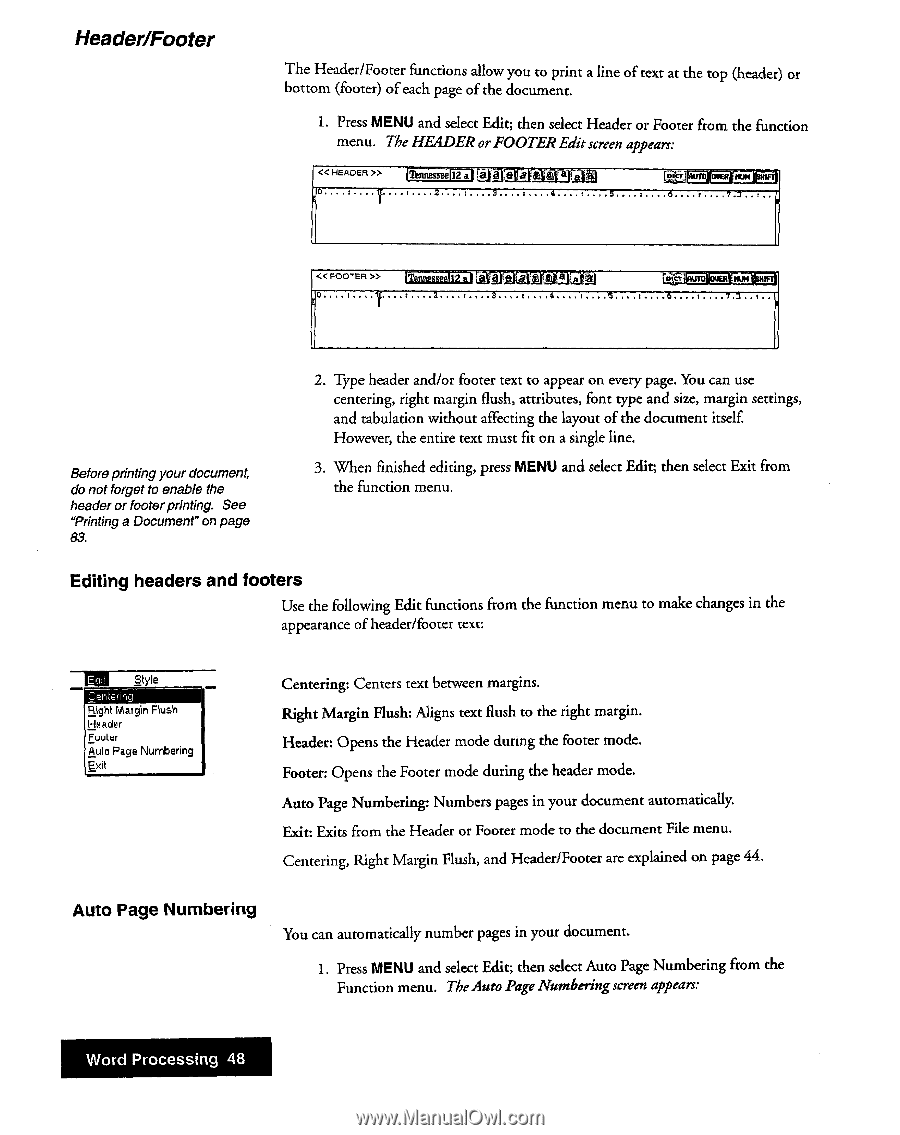
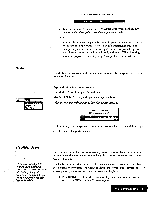
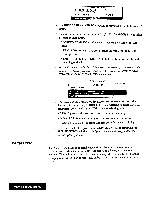
Header/Footer The Header/Footer functions allow you to print a line of text at the top (header) or bottom (footer) of each page of the document. 1. Press MENU and select Edit; then select Header or Footer from the function menu. The HEADER or FOOTER Edit screen appears: • QT'.. .' . "'2. > iThnnesseeil2 al .3 4 fiiWaurclevert Kumprm . 7 .31 .. r . . > kl,MrA ailka.k4.114.401.4E HUM 0 2. Before printing your document, do not forget to enable the header or footer printing. See Printing a Document" on page 83. 2. Type header and/or footer text to appear on every page. You can use centering, right margin flush, attributes, font type and size, margin settings, and tabulation without affecting the layout of the document itself However, the entire text must fit on a single line. 3. When finished editing, press MENU and select Edit; then select Exit from the function menu. Editing headers and footers Use the following Edit functions from the function menu to make changes in the appearance of header/footer text; lag Style (, erireJihr.2 Right Margin Flush Header Footer Auto Page Numbering Exit Centering: Centers text between margins. Right Margin Flush: Aligns text flush to the right margin. Header: Opens the Header mode during the footer mode. Footer: Opens the Footer mode during the header mode. Auto Page Numbering: Numbers pages in your document automatically. Exit: Exits from the Header or Footer mode to the document File menu. Centering, Right Margin Flush, and Header/Footer are explained on page 44. Auto Page Numbering You can automatically number pages in your document. L Press MENU and select Edit; then select Auto Page Numbering from the Function menu. TheAuto Page Numberingscreen appears: Word Processing 48
-
 1
1 -
2
-
3
-
4
-
5
-
6
-
7
-
8
-
9
-
10
-
11
-
12
-
13
-
14
-
15
-
16
-
17
-
18
-
19
-
20
-
21
-
22
-
23
-
24
-
25
-
26
-
27
-
28
-
29
-
30
-
31
-
32
-
33
-
34
-
35
-
36
-
37
-
38
-
39
-
40
-
41
-
42
-
43
-
44
-
45
-
46
-
47
-
48
-
49
-
50
-
 51
51 -
 52
52 -
 53
53 -
 54
54 -
 55
55 -
 56
56 -
 57
57 -
 58
58 -
 59
59 -
 60
60 -
 61
61 -
62
-
63
-
64
-
65
-
66
-
67
-
68
-
69
-
70
-
71
-
72
-
73
-
74
-
75
-
76
-
77
-
78
-
79
-
80
-
81
-
82
-
83
-
84
-
85
-
86
-
87
-
88
-
89
-
90
-
91
-
92
-
93
-
94
-
95
-
96
-
97
-
98
-
99
-
100
-
101
-
102
-
103
-
104
-
105
-
106
-
107
-
108
-
109
-
110
-
111
-
112
-
113
-
114
-
115
-
116
-
117
-
118
-
119
-
120
-
121
-
122
-
123
-
124
-
125
-
126
-
127
-
128
-
129
-
130
-
131
-
132
-
133
-
134
-
135
-
136
-
137
-
138
-
139
-
140
-
141
-
142
-
143
-
144
-
145
-
146
-
147
-
148
-
149
-
150
-
151
-
152
-
153
-
154
-
155
-
156
-
157
-
158
-
159
-
160
-
161
-
162
-
163
-
164
-
165
-
166
-
167
-
168
-
169
-
170
-
171
-
172
-
173
-
174
-
175
-
176
-
177
-
178
-
179
-
180
-
181
-
182
-
183
-
184
-
185
-
186
-
187
-
188
-
189
-
190
-
191
-
192
-
193
-
194
-
195
-
196
-
197
-
198
-
199
-
200
-
201
-
202
-
203
-
204
-
205
-
206
-
207
-
208
-
209
-
210
-
211
-
212
-
213
-
214
-
215
-
216
-
217
-
218
-
219
-
220
-
221
-
222
-
223
-
224
-
225
-
226
-
227
-
228
-
229
-
230
-
231
-
232
-
233
-
234
-
235
-
236
-
237
-
238
-
239
-
240
-
241
-
242
-
243
-
244
-
245
-
246
-
247
-
248
-
249
-
250
-
251
-
252
 |
 |