Brother International WP7550JPLUS Owner's Manual - English - Page 77
RETURN, SPACE, CANCEL, Editing, frame
 |
View all Brother International WP7550JPLUS manuals
Add to My Manuals
Save this manual to your list of manuals |
Page 77 highlights
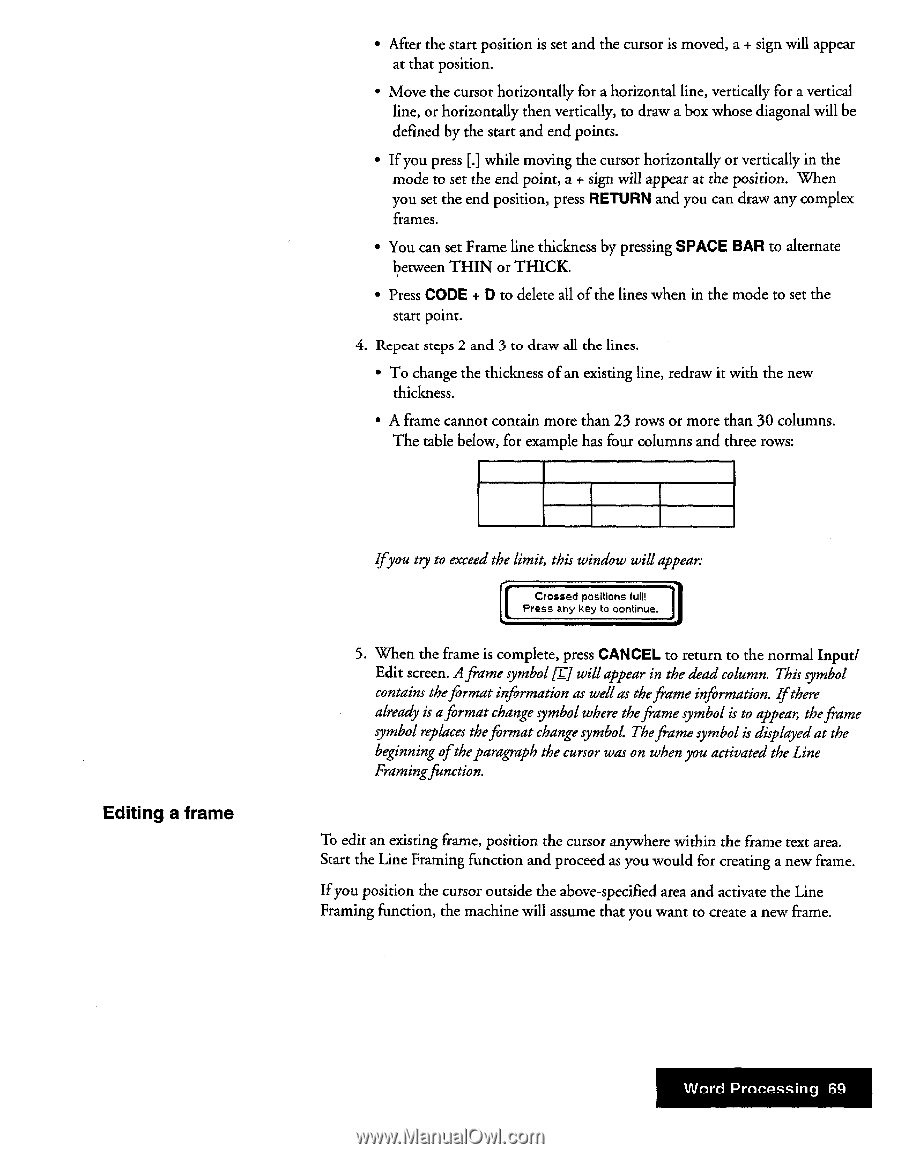
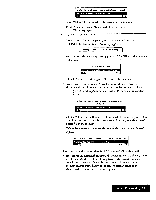
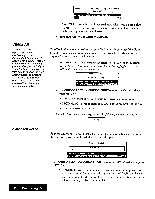
• After the start position is set and the cursor is moved, a + sign will appear at that position. • Move the cursor horizontally for a horizontal line, vertically for a vertical line, or horizontally then vertically, to draw a box whose diagonal will be defined by the start and end points. • If you press [.] while moving the cursor horizontally or vertically in the mode to set the end point, a + sign will appear at the position. When you set the end position, press RETURN and you can draw any complex frames. • You can set Frame line thickness by pressing SPACE BAR to alternate between THIN or THICK • Press CODE + D to delete all of the lines when in the mode to set the start point. 4. Itcpcat steps 2 and 3 to draw all the lints. • To change the thickness of an existing line, redraw it with the new thickness. • A frame cannot contain more than 23 rows or more than 30 columns. The table below, for example has four columns and three rows: Editing a frame Ifyou try to exceed the limit, this window will appear: r [ Crossed pos€tions Will 1 Press any key to continue. 5. When the frame is complete, press CANCEL to return to the normal Input/ Edit screen. A frame symbol in] will appear in the dead column. This symbol contains theformat information as wellas theframe information. Ifthere already is aformat change symbol where theframe symbol is to appear, theframe symbol replaces theformat change symbol. Theframe symbol is displayed at the beginning oftheparagraph the cursor was on when you activated the Line Framingfunction. To edit an existing frame, position the cursor anywhere within the frame text area. Start the Line Framing function and proceed as you would for creating a new frame. If you position the cursor outside the above-specified area and activate the Line Framing function, the machine will assume that you want to create a new frame. Word Processing 69
-
 1
1 -
2
-
3
-
4
-
5
-
6
-
7
-
8
-
9
-
10
-
11
-
12
-
13
-
14
-
15
-
16
-
17
-
18
-
19
-
20
-
21
-
22
-
23
-
24
-
25
-
26
-
27
-
28
-
29
-
30
-
31
-
32
-
33
-
34
-
35
-
36
-
37
-
38
-
39
-
40
-
41
-
42
-
43
-
44
-
45
-
46
-
47
-
48
-
49
-
50
-
51
-
52
-
53
-
54
-
55
-
56
-
57
-
58
-
59
-
60
-
61
-
62
-
63
-
64
-
65
-
66
-
67
-
68
-
69
-
70
-
71
-
 72
72 -
 73
73 -
 74
74 -
 75
75 -
 76
76 -
 77
77 -
 78
78 -
 79
79 -
 80
80 -
 81
81 -
 82
82 -
83
-
84
-
85
-
86
-
87
-
88
-
89
-
90
-
91
-
92
-
93
-
94
-
95
-
96
-
97
-
98
-
99
-
100
-
101
-
102
-
103
-
104
-
105
-
106
-
107
-
108
-
109
-
110
-
111
-
112
-
113
-
114
-
115
-
116
-
117
-
118
-
119
-
120
-
121
-
122
-
123
-
124
-
125
-
126
-
127
-
128
-
129
-
130
-
131
-
132
-
133
-
134
-
135
-
136
-
137
-
138
-
139
-
140
-
141
-
142
-
143
-
144
-
145
-
146
-
147
-
148
-
149
-
150
-
151
-
152
-
153
-
154
-
155
-
156
-
157
-
158
-
159
-
160
-
161
-
162
-
163
-
164
-
165
-
166
-
167
-
168
-
169
-
170
-
171
-
172
-
173
-
174
-
175
-
176
-
177
-
178
-
179
-
180
-
181
-
182
-
183
-
184
-
185
-
186
-
187
-
188
-
189
-
190
-
191
-
192
-
193
-
194
-
195
-
196
-
197
-
198
-
199
-
200
-
201
-
202
-
203
-
204
-
205
-
206
-
207
-
208
-
209
-
210
-
211
-
212
-
213
-
214
-
215
-
216
-
217
-
218
-
219
-
220
-
221
-
222
-
223
-
224
-
225
-
226
-
227
-
228
-
229
-
230
-
231
-
232
-
233
-
234
-
235
-
236
-
237
-
238
-
239
-
240
-
241
-
242
-
243
-
244
-
245
-
246
-
247
-
248
-
249
-
250
-
251
-
252
 |
 |