Brother International WP7550JPLUS Owner's Manual - English - Page 148
Print, Function, Screen
 |
View all Brother International WP7550JPLUS manuals
Add to My Manuals
Save this manual to your list of manuals |
Page 148 highlights
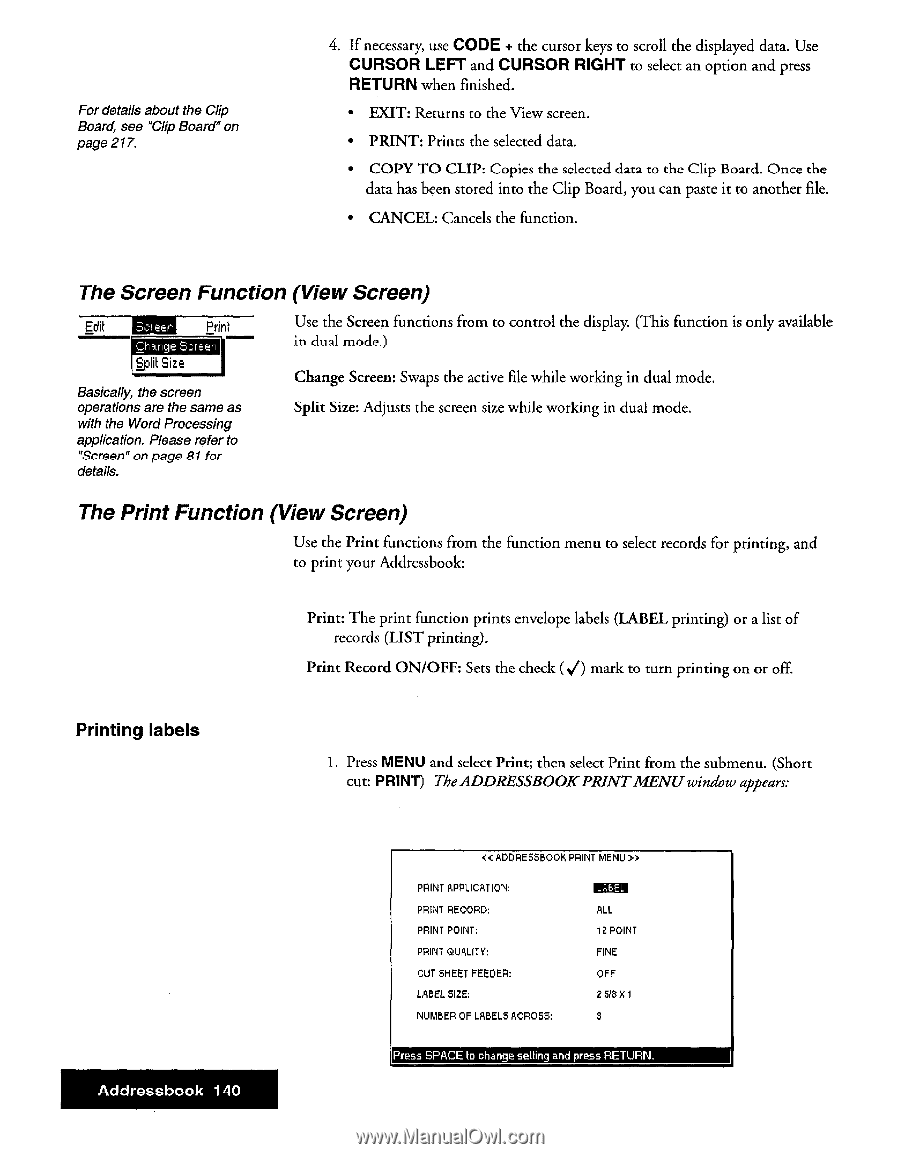
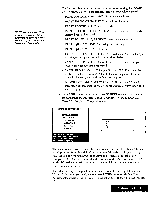
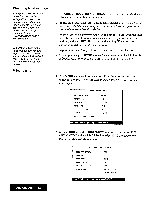
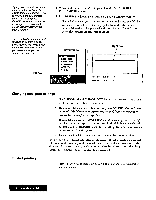
For details about the Clip Board, see "Clip Board" on page 217 4. If necessary, use CODE + the cursor keys to scroll the displayed data. Use CURSOR LEFT and CURSOR RIGHT to select an option and press RETURN when finished. • EXIT: Returns to the View screen. • PRINT: Prints the selected data. • COPY TO CLIP: Copies the selected data to the Clip Board. Once the data has been stored into the Clip Board, you can paste it to another file. • CANCEL: Cancels the function. The Screen Function (View Screen) Edit Prink Change Screen tzilik Size Basically, the screen operations are the same as with the Word Processing application. Please refer to "Screen" on page RI for details. Use the Screen functions from to control the display. (This function is only available in dual mode.) Change Screen: Swaps the active file while working in dual mode. Split Size: Adjusts the screen size while working in dual mode. The Print Function (View Screen) Use the Print functions from the function menu to select records for printing, and to print your Addressbook: Print: The print function prints envelope labels (LABEL printing) or a list of records (LIST printing). Print Record ON/OFF: Sets the check (V) mark to turn printing on or off. Printing labels 1. Press MENU and select Print; then select Print from the submenu. (Short cut: PRINT) The ADDRESSBOOK PRINT MENU window appears: Addressbook 140
-
 1
1 -
2
-
3
-
4
-
5
-
6
-
7
-
8
-
9
-
10
-
11
-
12
-
13
-
14
-
15
-
16
-
17
-
18
-
19
-
20
-
21
-
22
-
23
-
24
-
25
-
26
-
27
-
28
-
29
-
30
-
31
-
32
-
33
-
34
-
35
-
36
-
37
-
38
-
39
-
40
-
41
-
42
-
43
-
44
-
45
-
46
-
47
-
48
-
49
-
50
-
51
-
52
-
53
-
54
-
55
-
56
-
57
-
58
-
59
-
60
-
61
-
62
-
63
-
64
-
65
-
66
-
67
-
68
-
69
-
70
-
71
-
72
-
73
-
74
-
75
-
76
-
77
-
78
-
79
-
80
-
81
-
82
-
83
-
84
-
85
-
86
-
87
-
88
-
89
-
90
-
91
-
92
-
93
-
94
-
95
-
96
-
97
-
98
-
99
-
100
-
101
-
102
-
103
-
104
-
105
-
106
-
107
-
108
-
109
-
110
-
111
-
112
-
113
-
114
-
115
-
116
-
117
-
118
-
119
-
120
-
121
-
122
-
123
-
124
-
125
-
126
-
127
-
128
-
129
-
130
-
131
-
132
-
133
-
134
-
135
-
136
-
137
-
138
-
139
-
140
-
141
-
142
-
 143
143 -
 144
144 -
 145
145 -
 146
146 -
 147
147 -
 148
148 -
 149
149 -
 150
150 -
 151
151 -
 152
152 -
 153
153 -
154
-
155
-
156
-
157
-
158
-
159
-
160
-
161
-
162
-
163
-
164
-
165
-
166
-
167
-
168
-
169
-
170
-
171
-
172
-
173
-
174
-
175
-
176
-
177
-
178
-
179
-
180
-
181
-
182
-
183
-
184
-
185
-
186
-
187
-
188
-
189
-
190
-
191
-
192
-
193
-
194
-
195
-
196
-
197
-
198
-
199
-
200
-
201
-
202
-
203
-
204
-
205
-
206
-
207
-
208
-
209
-
210
-
211
-
212
-
213
-
214
-
215
-
216
-
217
-
218
-
219
-
220
-
221
-
222
-
223
-
224
-
225
-
226
-
227
-
228
-
229
-
230
-
231
-
232
-
233
-
234
-
235
-
236
-
237
-
238
-
239
-
240
-
241
-
242
-
243
-
244
-
245
-
246
-
247
-
248
-
249
-
250
-
251
-
252
 |
 |