Brother International WP7550JPLUS Owner's Manual - English - Page 99
Entering, Editing
 |
View all Brother International WP7550JPLUS manuals
Add to My Manuals
Save this manual to your list of manuals |
Page 99 highlights
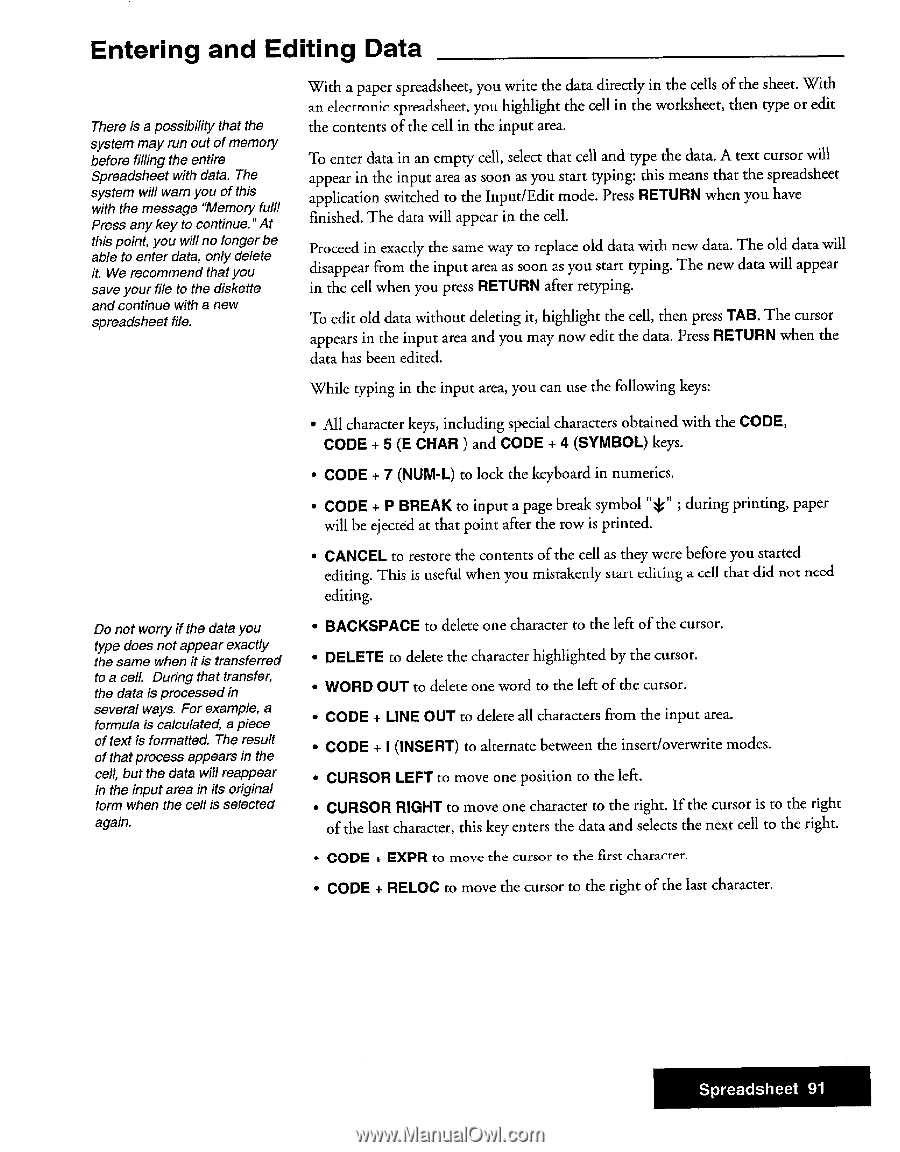
Entering and Editing Data There is a possibility that the system may run out of memory before filling the entire Spreadsheet with data. The system will warn you of this with the message "Memory full! Press any key to continue."At this point, you will no longer be able to enter data, only delete it. We recommend that you save your file to the diskette and continue with a new spreadsheet file. With a paper spreadsheet, you write the data directly in the cells of the sheet. With an electronic spreadsheet, you highlight the cell in the worksheet, then type or edit the contents of the cell in the input area. To enter data in an empty cell, select that cell and type the data. A text cursor will appear in the input area as soon as you start typing: this means that the spreadsheet application switched to the Input/Edit mode. Press RETURN when you have finished. The data will appear in the cell. Proceed in exactly the same way to replace old data with new data. The old data will disappear from the input area as soon as you start typing. The new data will appear in the cell when you press RETURN after retyping. To edit old data without deleting it, highlight the cell, then press TAB. The cursor appears in the input area and you may now edit the data. Press RETURN when the data has been edited. While typing in the input area, you can use the following keys: Do not worry if the data you type does not appear exactly the same when it is transferred to a cell. During that transfer, the data is processed in several ways. For example, a formula is calculated, a piece of text is formatted. The result of that process appears in the cell, but the data will reappear in the input area in its original form when the cell is selected again. • All character keys, including special characters obtained with the CODE, CODE + 5 (E CHAR ) and CODE + 4 (SYMBOL) keys. • CODE + 7 (NUM-L) to lock the keyboard in numerics. • CODE + P BREAK to input a page break symbol "*" ; during printing, paper will be ejected at that point after the row is printed. • CANCEL to restore the contents of the cell as they were before you started editing. This is useful when you mistakenly start editing a cell that did not necd editing. • BACKSPACE to delete one character to the left of the cursor. • DELETE to delete the character highlighted by the cursor. • WORD OUT to delete one word to the left of the cursor. • CODE + LINE OUT to delete all characters from the input area. • CODE + I (INSERT) to alternate between the insert/overwrite modes. • CURSOR LEFT to move one position to the left. • CURSOR RIGHT to move one character to the right. If the cursor is to the right of the last character, this key enters the data and selects the next cell to the right. • CODE + EXPR to move the cursor to the first character. • CODE + RELOC to move the cursor to the right of the last character. Spreadsheet 91
-
 1
1 -
2
-
3
-
4
-
5
-
6
-
7
-
8
-
9
-
10
-
11
-
12
-
13
-
14
-
15
-
16
-
17
-
18
-
19
-
20
-
21
-
22
-
23
-
24
-
25
-
26
-
27
-
28
-
29
-
30
-
31
-
32
-
33
-
34
-
35
-
36
-
37
-
38
-
39
-
40
-
41
-
42
-
43
-
44
-
45
-
46
-
47
-
48
-
49
-
50
-
51
-
52
-
53
-
54
-
55
-
56
-
57
-
58
-
59
-
60
-
61
-
62
-
63
-
64
-
65
-
66
-
67
-
68
-
69
-
70
-
71
-
72
-
73
-
74
-
75
-
76
-
77
-
78
-
79
-
80
-
81
-
82
-
83
-
84
-
85
-
86
-
87
-
88
-
89
-
90
-
91
-
92
-
93
-
 94
94 -
 95
95 -
 96
96 -
 97
97 -
 98
98 -
 99
99 -
 100
100 -
 101
101 -
 102
102 -
 103
103 -
 104
104 -
105
-
106
-
107
-
108
-
109
-
110
-
111
-
112
-
113
-
114
-
115
-
116
-
117
-
118
-
119
-
120
-
121
-
122
-
123
-
124
-
125
-
126
-
127
-
128
-
129
-
130
-
131
-
132
-
133
-
134
-
135
-
136
-
137
-
138
-
139
-
140
-
141
-
142
-
143
-
144
-
145
-
146
-
147
-
148
-
149
-
150
-
151
-
152
-
153
-
154
-
155
-
156
-
157
-
158
-
159
-
160
-
161
-
162
-
163
-
164
-
165
-
166
-
167
-
168
-
169
-
170
-
171
-
172
-
173
-
174
-
175
-
176
-
177
-
178
-
179
-
180
-
181
-
182
-
183
-
184
-
185
-
186
-
187
-
188
-
189
-
190
-
191
-
192
-
193
-
194
-
195
-
196
-
197
-
198
-
199
-
200
-
201
-
202
-
203
-
204
-
205
-
206
-
207
-
208
-
209
-
210
-
211
-
212
-
213
-
214
-
215
-
216
-
217
-
218
-
219
-
220
-
221
-
222
-
223
-
224
-
225
-
226
-
227
-
228
-
229
-
230
-
231
-
232
-
233
-
234
-
235
-
236
-
237
-
238
-
239
-
240
-
241
-
242
-
243
-
244
-
245
-
246
-
247
-
248
-
249
-
250
-
251
-
252
 |
 |