Brother International WP7550JPLUS Owner's Manual - English - Page 52
Centering
 |
View all Brother International WP7550JPLUS manuals
Add to My Manuals
Save this manual to your list of manuals |
Page 52 highlights
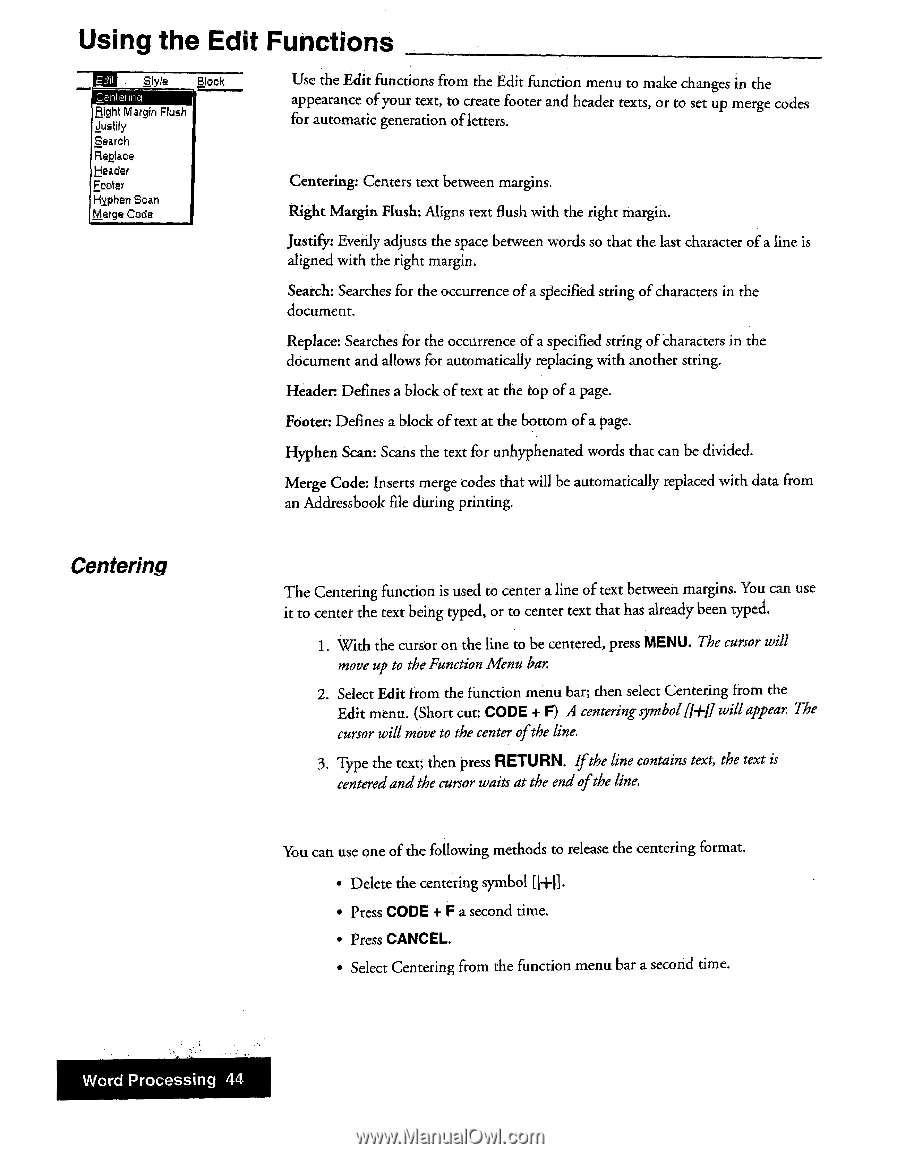
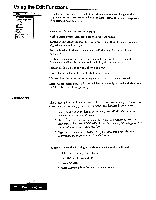
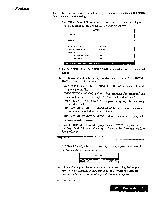
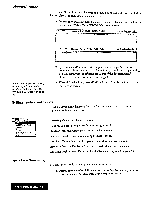
Using the Edit Functions Style Block eT,lerlrna Right Margin Flush Justify Search Replace Header Footer Hyphen Scan Merge Code Use the Edit functions from the Edit function menu to make changes in the appearance of your text, to create footer and header texts, or to set up merge codes for automatic generation of letters. Centering: Centers text between margins. Right Margin Flush: Aligns text flush with the right margin. Justify: Evenly adjusts the space between words so that the last character of a line is aligned with the right margin. Search: Searches for the occurrence of a specified string of characters in the document. Replace: Searches for the occurrence of a specified string of characters in the document and allows for automatically replacing with another string. Header: Defines a block of text at the top of a page. Pouter: Defines a block of text at the bottom of a page. Hyphen Scan: Scans the text for unhyphenated words that can be divided. Merge Code: Inserts merge codes that will be automatically replaced with data from an Addressbook file during printing. Centering The Centering function is used to center a line of text between margins. You can use it to center the text being typed, or to center text that has already been typed. 1. With the cursor on the line to be centered, press MENU. The cursor will move up to the Function Menu bar. 2. Select Edit from the function menu bar; then select Centering from the Edit menu. (Short cut: CODE + F) A centeringsymbol[1÷1] will appear. The cursor will move to the center of the line. 3. Type the text; then press RETURN. Ifthe line contains text, the text is centeredand the cursor waits at the end ofthe line. You can use one of the following methods to release the centering format. • Delete the centering symbol [K. • Press CODE + F a second time. • Press CANCEL. • Select Centering from the function menu bar a second time. Word Processing 44
-
 1
1 -
2
-
3
-
4
-
5
-
6
-
7
-
8
-
9
-
10
-
11
-
12
-
13
-
14
-
15
-
16
-
17
-
18
-
19
-
20
-
21
-
22
-
23
-
24
-
25
-
26
-
27
-
28
-
29
-
30
-
31
-
32
-
33
-
34
-
35
-
36
-
37
-
38
-
39
-
40
-
41
-
42
-
43
-
44
-
45
-
46
-
 47
47 -
 48
48 -
 49
49 -
 50
50 -
 51
51 -
 52
52 -
 53
53 -
 54
54 -
 55
55 -
 56
56 -
 57
57 -
58
-
59
-
60
-
61
-
62
-
63
-
64
-
65
-
66
-
67
-
68
-
69
-
70
-
71
-
72
-
73
-
74
-
75
-
76
-
77
-
78
-
79
-
80
-
81
-
82
-
83
-
84
-
85
-
86
-
87
-
88
-
89
-
90
-
91
-
92
-
93
-
94
-
95
-
96
-
97
-
98
-
99
-
100
-
101
-
102
-
103
-
104
-
105
-
106
-
107
-
108
-
109
-
110
-
111
-
112
-
113
-
114
-
115
-
116
-
117
-
118
-
119
-
120
-
121
-
122
-
123
-
124
-
125
-
126
-
127
-
128
-
129
-
130
-
131
-
132
-
133
-
134
-
135
-
136
-
137
-
138
-
139
-
140
-
141
-
142
-
143
-
144
-
145
-
146
-
147
-
148
-
149
-
150
-
151
-
152
-
153
-
154
-
155
-
156
-
157
-
158
-
159
-
160
-
161
-
162
-
163
-
164
-
165
-
166
-
167
-
168
-
169
-
170
-
171
-
172
-
173
-
174
-
175
-
176
-
177
-
178
-
179
-
180
-
181
-
182
-
183
-
184
-
185
-
186
-
187
-
188
-
189
-
190
-
191
-
192
-
193
-
194
-
195
-
196
-
197
-
198
-
199
-
200
-
201
-
202
-
203
-
204
-
205
-
206
-
207
-
208
-
209
-
210
-
211
-
212
-
213
-
214
-
215
-
216
-
217
-
218
-
219
-
220
-
221
-
222
-
223
-
224
-
225
-
226
-
227
-
228
-
229
-
230
-
231
-
232
-
233
-
234
-
235
-
236
-
237
-
238
-
239
-
240
-
241
-
242
-
243
-
244
-
245
-
246
-
247
-
248
-
249
-
250
-
251
-
252
 |
 |