Brother International WP7550JPLUS Owner's Manual - English - Page 93
Using, Layout, Preview, Document
 |
View all Brother International WP7550JPLUS manuals
Add to My Manuals
Save this manual to your list of manuals |
Page 93 highlights
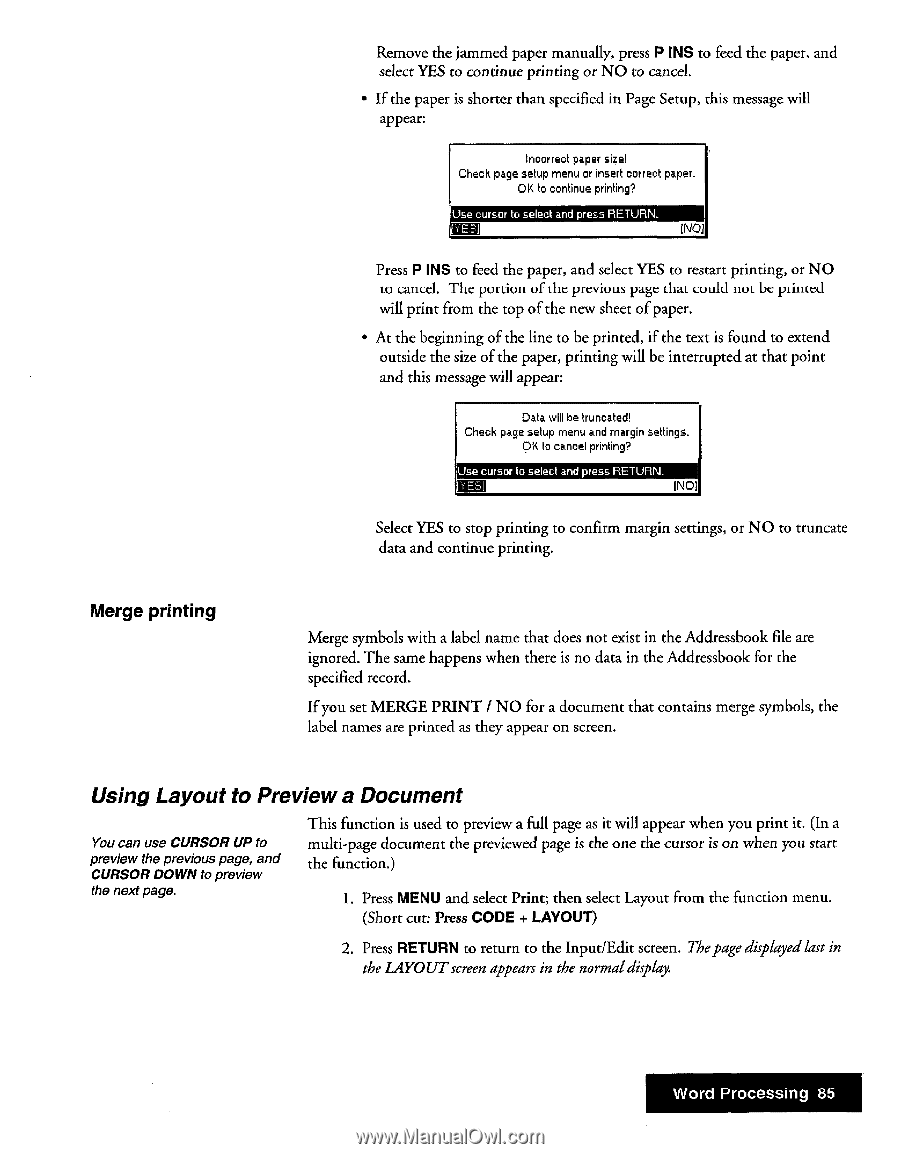
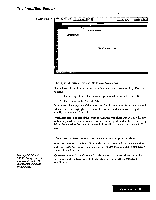
Merge printing Remove the jammed paper manually, press P INS to feed the paper, and select YES to continue printing or NO to cancel. • If the paper is shorter than specified in Page Setup, this message will appear: Incorrect paper size! Check page setup menu or insert correct paper. OK to continue printing? Use cursor to select and press RETURN. fNO1 Press P INS to feed the paper, and select YES to restart printing, or NO to cancel. The portion oldie previous page alai could not be printed will print from the top of the new sheet of paper. • At the beginning of the line to be printed, if the text is found to extend outside the size of the paper, printing will be interrupted at that point and this message will appear: Data will be truncated! Check page setup menu and margin settings. OK la cancel printing? Use cursor to select and press RETURN. !I Eb] [NO] Select YES to stop printing to confirm margin settings, or NO to truncate data and continue printing. Merge symbols with a label name that does not exist in the Addressbook file are ignored. The same happens when there is no data in the Addressbook for the specified record. If you set MERGE PRINT / NO for a document that contains merge symbols, the label names are printed as they appear on screen. Using Layout to Preview a Document You can use CURSOR UP to preview the previous page, and CURSOR DOWN to preview the next page. This function is used to preview a full page as it will appear when you print it. (In a multi-page document the previewed page is the one the cursor is on when you start the function.) 1. Press MENU and select Print; then select Layout from the function menu. (Short cut: Press CODE + LAYOUT) 2. Press RETURN to return to the Input/Edit screen. Thepage displayed last in the LAYOUTscreen appears in the normal display. Word Processing 85
-
 1
1 -
2
-
3
-
4
-
5
-
6
-
7
-
8
-
9
-
10
-
11
-
12
-
13
-
14
-
15
-
16
-
17
-
18
-
19
-
20
-
21
-
22
-
23
-
24
-
25
-
26
-
27
-
28
-
29
-
30
-
31
-
32
-
33
-
34
-
35
-
36
-
37
-
38
-
39
-
40
-
41
-
42
-
43
-
44
-
45
-
46
-
47
-
48
-
49
-
50
-
51
-
52
-
53
-
54
-
55
-
56
-
57
-
58
-
59
-
60
-
61
-
62
-
63
-
64
-
65
-
66
-
67
-
68
-
69
-
70
-
71
-
72
-
73
-
74
-
75
-
76
-
77
-
78
-
79
-
80
-
81
-
82
-
83
-
84
-
85
-
86
-
87
-
 88
88 -
 89
89 -
 90
90 -
 91
91 -
 92
92 -
 93
93 -
 94
94 -
 95
95 -
 96
96 -
 97
97 -
 98
98 -
99
-
100
-
101
-
102
-
103
-
104
-
105
-
106
-
107
-
108
-
109
-
110
-
111
-
112
-
113
-
114
-
115
-
116
-
117
-
118
-
119
-
120
-
121
-
122
-
123
-
124
-
125
-
126
-
127
-
128
-
129
-
130
-
131
-
132
-
133
-
134
-
135
-
136
-
137
-
138
-
139
-
140
-
141
-
142
-
143
-
144
-
145
-
146
-
147
-
148
-
149
-
150
-
151
-
152
-
153
-
154
-
155
-
156
-
157
-
158
-
159
-
160
-
161
-
162
-
163
-
164
-
165
-
166
-
167
-
168
-
169
-
170
-
171
-
172
-
173
-
174
-
175
-
176
-
177
-
178
-
179
-
180
-
181
-
182
-
183
-
184
-
185
-
186
-
187
-
188
-
189
-
190
-
191
-
192
-
193
-
194
-
195
-
196
-
197
-
198
-
199
-
200
-
201
-
202
-
203
-
204
-
205
-
206
-
207
-
208
-
209
-
210
-
211
-
212
-
213
-
214
-
215
-
216
-
217
-
218
-
219
-
220
-
221
-
222
-
223
-
224
-
225
-
226
-
227
-
228
-
229
-
230
-
231
-
232
-
233
-
234
-
235
-
236
-
237
-
238
-
239
-
240
-
241
-
242
-
243
-
244
-
245
-
246
-
247
-
248
-
249
-
250
-
251
-
252
 |
 |