Brother International WP7550JPLUS Owner's Manual - English - Page 97
Input/Edit, Screen
 |
View all Brother International WP7550JPLUS manuals
Add to My Manuals
Save this manual to your list of manuals |
Page 97 highlights
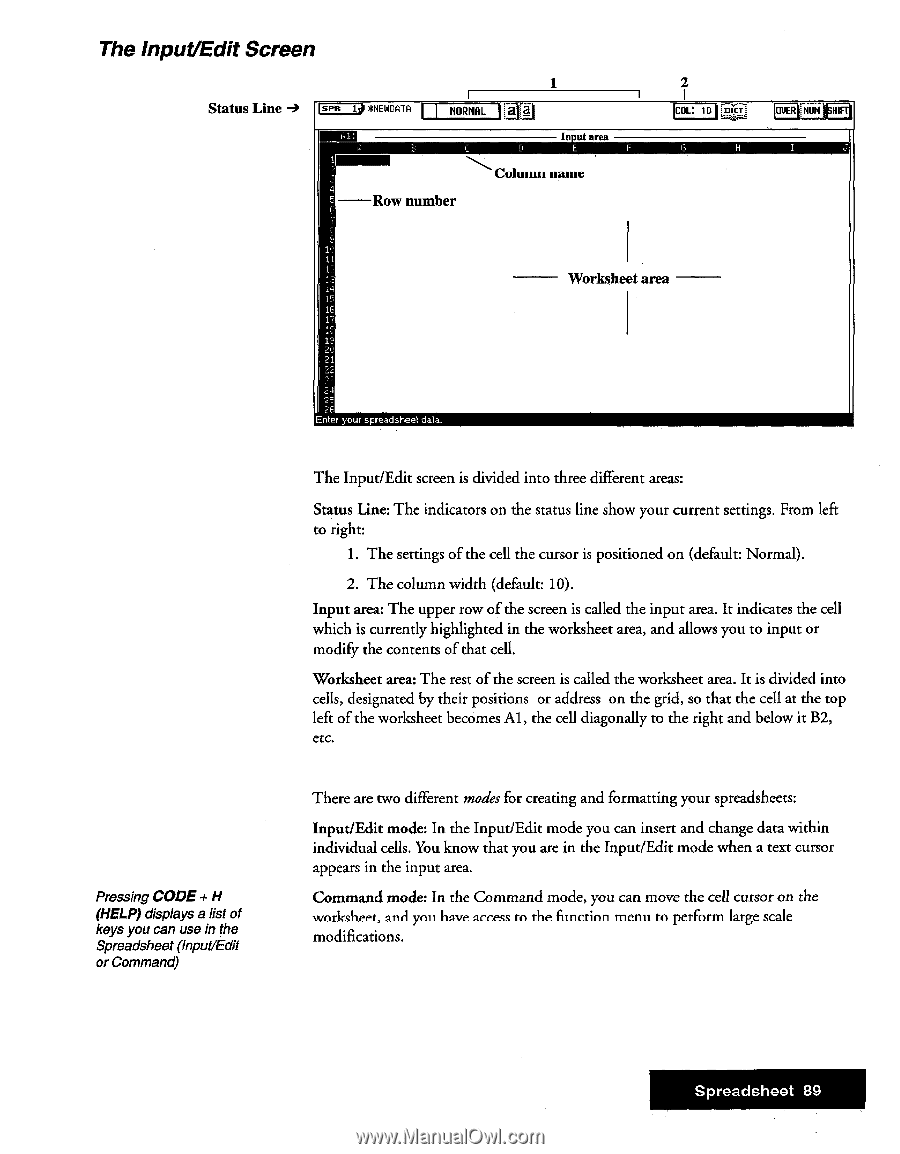
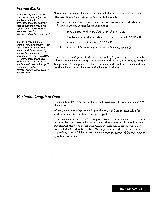
The Input/Edit Screen Status Line 1 sin 1 *NEWDATA NORMAL II In , ut area El Column name 4 Row number 2 C0L 10 [pig OVER NUN 1 11 ,4 Worksheet area SF 17 21 Pressing CODE + H (HELP) displays a list of keys you can use in the Spreadsheet (Input/Edit or Command) _nler your spreadsheet data_ The Input/Edit screen is divided into three different areas: Status Line: The indicators on the status line show your current settings. From left to right: 1. The settings of the cell the cursor is positioned on (default: Normal). 2. The column width (default: 10). Input area: The upper row of the screen is called the input area. It indicates the cell which is currently highlighted in the worksheet area, and allows you to input or modify the contents of that cell. Worksheet area: The rest of the screen is called the worksheet area. It is divided into cells, designated by their positions or address on the grid, so that the cell at the top left of the worksheet becomes Al, the cell diagonally to the right and below it B2, etc. There are two different modes for creating and formatting your spreadsheets: Input/Edit mode: In the Input/Edit mode you can insert and change data within individual cells. You know that you are in the Input/Edit mode when a text cursor appears in the input area. Command mode: In the Command mode, you can move the cell cursor on the worksheet, and you have access to the function menu to perform large scale modifications. Spreadsheet 89
-
 1
1 -
2
-
3
-
4
-
5
-
6
-
7
-
8
-
9
-
10
-
11
-
12
-
13
-
14
-
15
-
16
-
17
-
18
-
19
-
20
-
21
-
22
-
23
-
24
-
25
-
26
-
27
-
28
-
29
-
30
-
31
-
32
-
33
-
34
-
35
-
36
-
37
-
38
-
39
-
40
-
41
-
42
-
43
-
44
-
45
-
46
-
47
-
48
-
49
-
50
-
51
-
52
-
53
-
54
-
55
-
56
-
57
-
58
-
59
-
60
-
61
-
62
-
63
-
64
-
65
-
66
-
67
-
68
-
69
-
70
-
71
-
72
-
73
-
74
-
75
-
76
-
77
-
78
-
79
-
80
-
81
-
82
-
83
-
84
-
85
-
86
-
87
-
88
-
89
-
90
-
91
-
 92
92 -
 93
93 -
 94
94 -
 95
95 -
 96
96 -
 97
97 -
 98
98 -
 99
99 -
 100
100 -
 101
101 -
 102
102 -
103
-
104
-
105
-
106
-
107
-
108
-
109
-
110
-
111
-
112
-
113
-
114
-
115
-
116
-
117
-
118
-
119
-
120
-
121
-
122
-
123
-
124
-
125
-
126
-
127
-
128
-
129
-
130
-
131
-
132
-
133
-
134
-
135
-
136
-
137
-
138
-
139
-
140
-
141
-
142
-
143
-
144
-
145
-
146
-
147
-
148
-
149
-
150
-
151
-
152
-
153
-
154
-
155
-
156
-
157
-
158
-
159
-
160
-
161
-
162
-
163
-
164
-
165
-
166
-
167
-
168
-
169
-
170
-
171
-
172
-
173
-
174
-
175
-
176
-
177
-
178
-
179
-
180
-
181
-
182
-
183
-
184
-
185
-
186
-
187
-
188
-
189
-
190
-
191
-
192
-
193
-
194
-
195
-
196
-
197
-
198
-
199
-
200
-
201
-
202
-
203
-
204
-
205
-
206
-
207
-
208
-
209
-
210
-
211
-
212
-
213
-
214
-
215
-
216
-
217
-
218
-
219
-
220
-
221
-
222
-
223
-
224
-
225
-
226
-
227
-
228
-
229
-
230
-
231
-
232
-
233
-
234
-
235
-
236
-
237
-
238
-
239
-
240
-
241
-
242
-
243
-
244
-
245
-
246
-
247
-
248
-
249
-
250
-
251
-
252
 |
 |